


If you've been getting gel nails for years and they still lift within a week, or your cuticles are constantly dry and ragged, the issue probably isn't the product. It's the prep.
A Russian manicure is one of the most precise nail preparation techniques in the industry — and at Apricot Nails in Hawthorn, it's built into every single appointment. Here's what it actually is, why it makes your BIAB last significantly longer, and what you should know before your first experience.
The Difference Between a Russian Manicure and a Standard Manicure
A standard manicure typically involves soaking the hands, pushing cuticles back with a wooden stick and removing small amounts of dead skin with nippers, it gets the job done, but the results are temporary, and soaking can actually cause lifting when gel or BIAB is applied to softened, waterlogged nails.
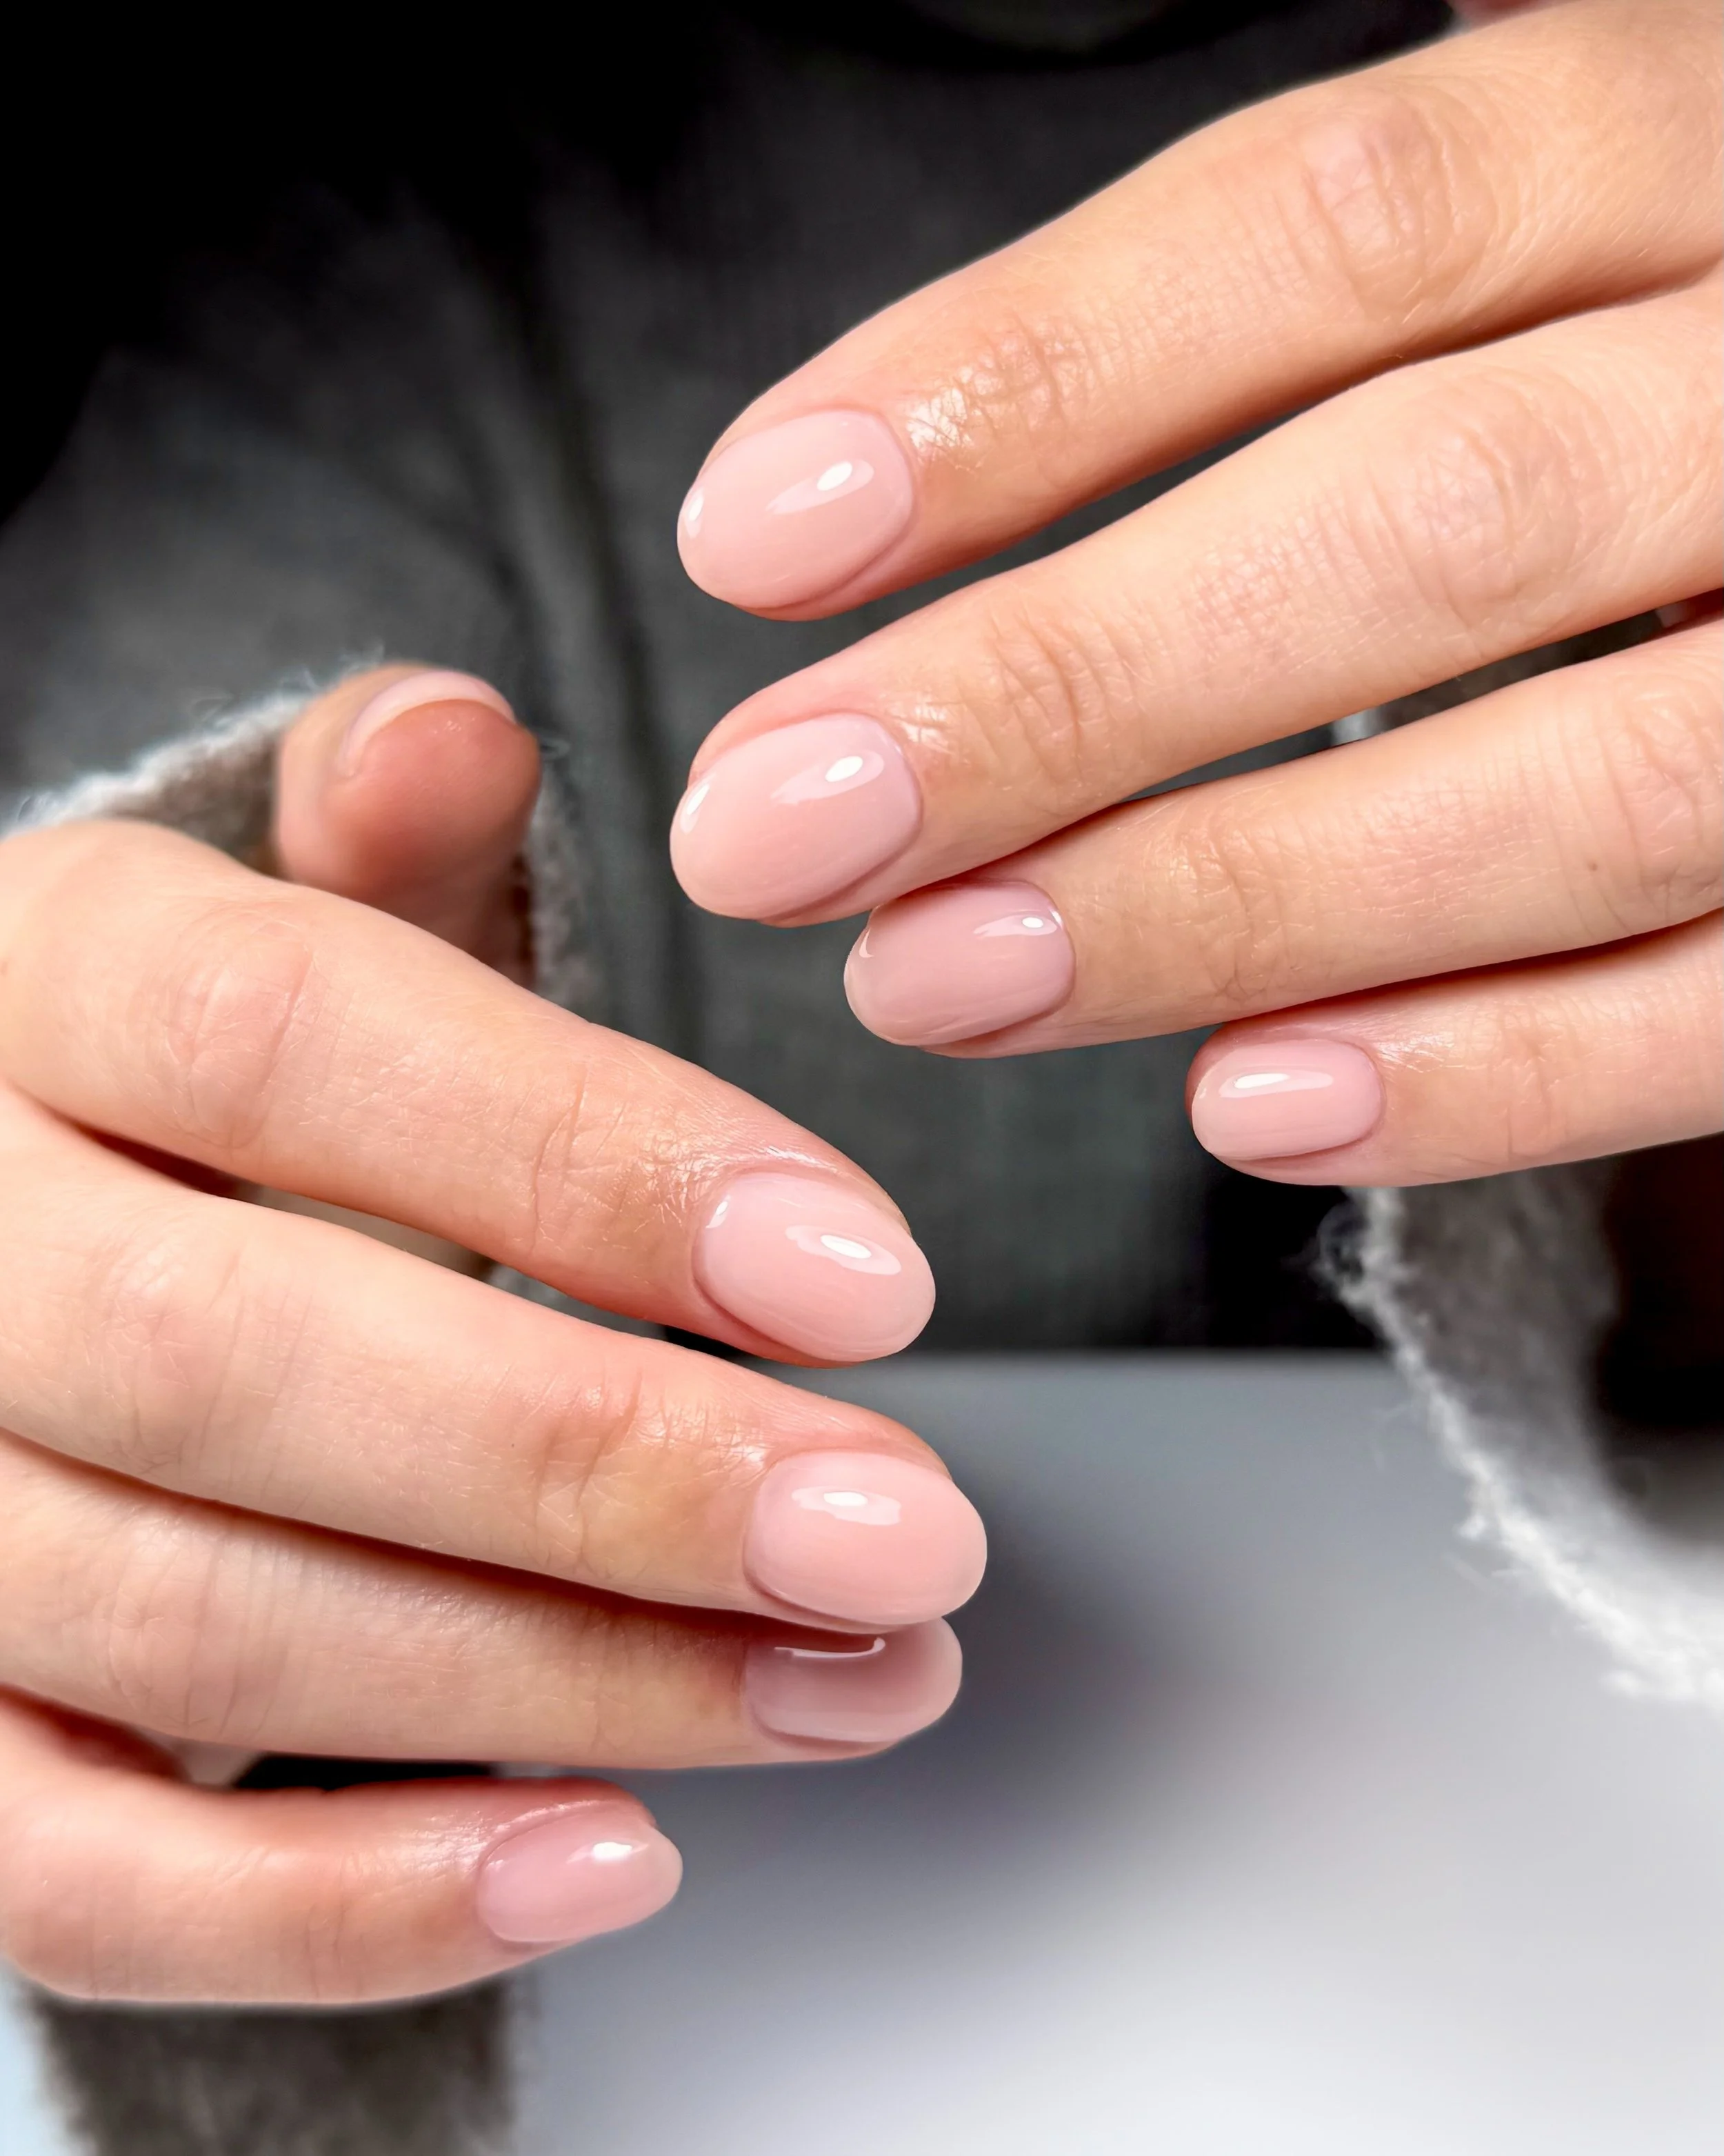
A Russian manicure — also called a dry manicure or e-file manicure — is a completely different approach. Using a small, specialised electric file (an e-file), the nail technician precisely removes the dead, keratinised tissue from the proximal nail fold — the thin layer of skin that creeps over the nail plate near the base. No water. No soaking.
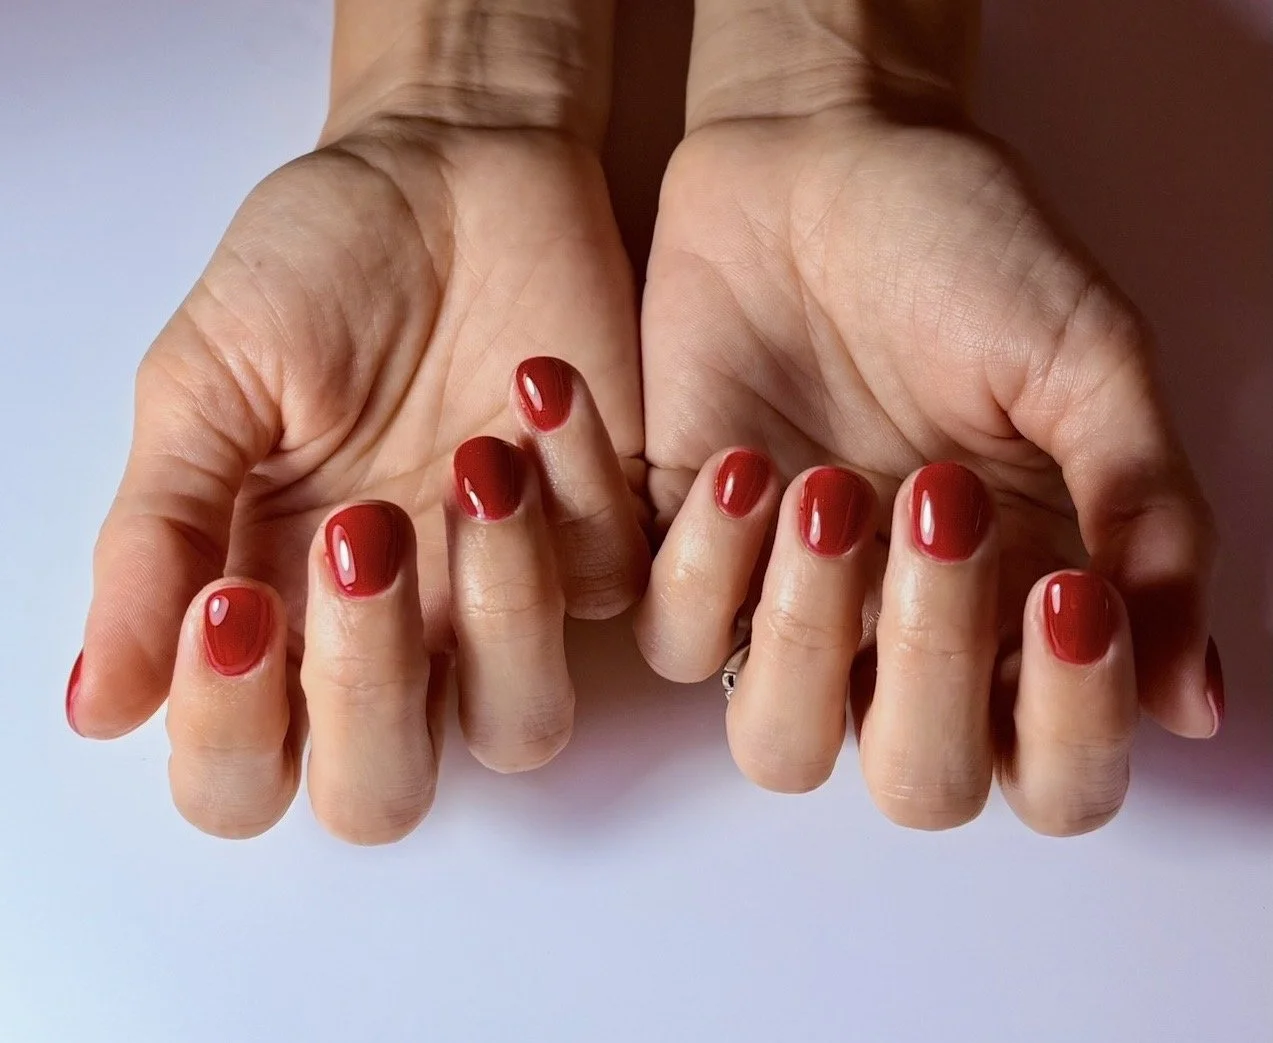
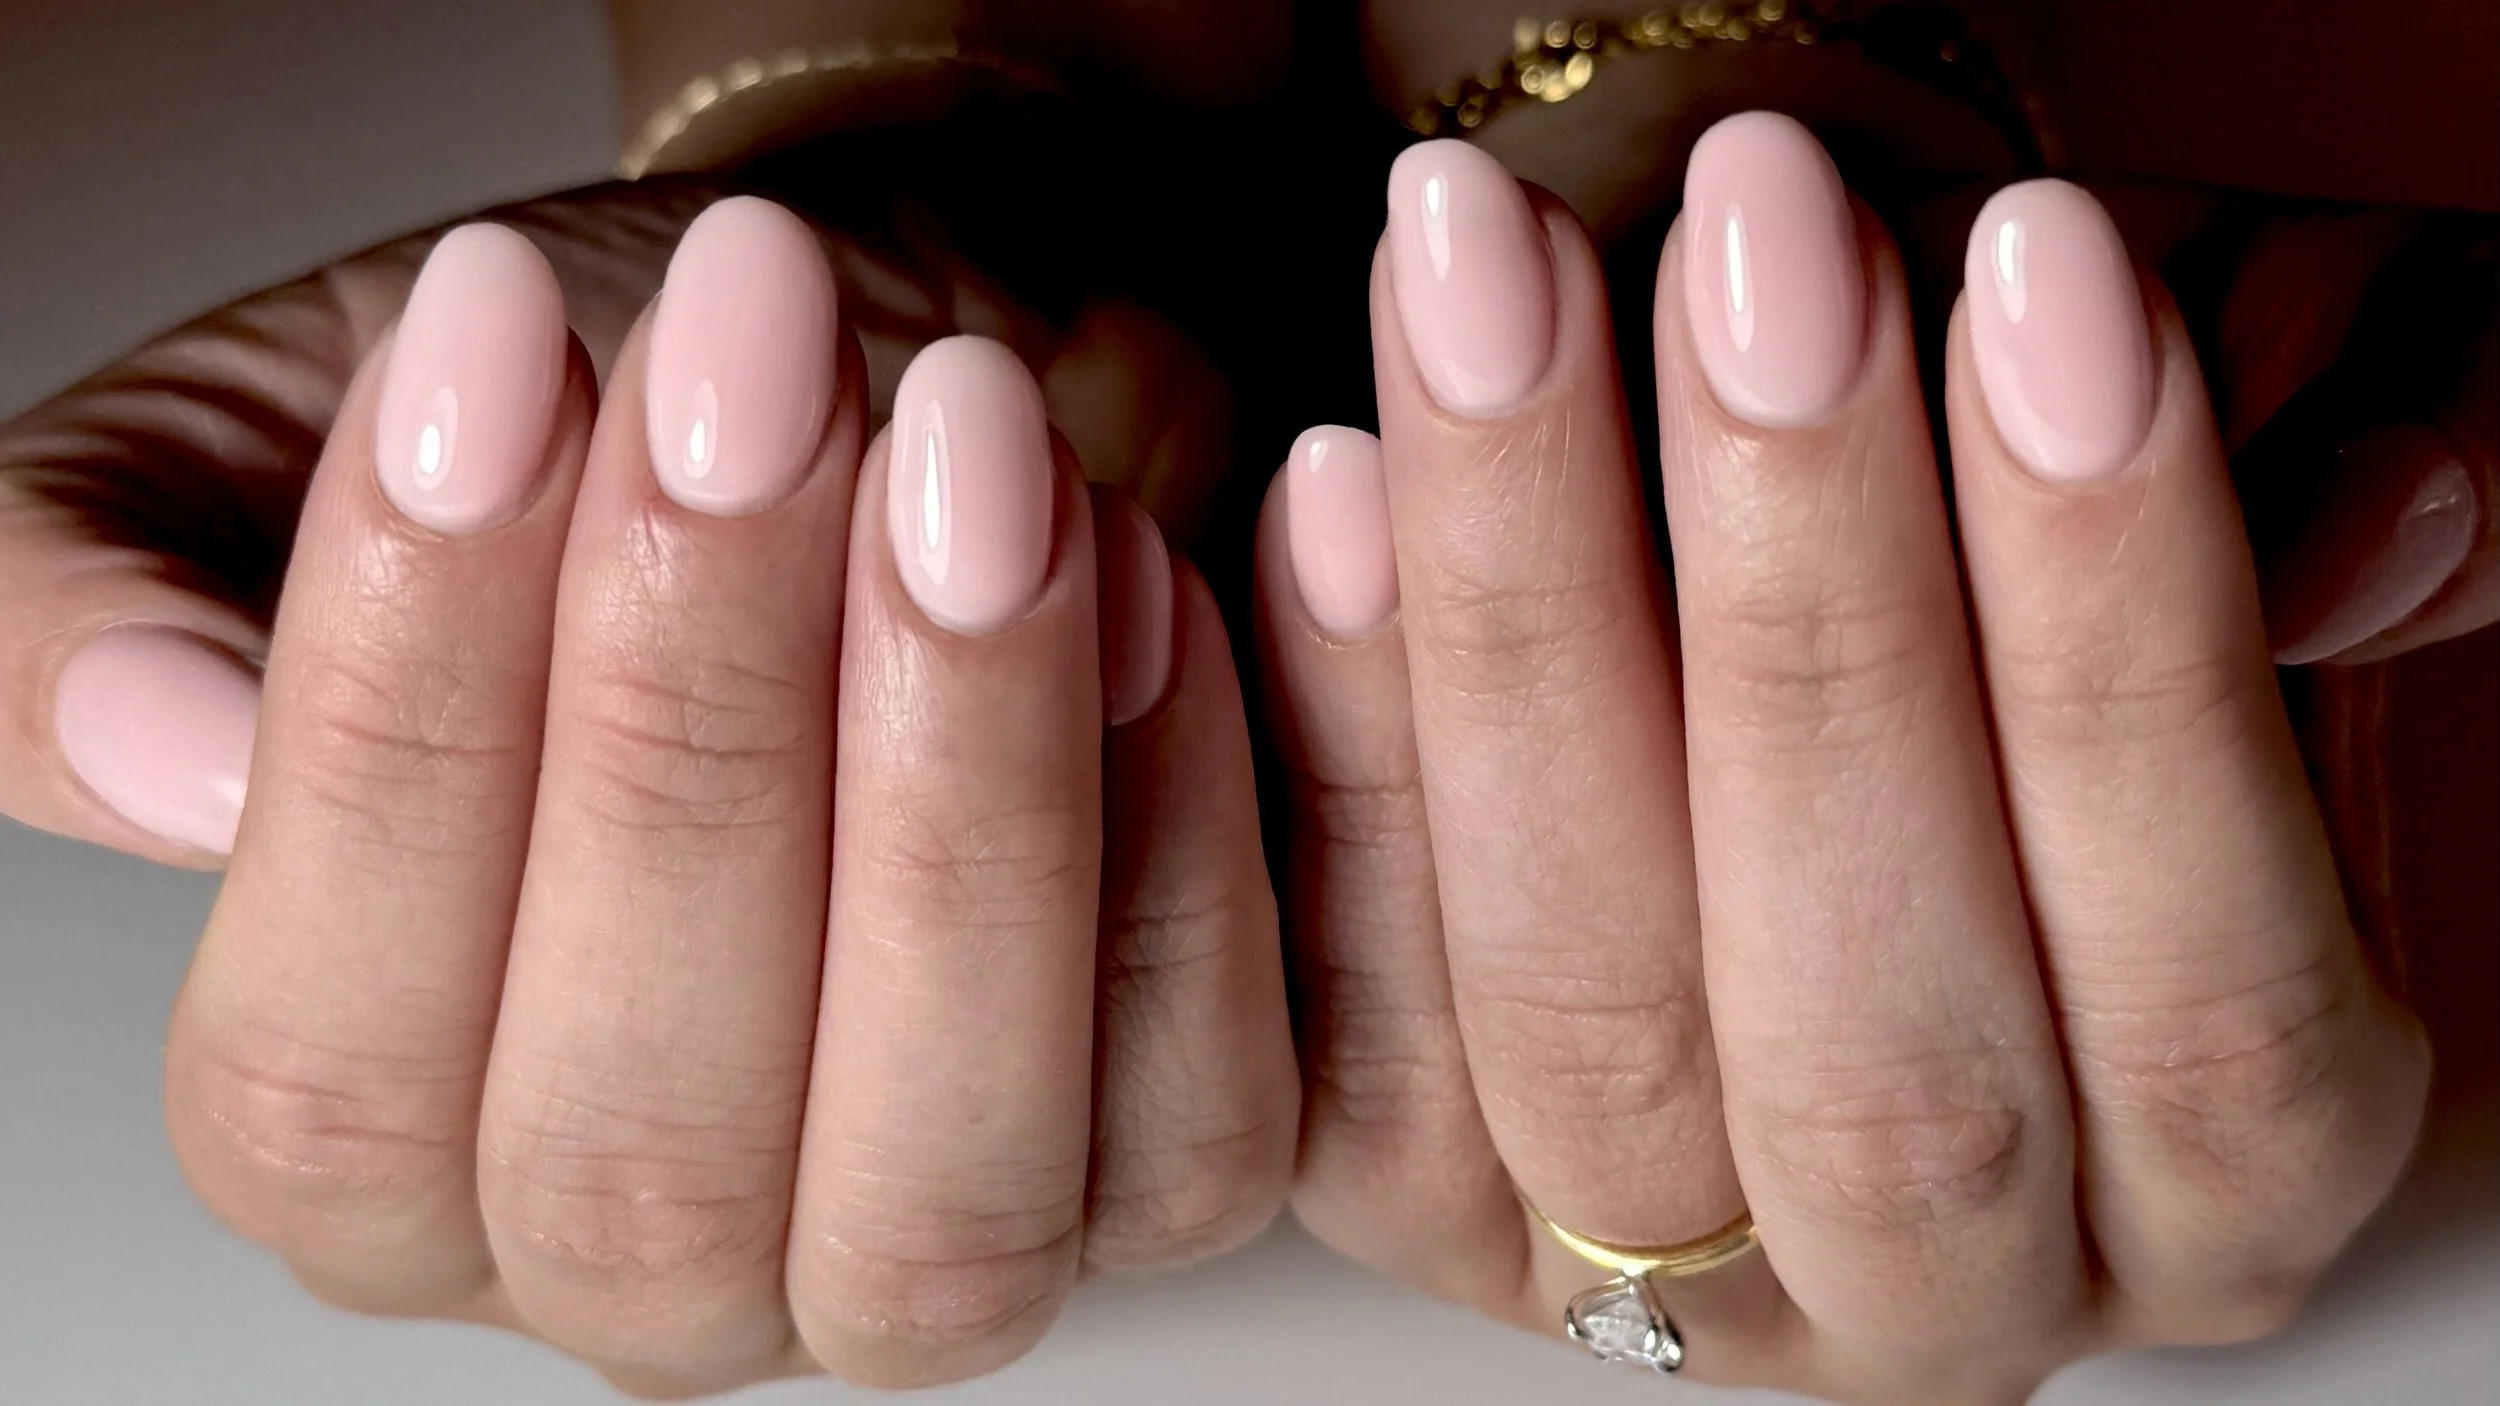
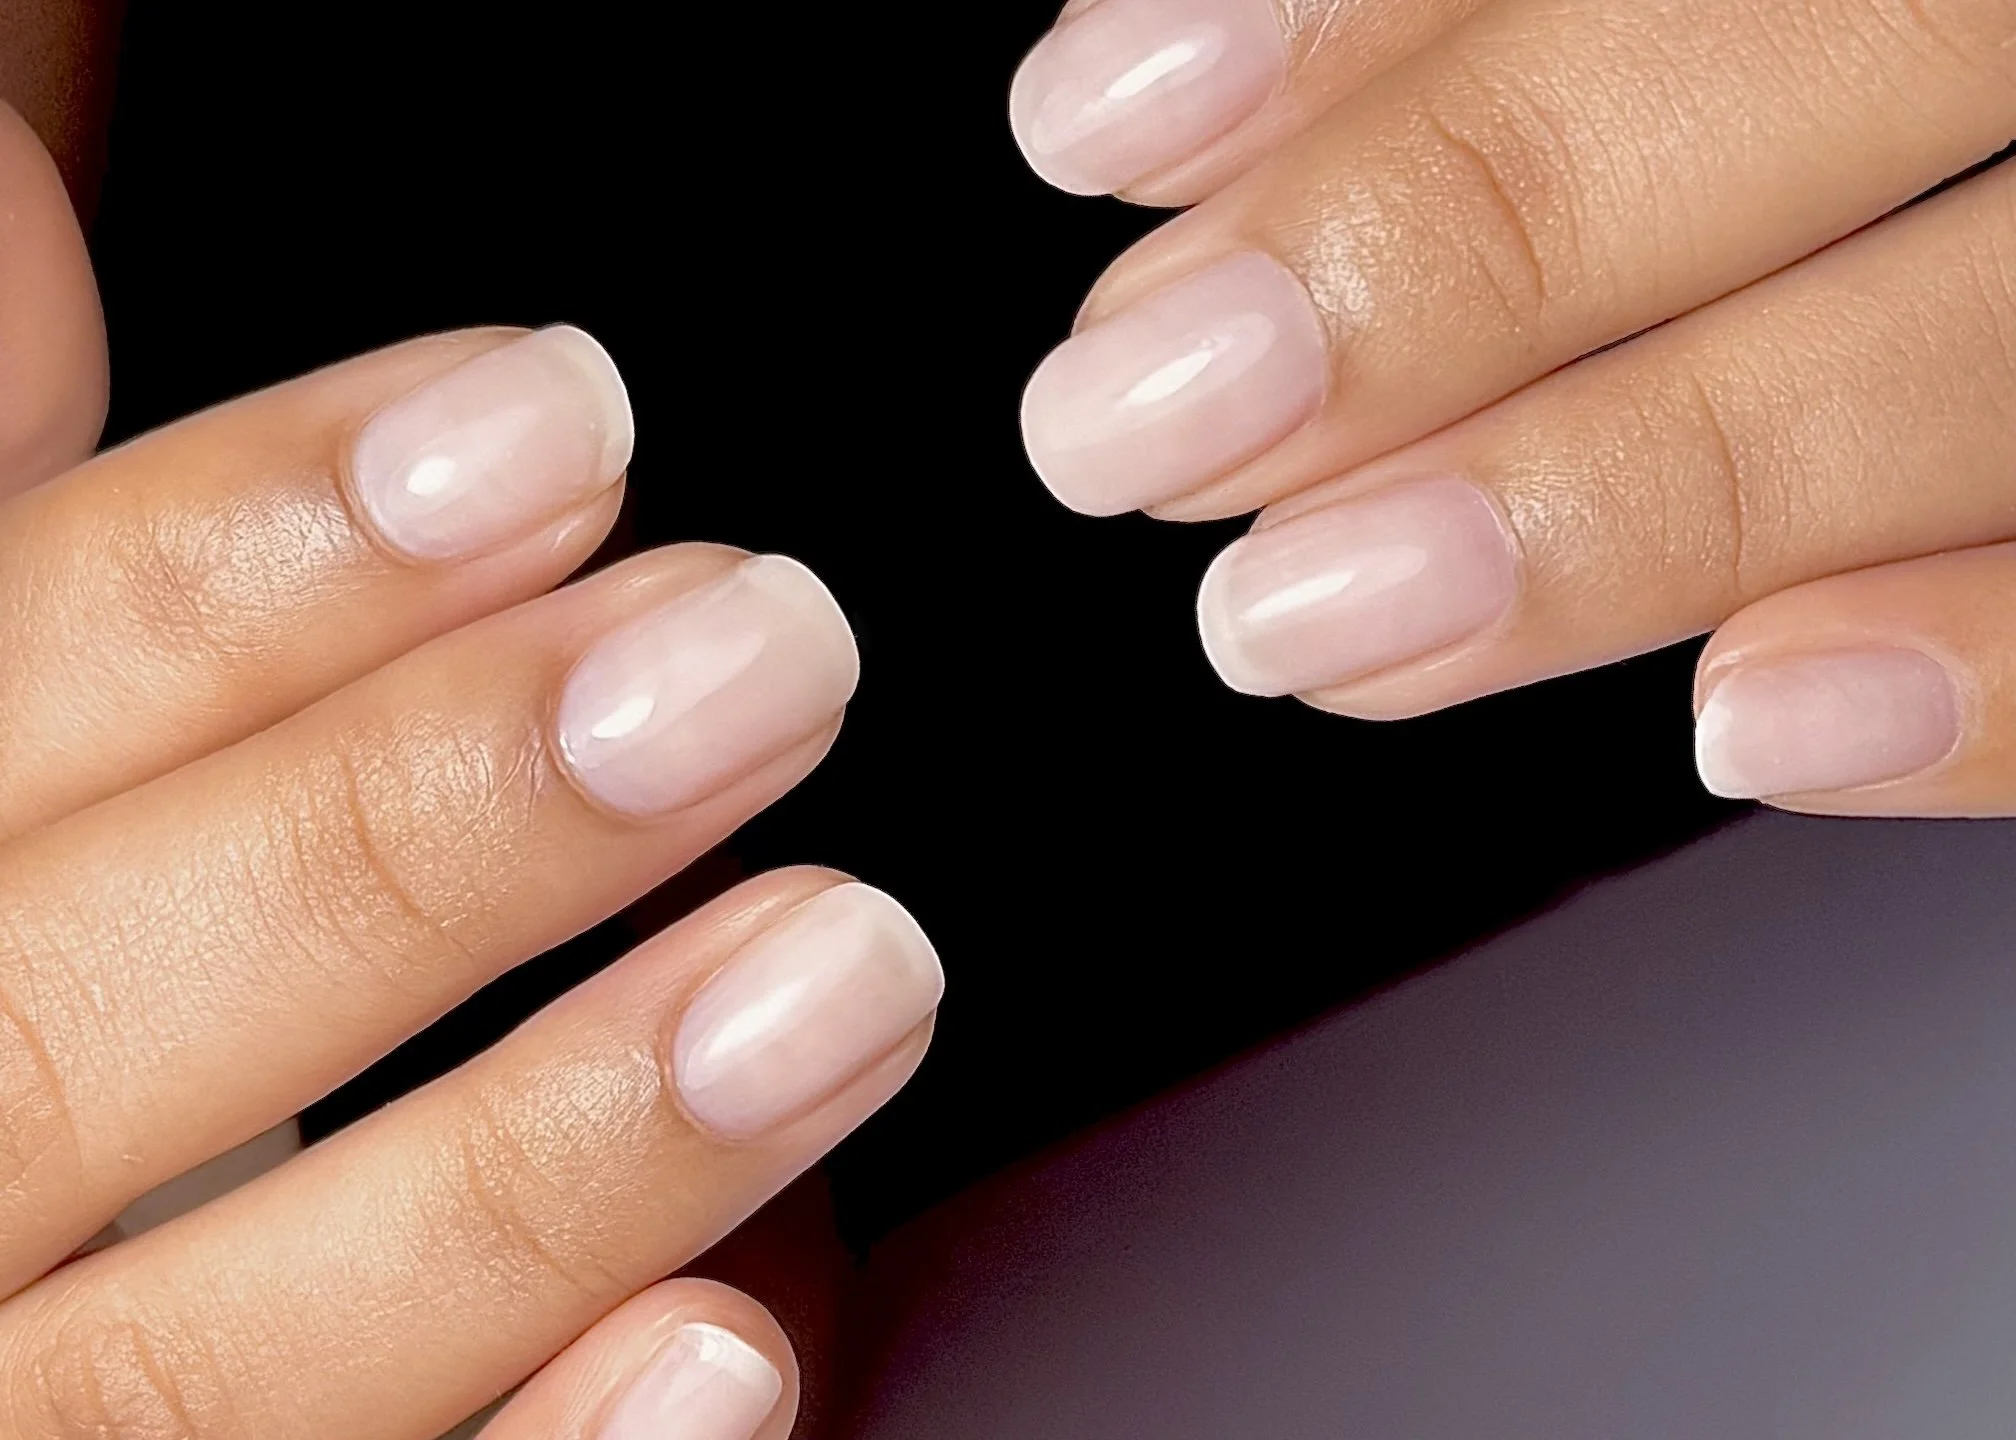
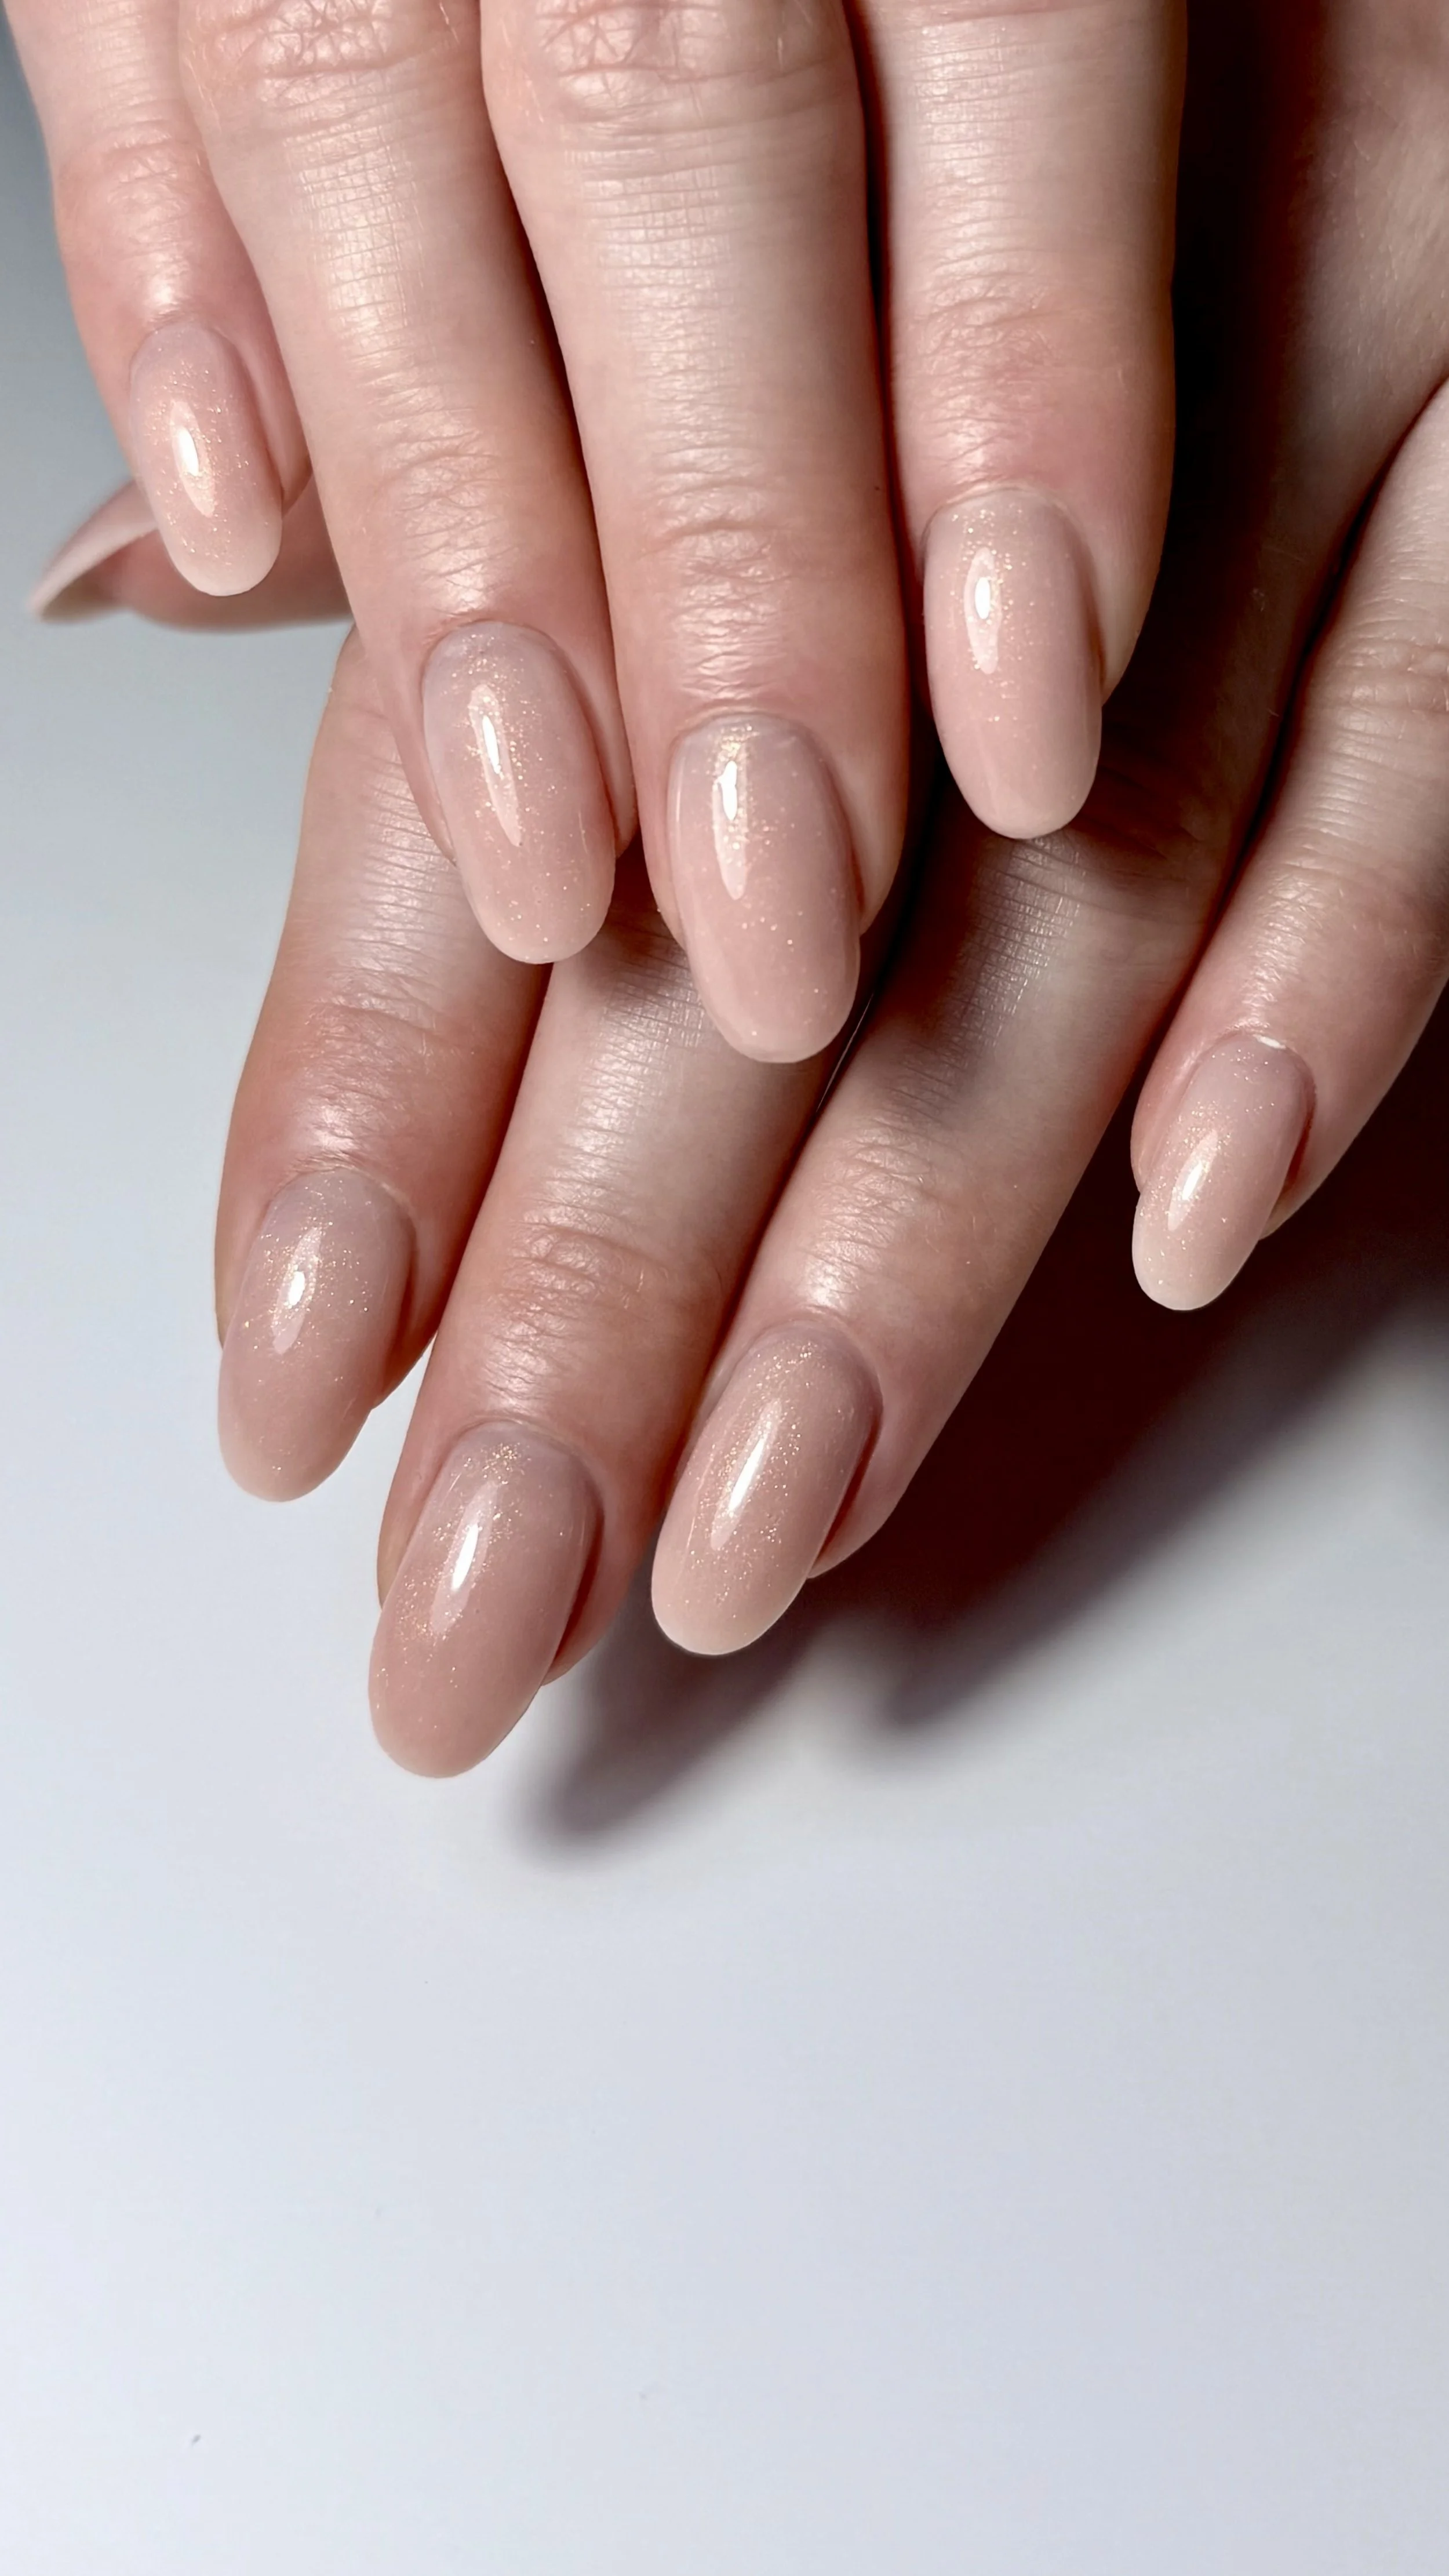
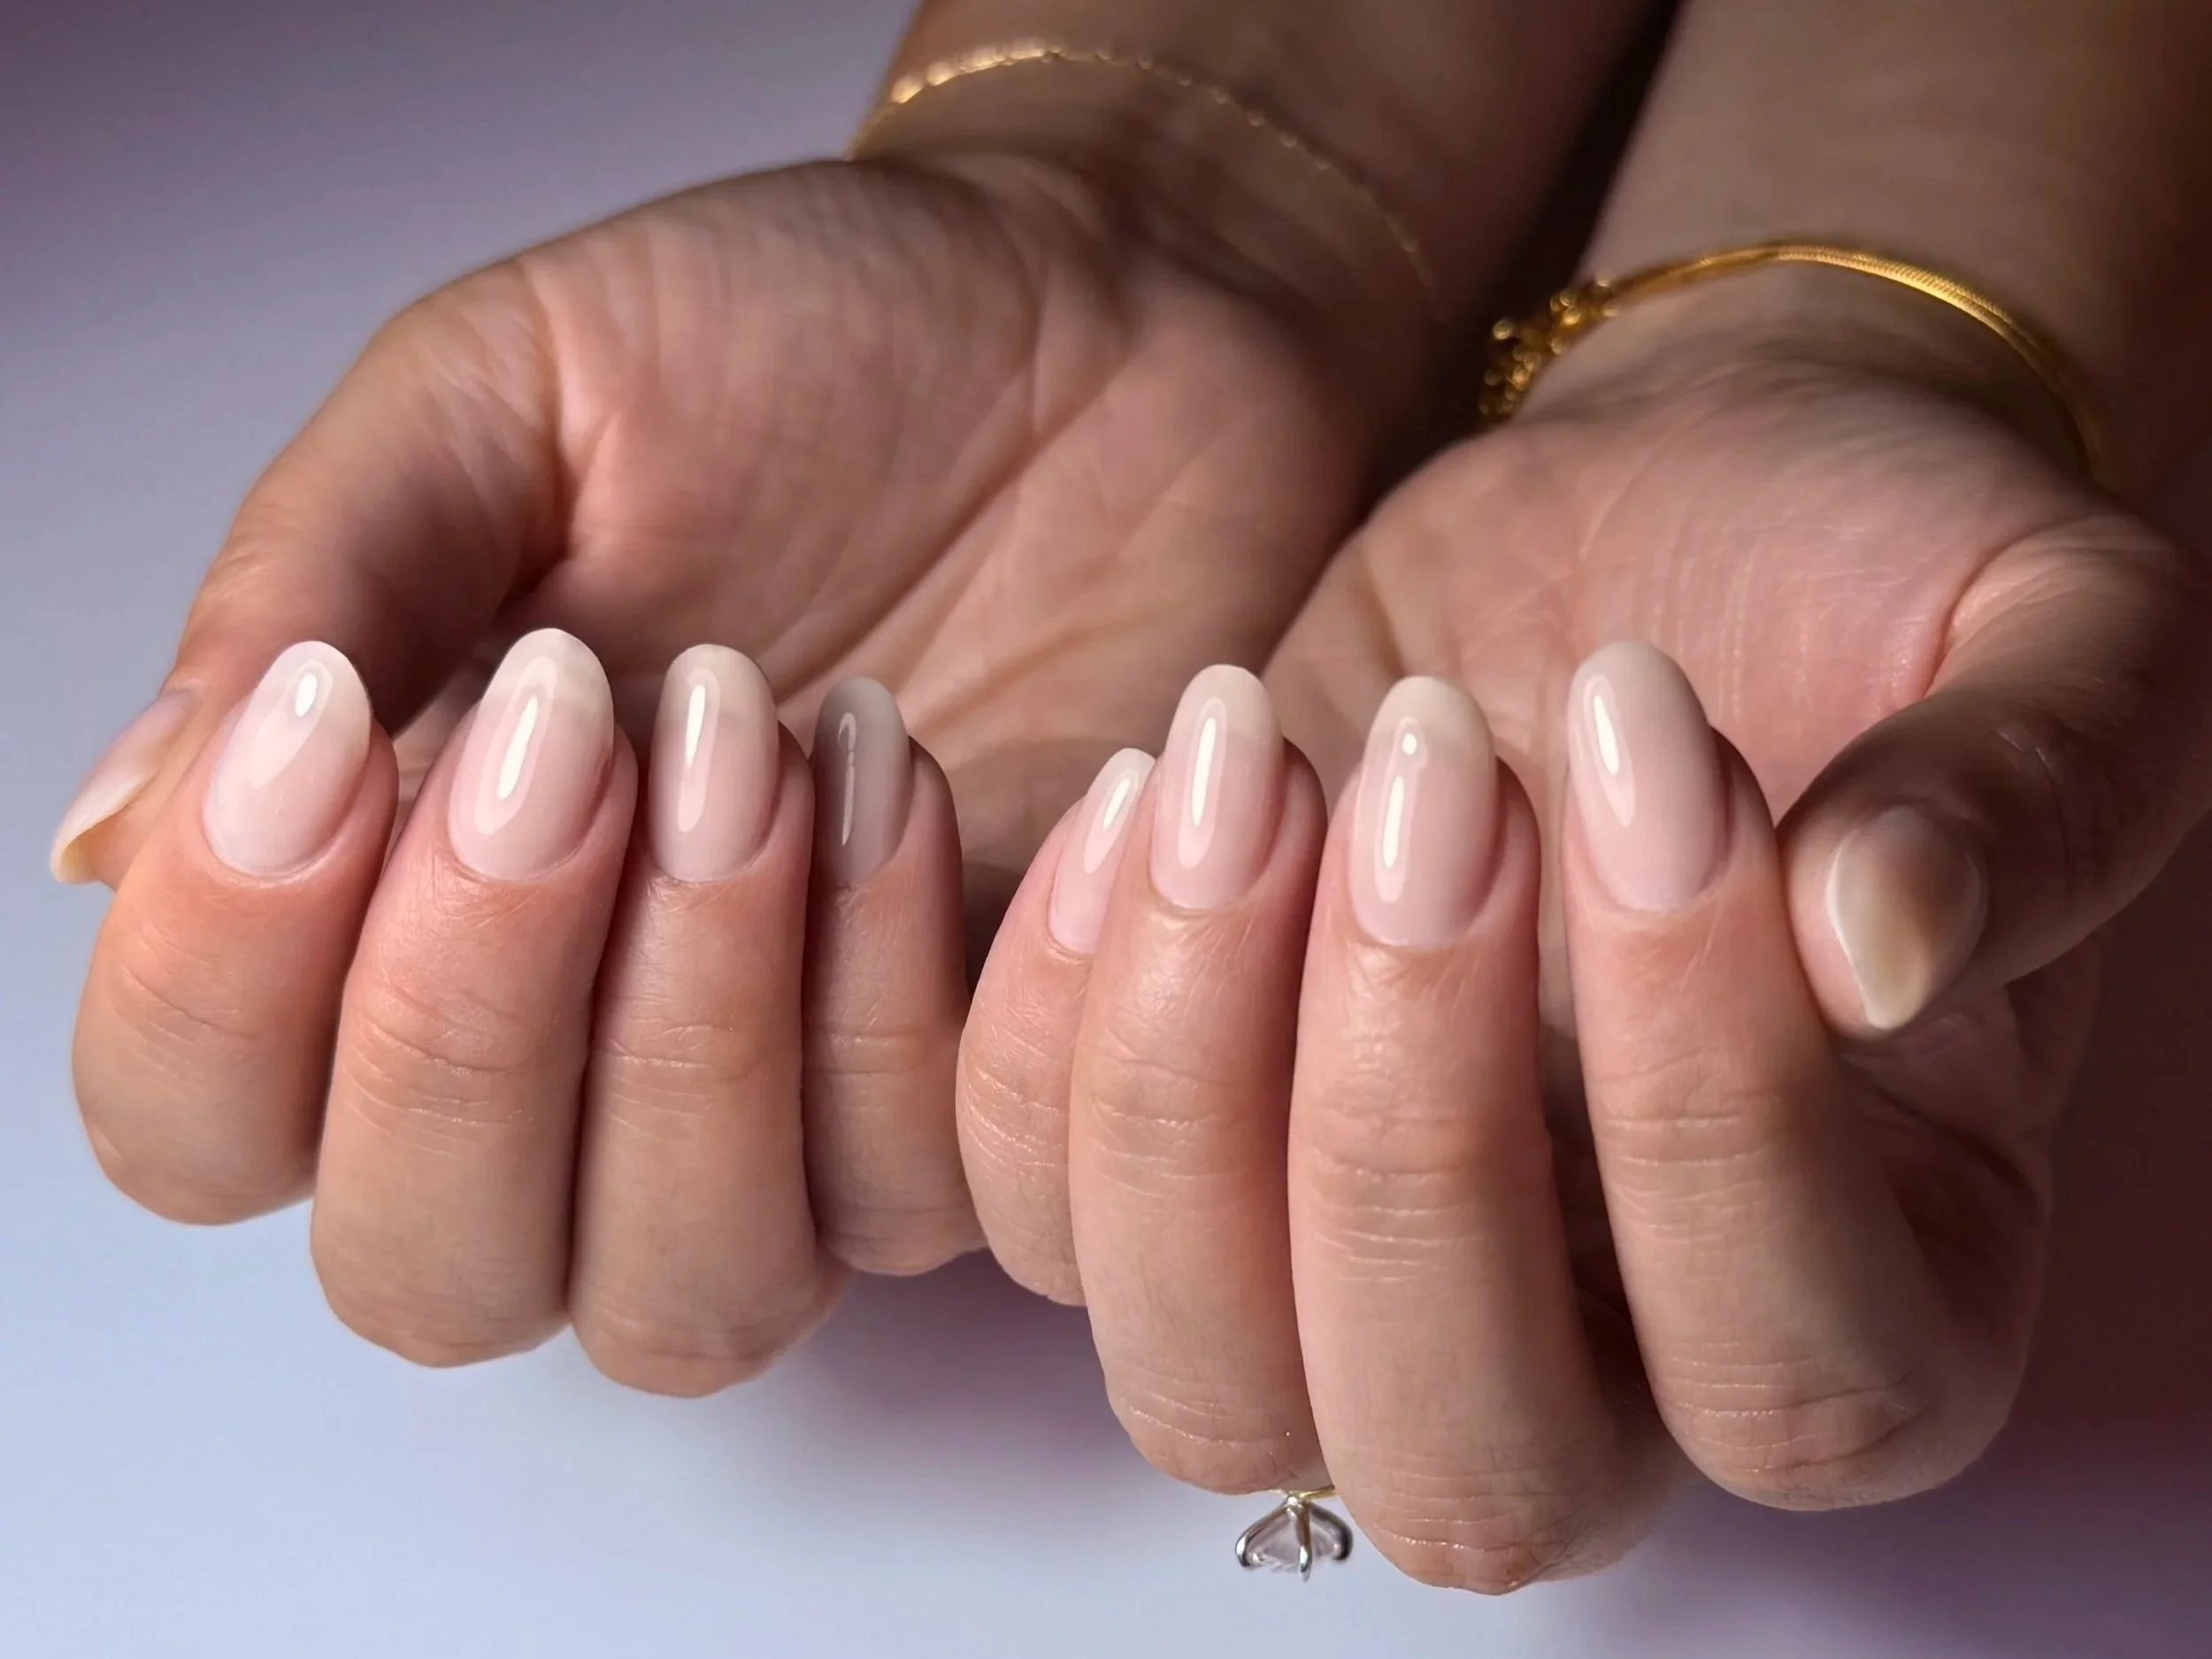
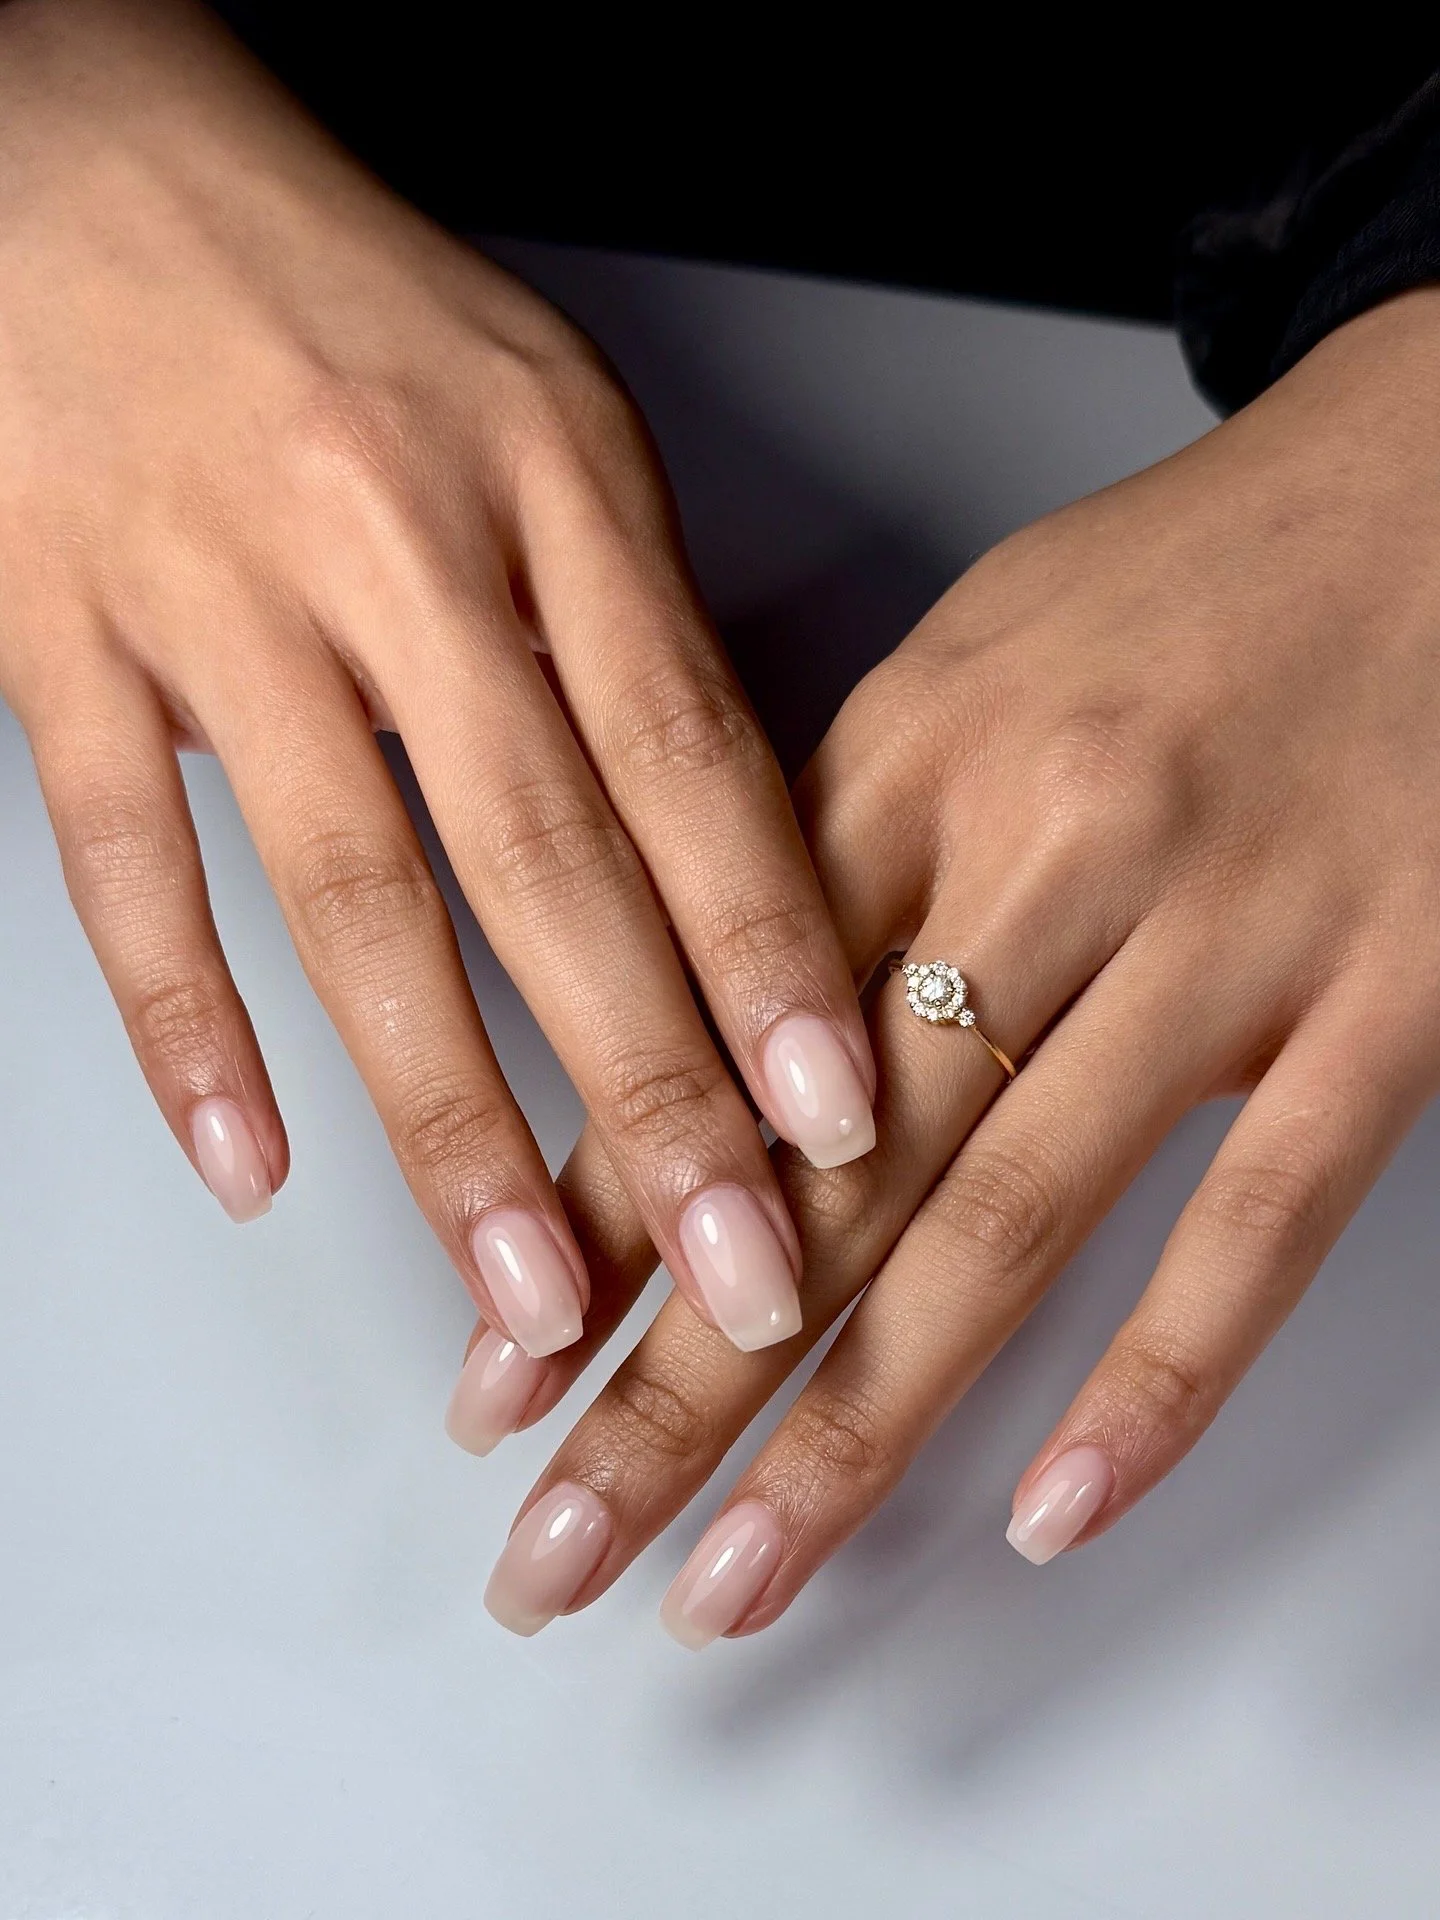
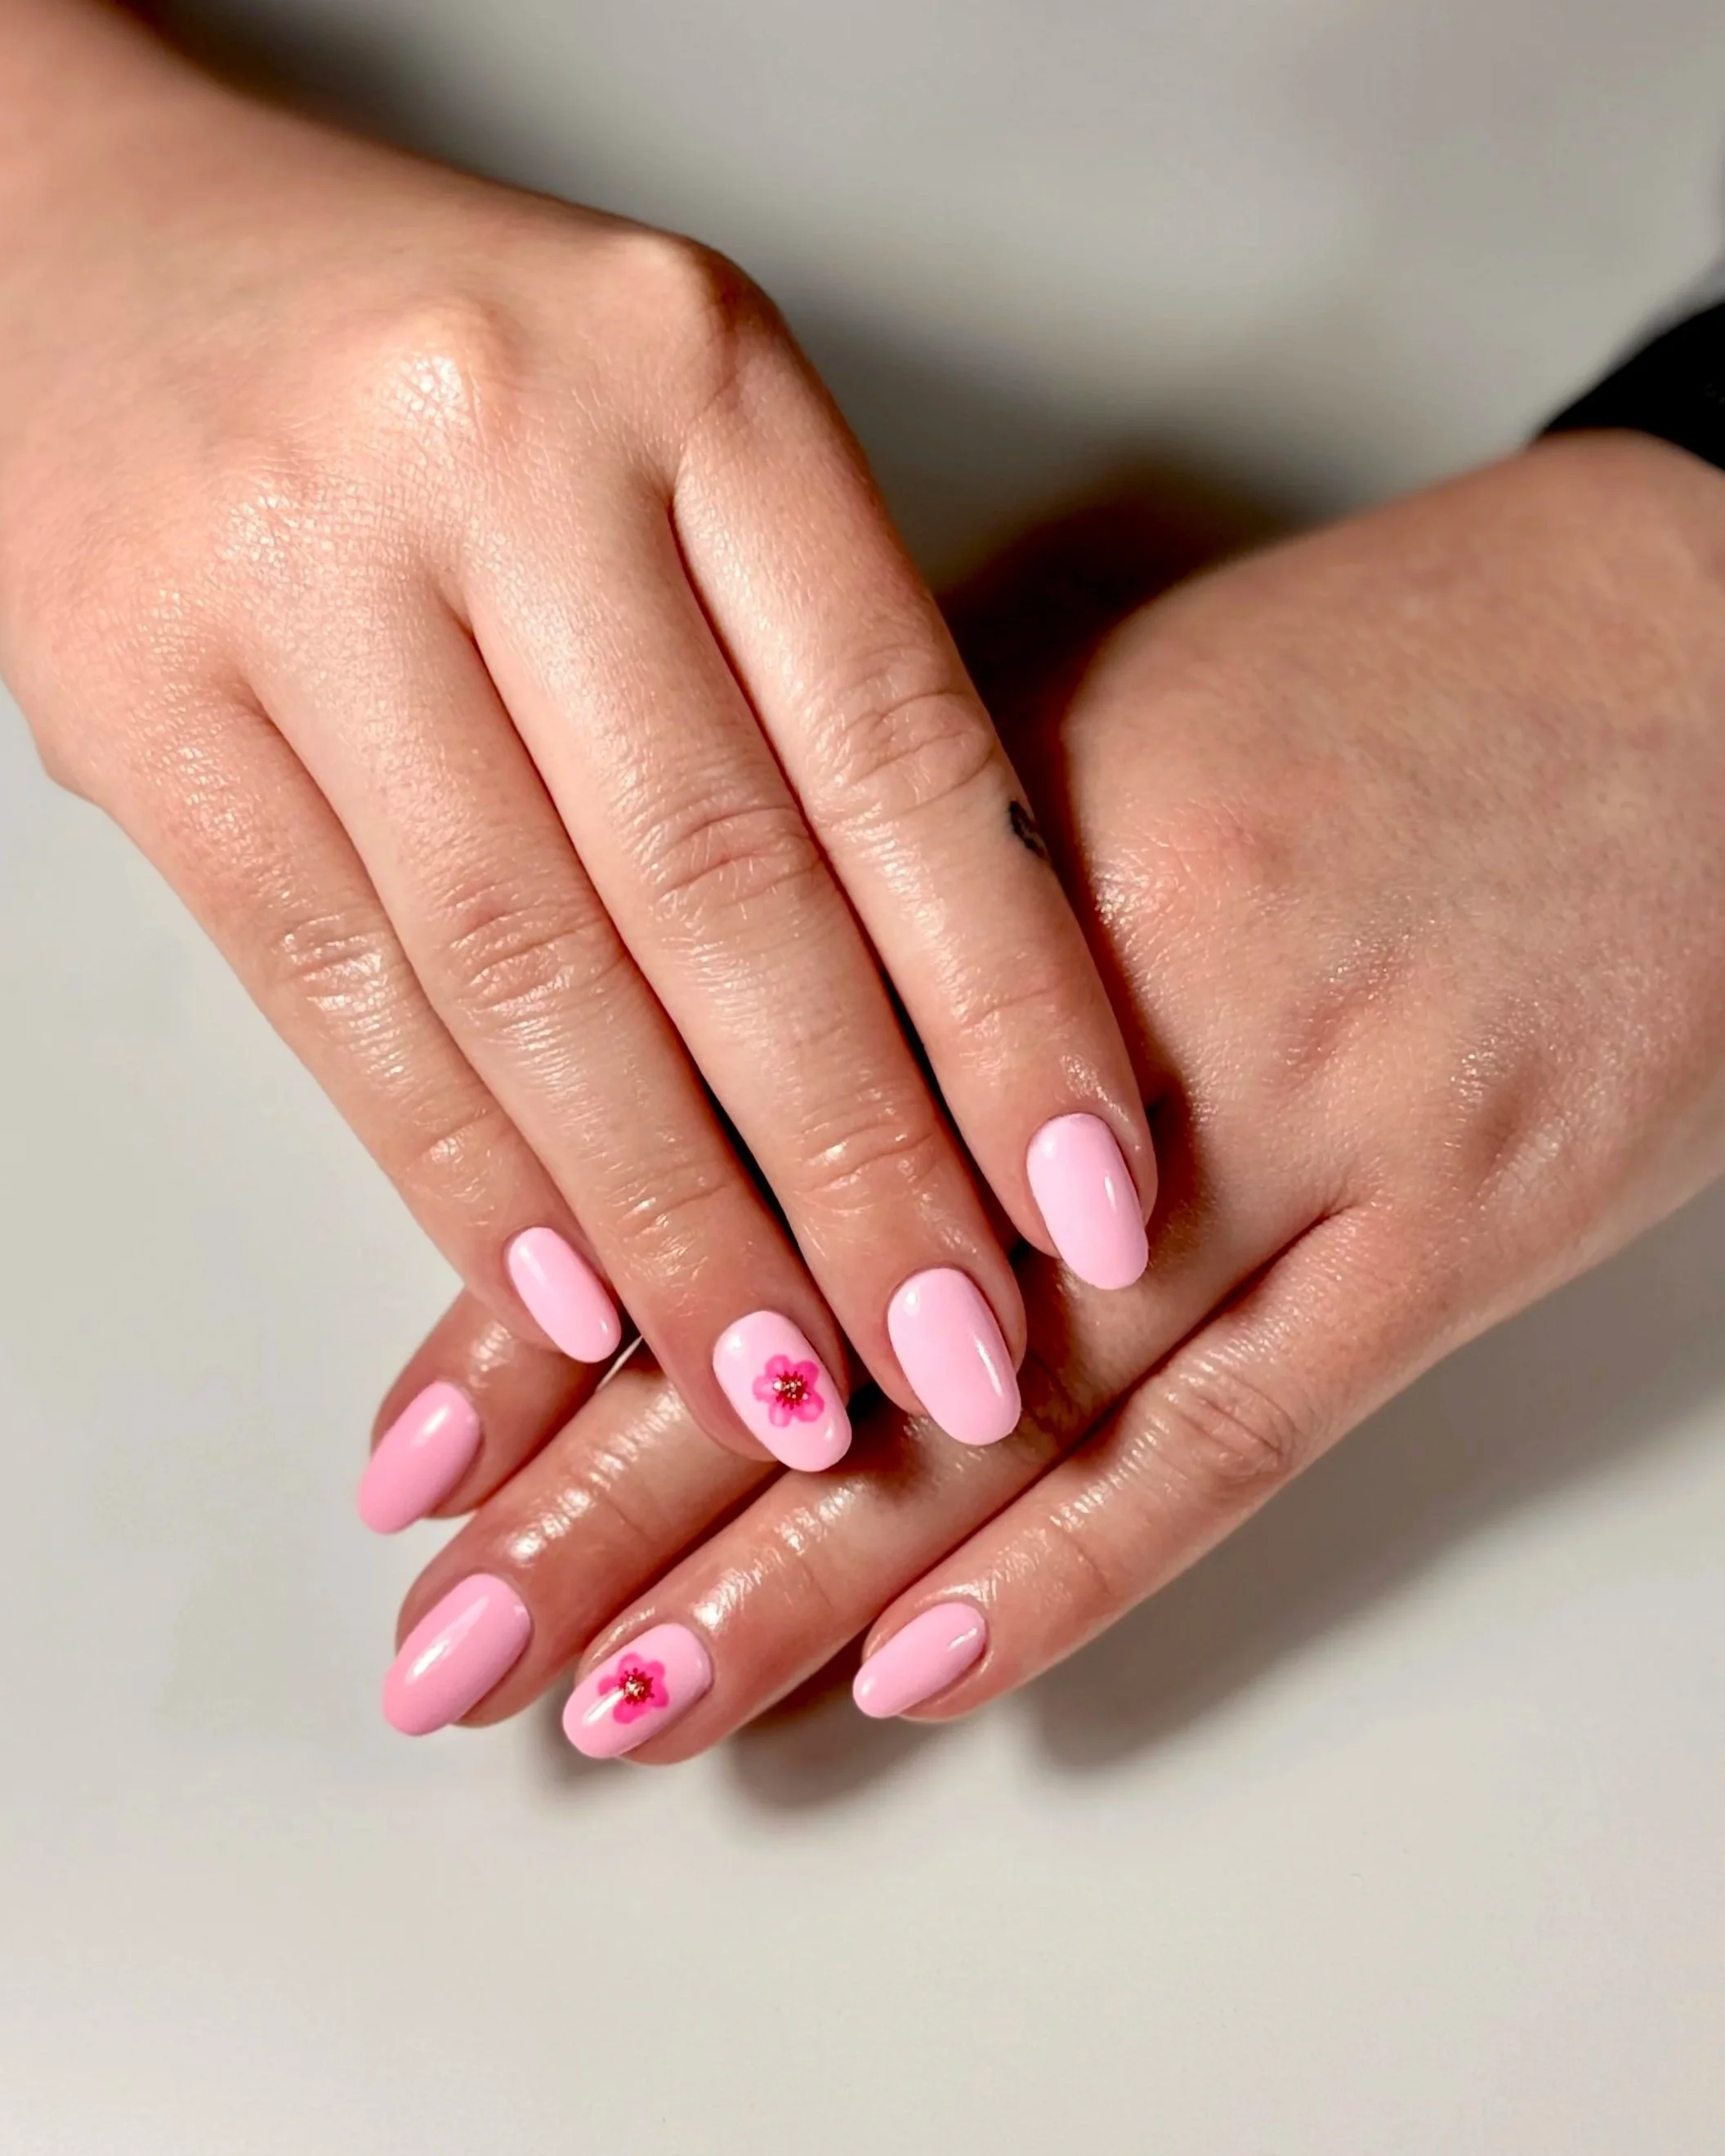
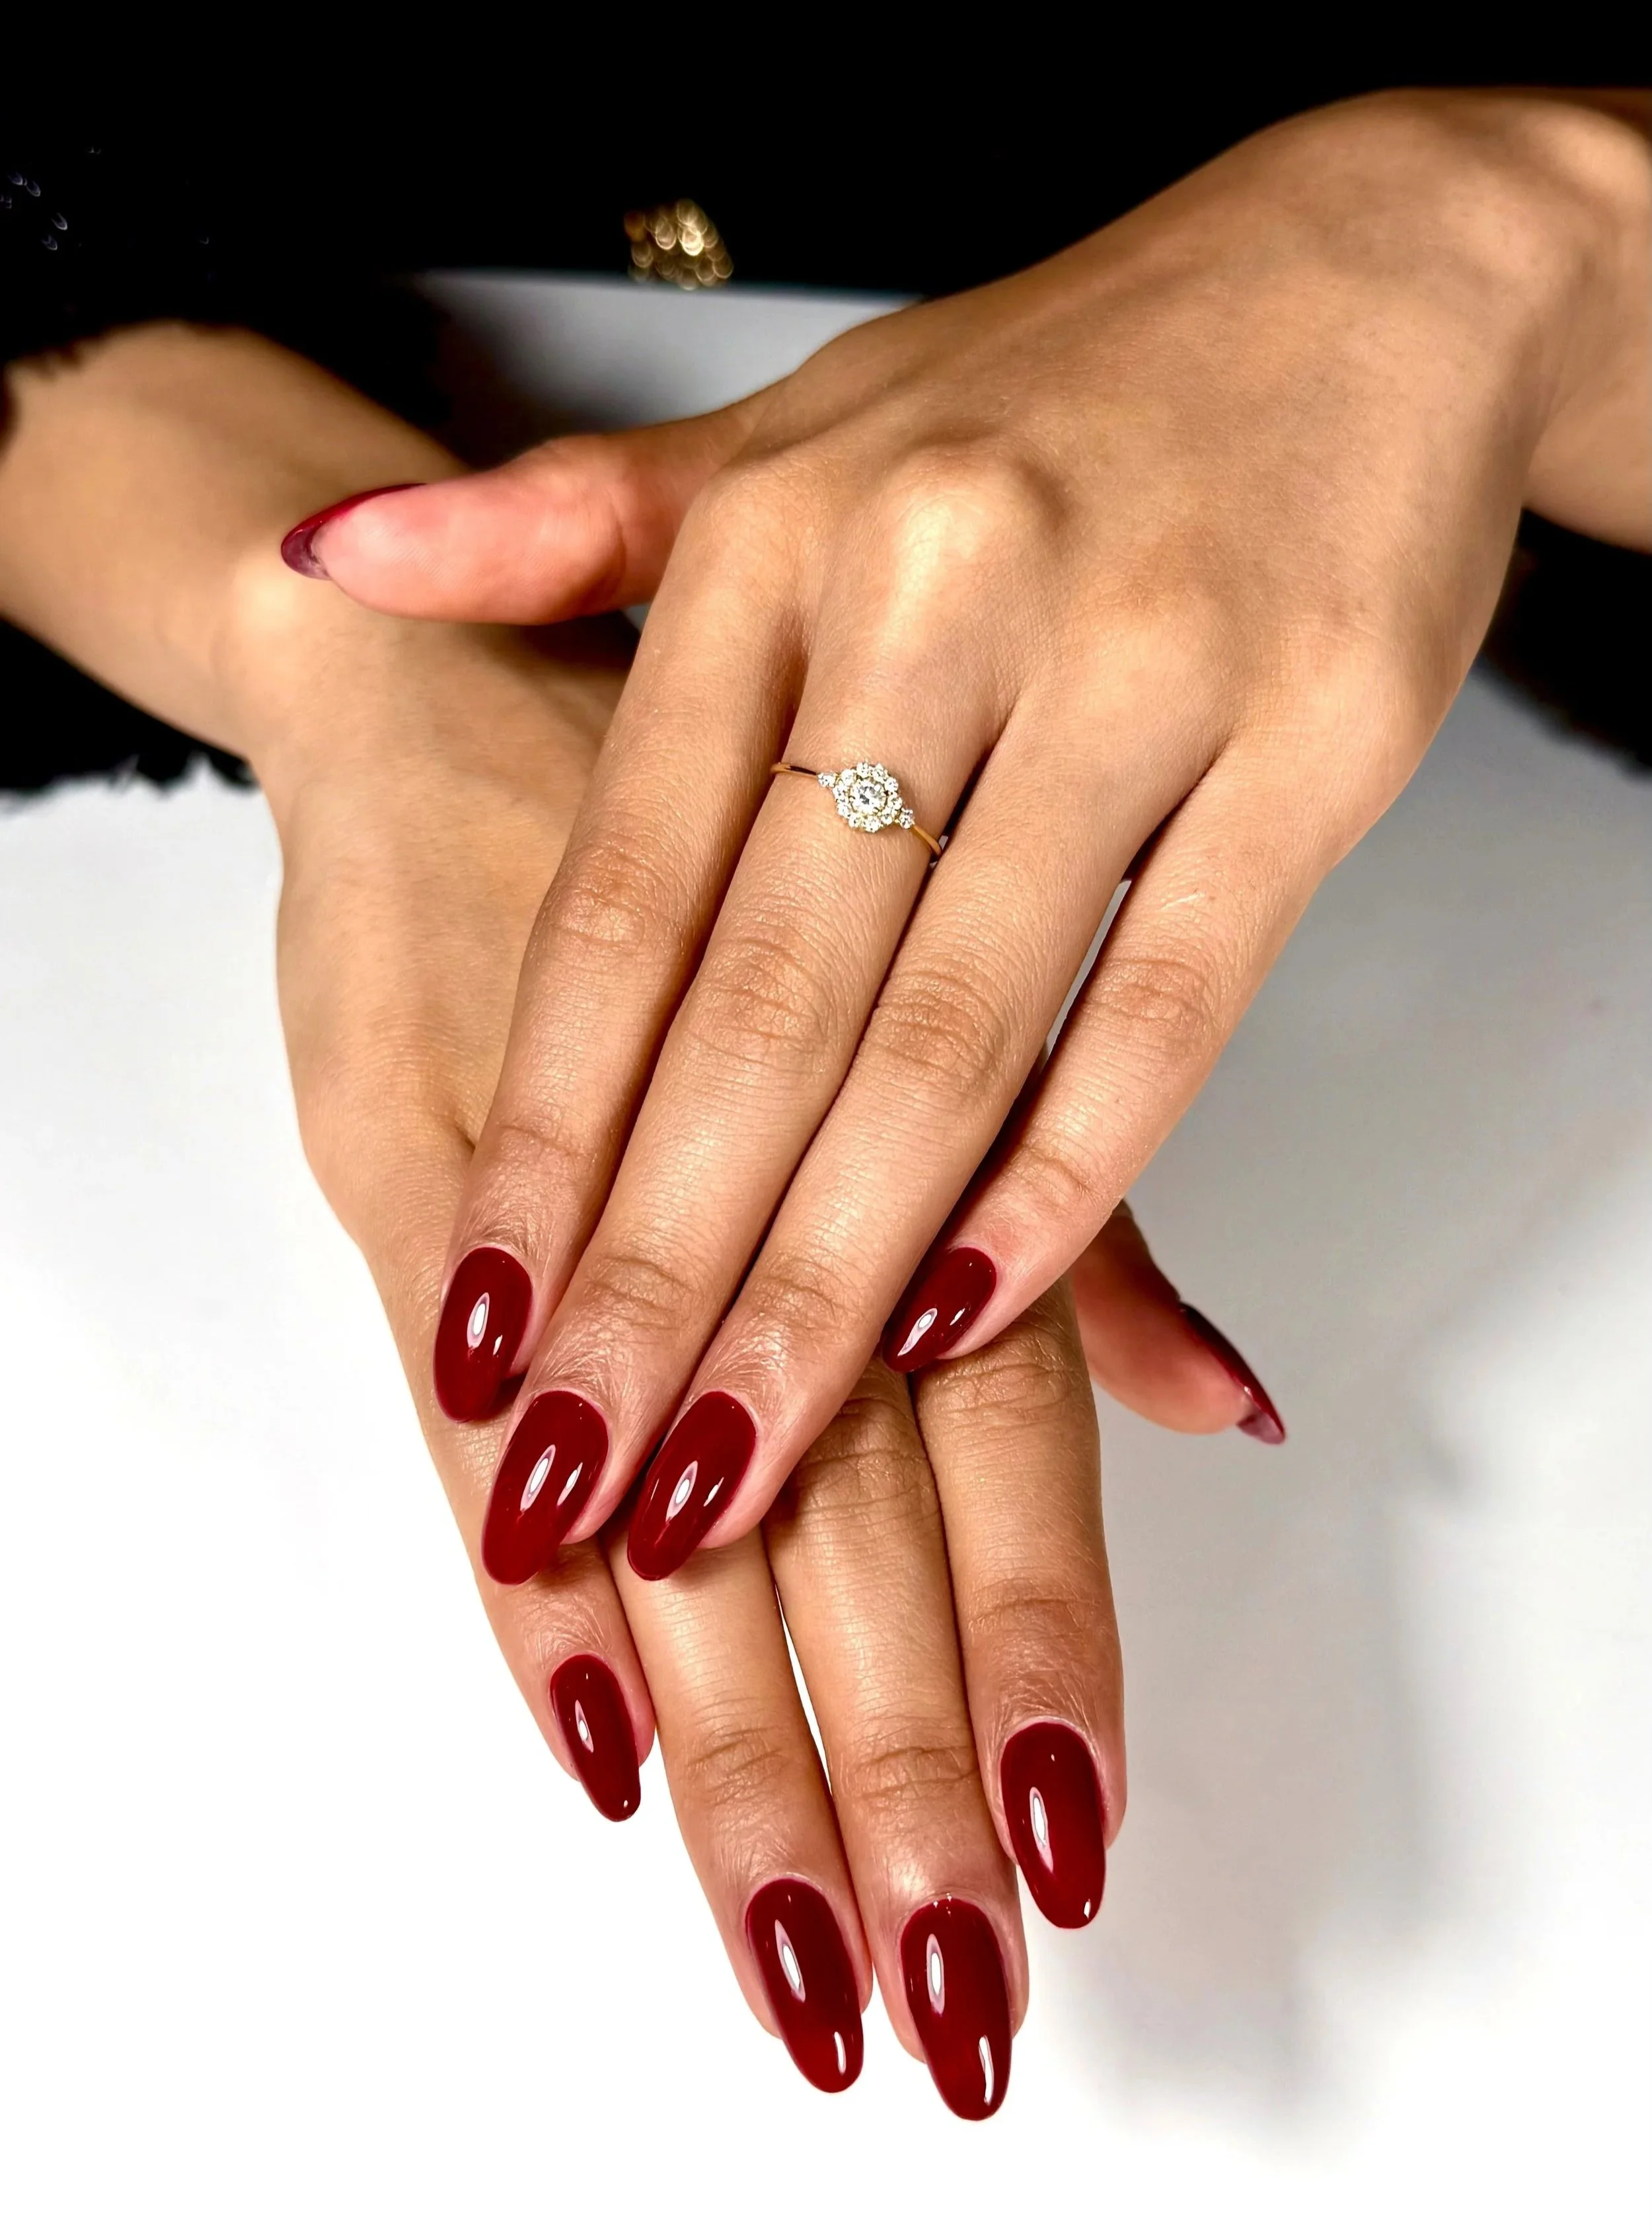
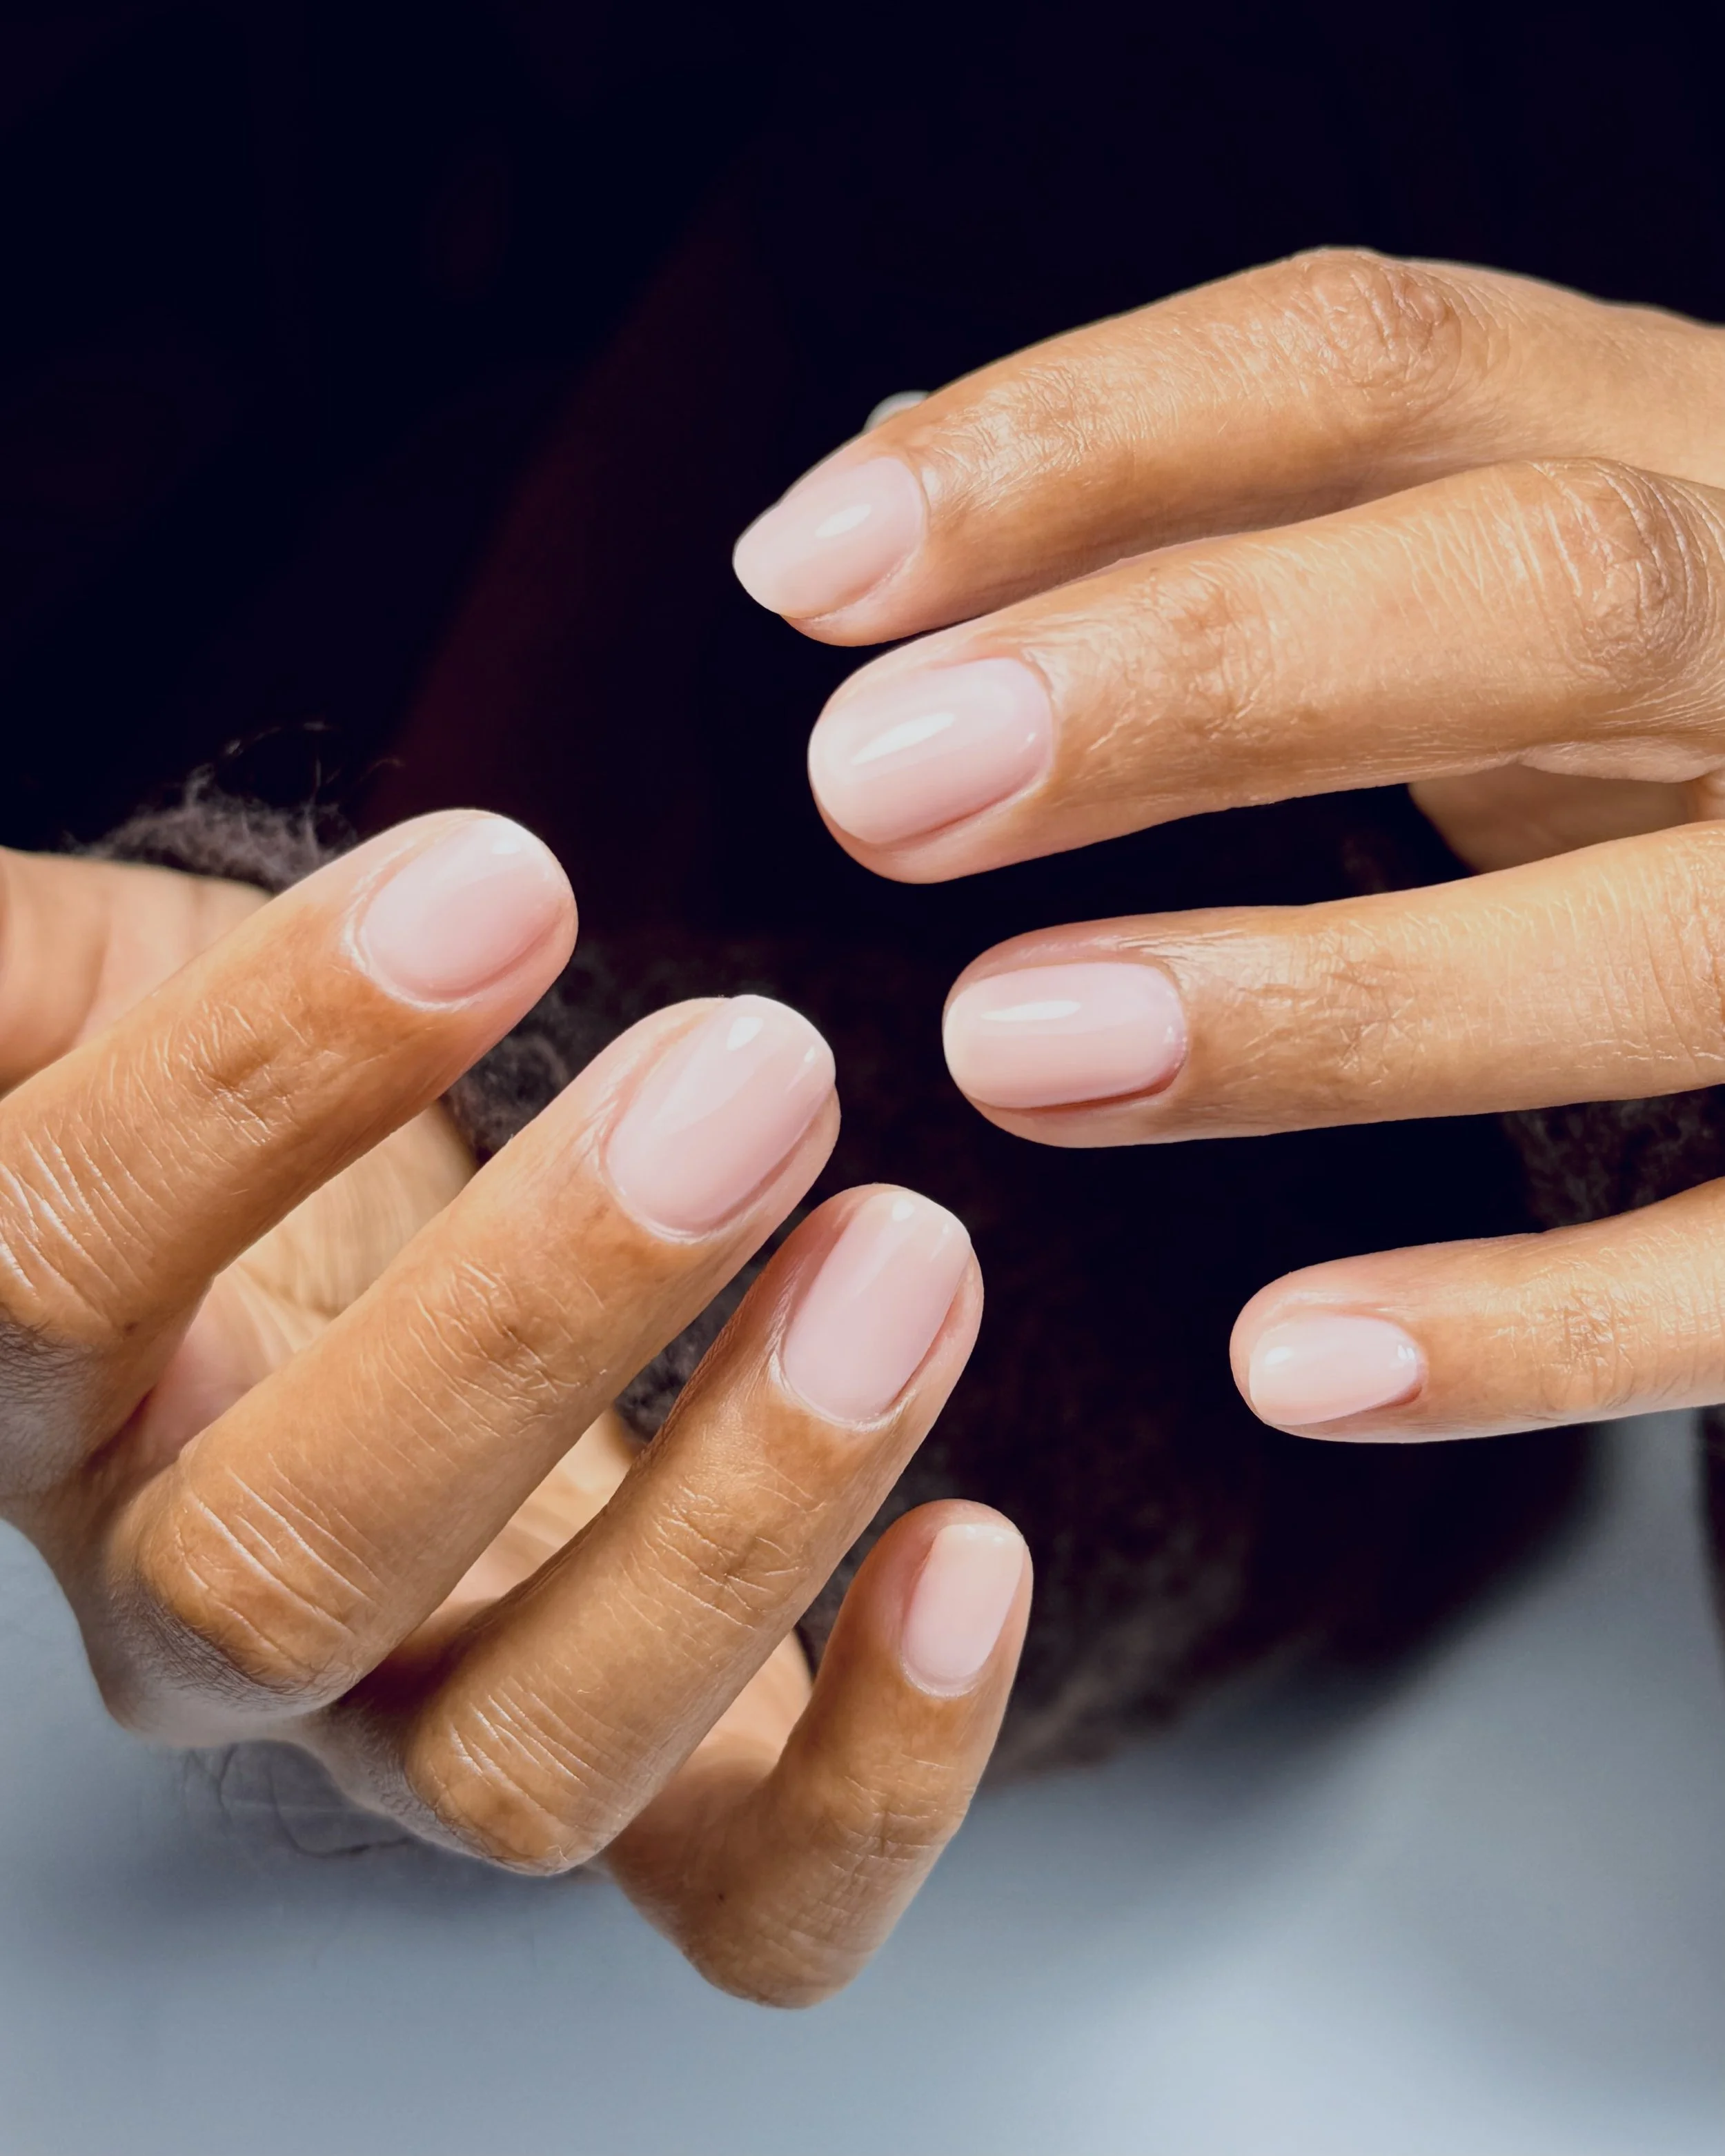
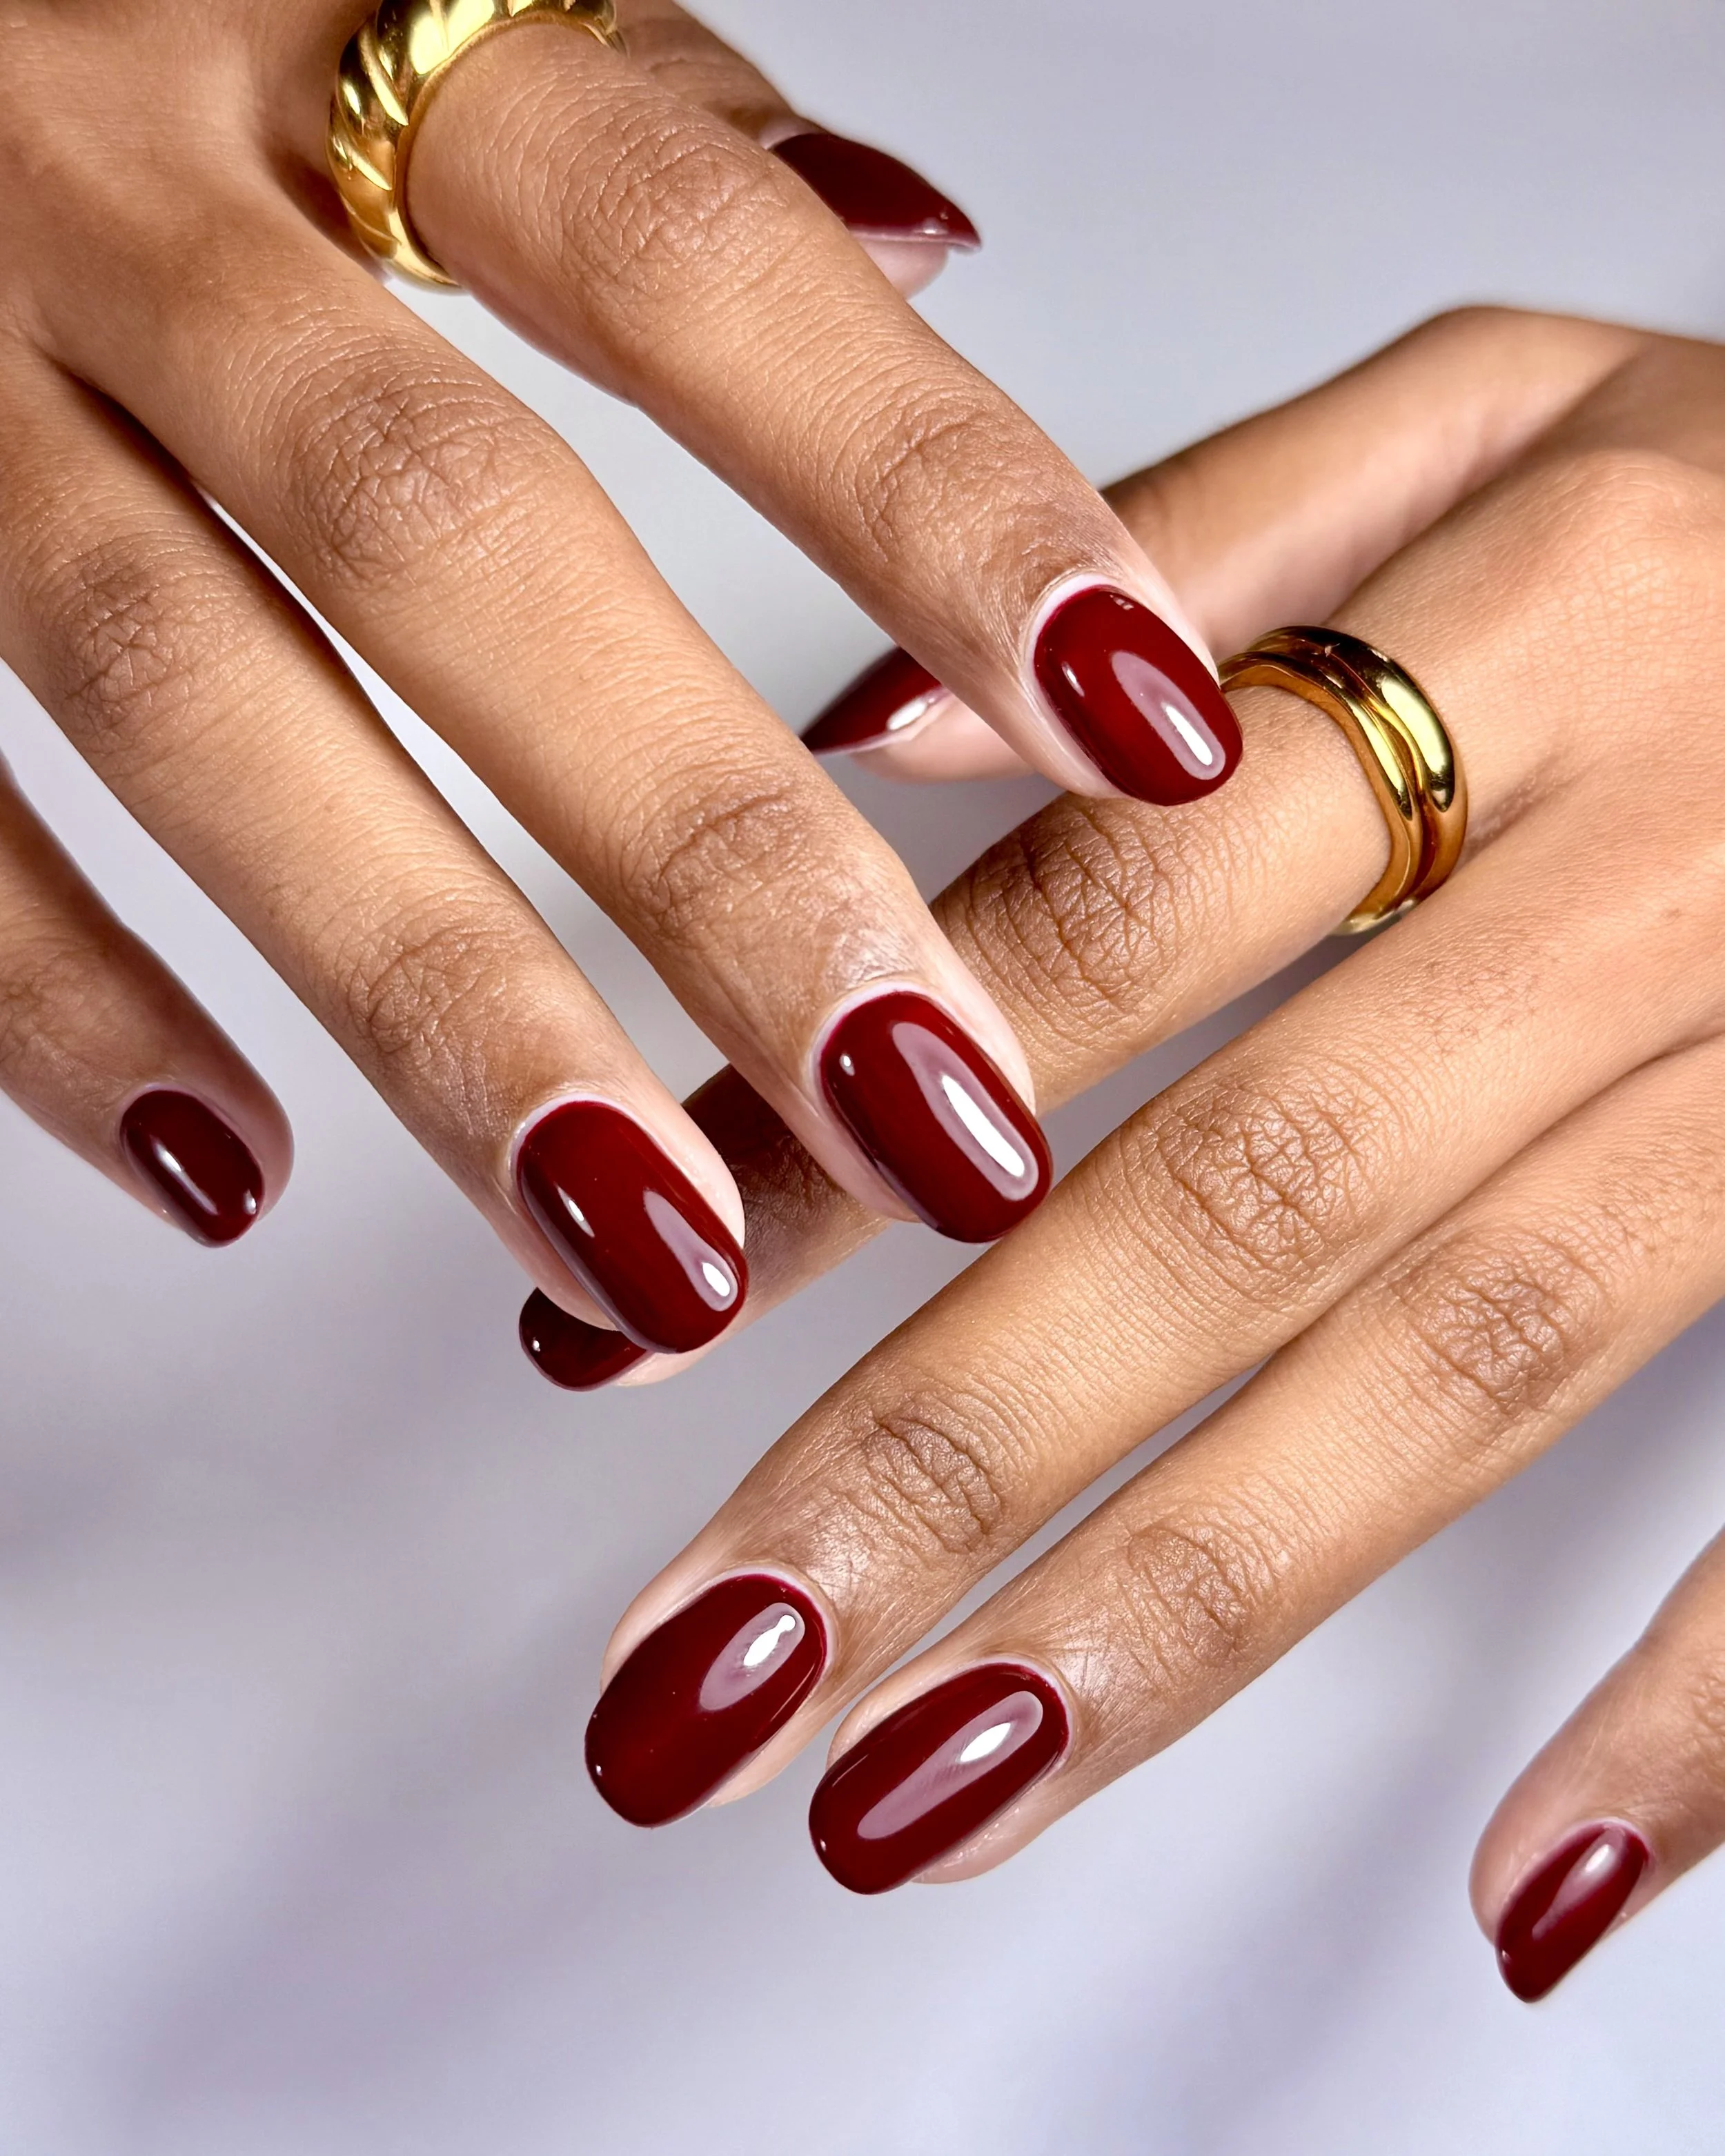
The result is a dramatically cleaner nail-to-skin junction that allows BIAB or gel to be applied much closer to the base of the nail — making the finish look neater and the wear last up to four weeks without lifting.
Is a Russian Manicure Safe?
This is the most common question — and it's a fair one. In untrained hands, an e-file near live skin tissue can absolutely cause damage. This is why technique, bit selection, and speed control matter enormously. A poorly executed Russian manicure can cause thinning, burning, or breaking the skin.
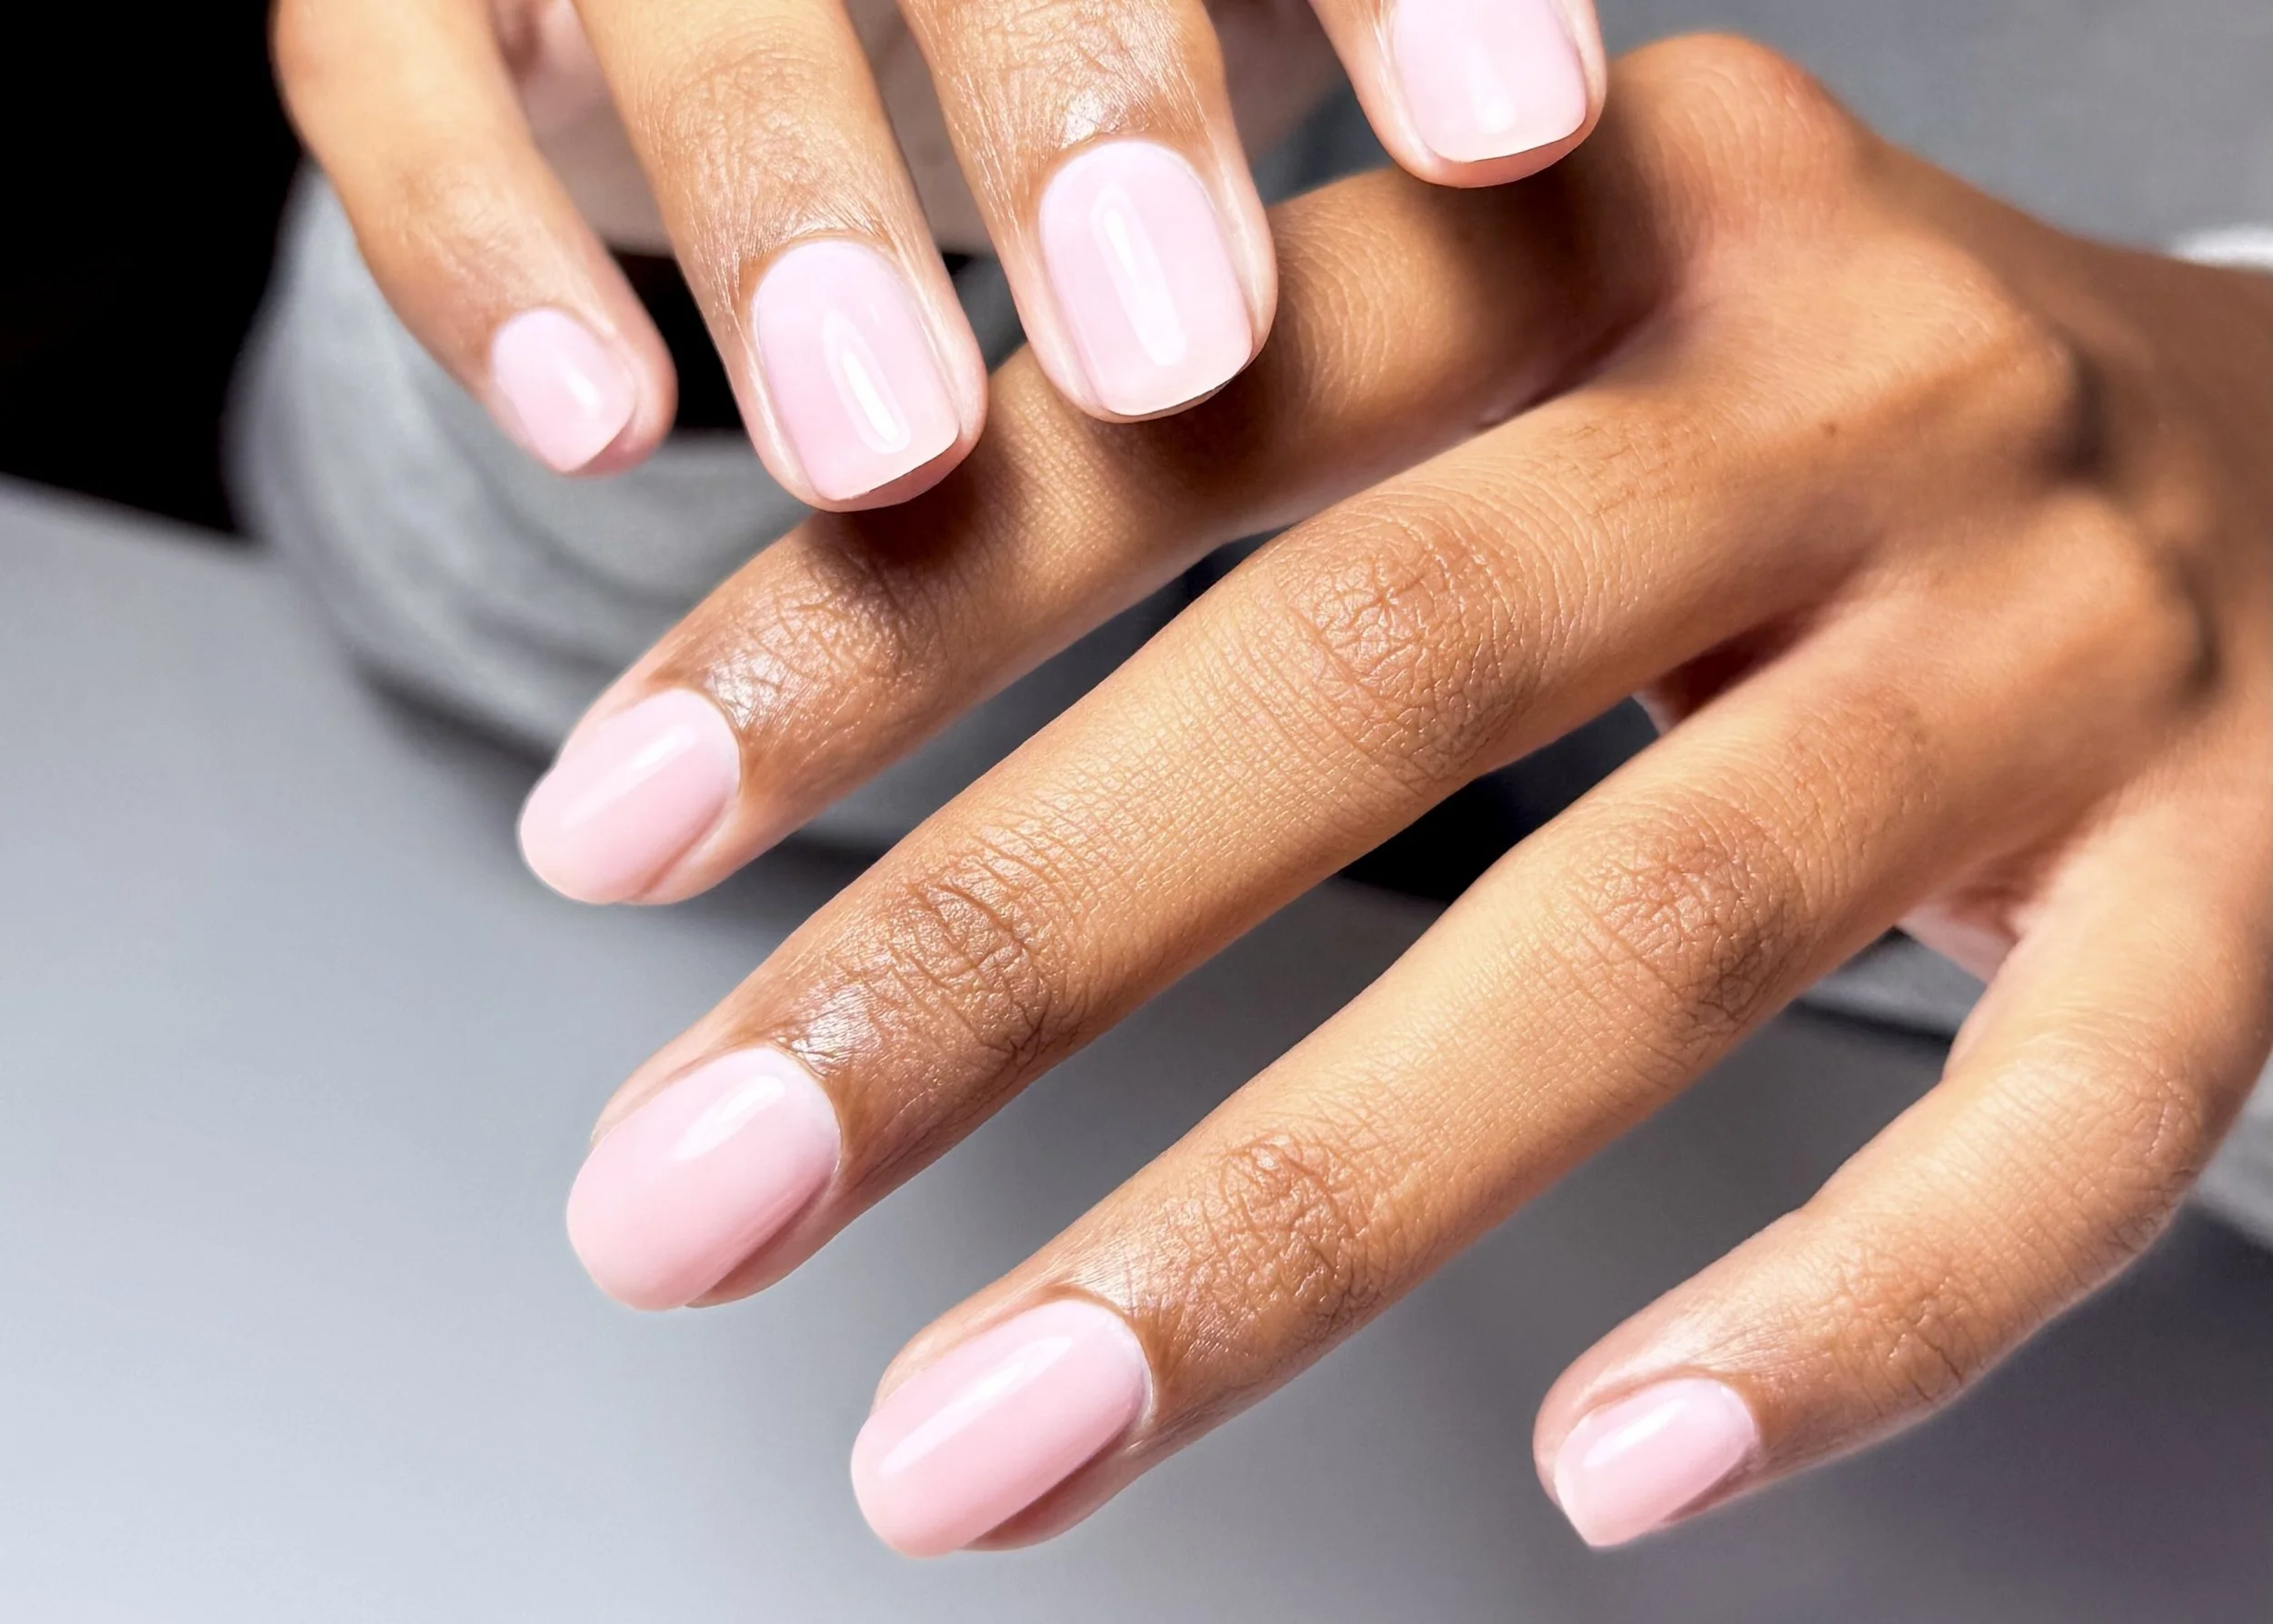
At Apricot Nails, the Russian manicure technique has been studied extensively and is performed using low-speed, precision bits designed specifically for cuticle work. The goal is never to remove live skin — only the dead, non-living tissue that lifts away naturally. Your cuticle, which is the living skin at the base of your nail, is always left intact and protected.
✦ The golden rule: A Russian manicure should never hurt. If it does, something is wrong — either the technique, the bit, or the speed. At Apricot Nails, the entire process is adapted to each client's skin type, nail thickness, and sensitivity level.
Why Russian Manicure Prep Makes BIAB Last So Much Longer
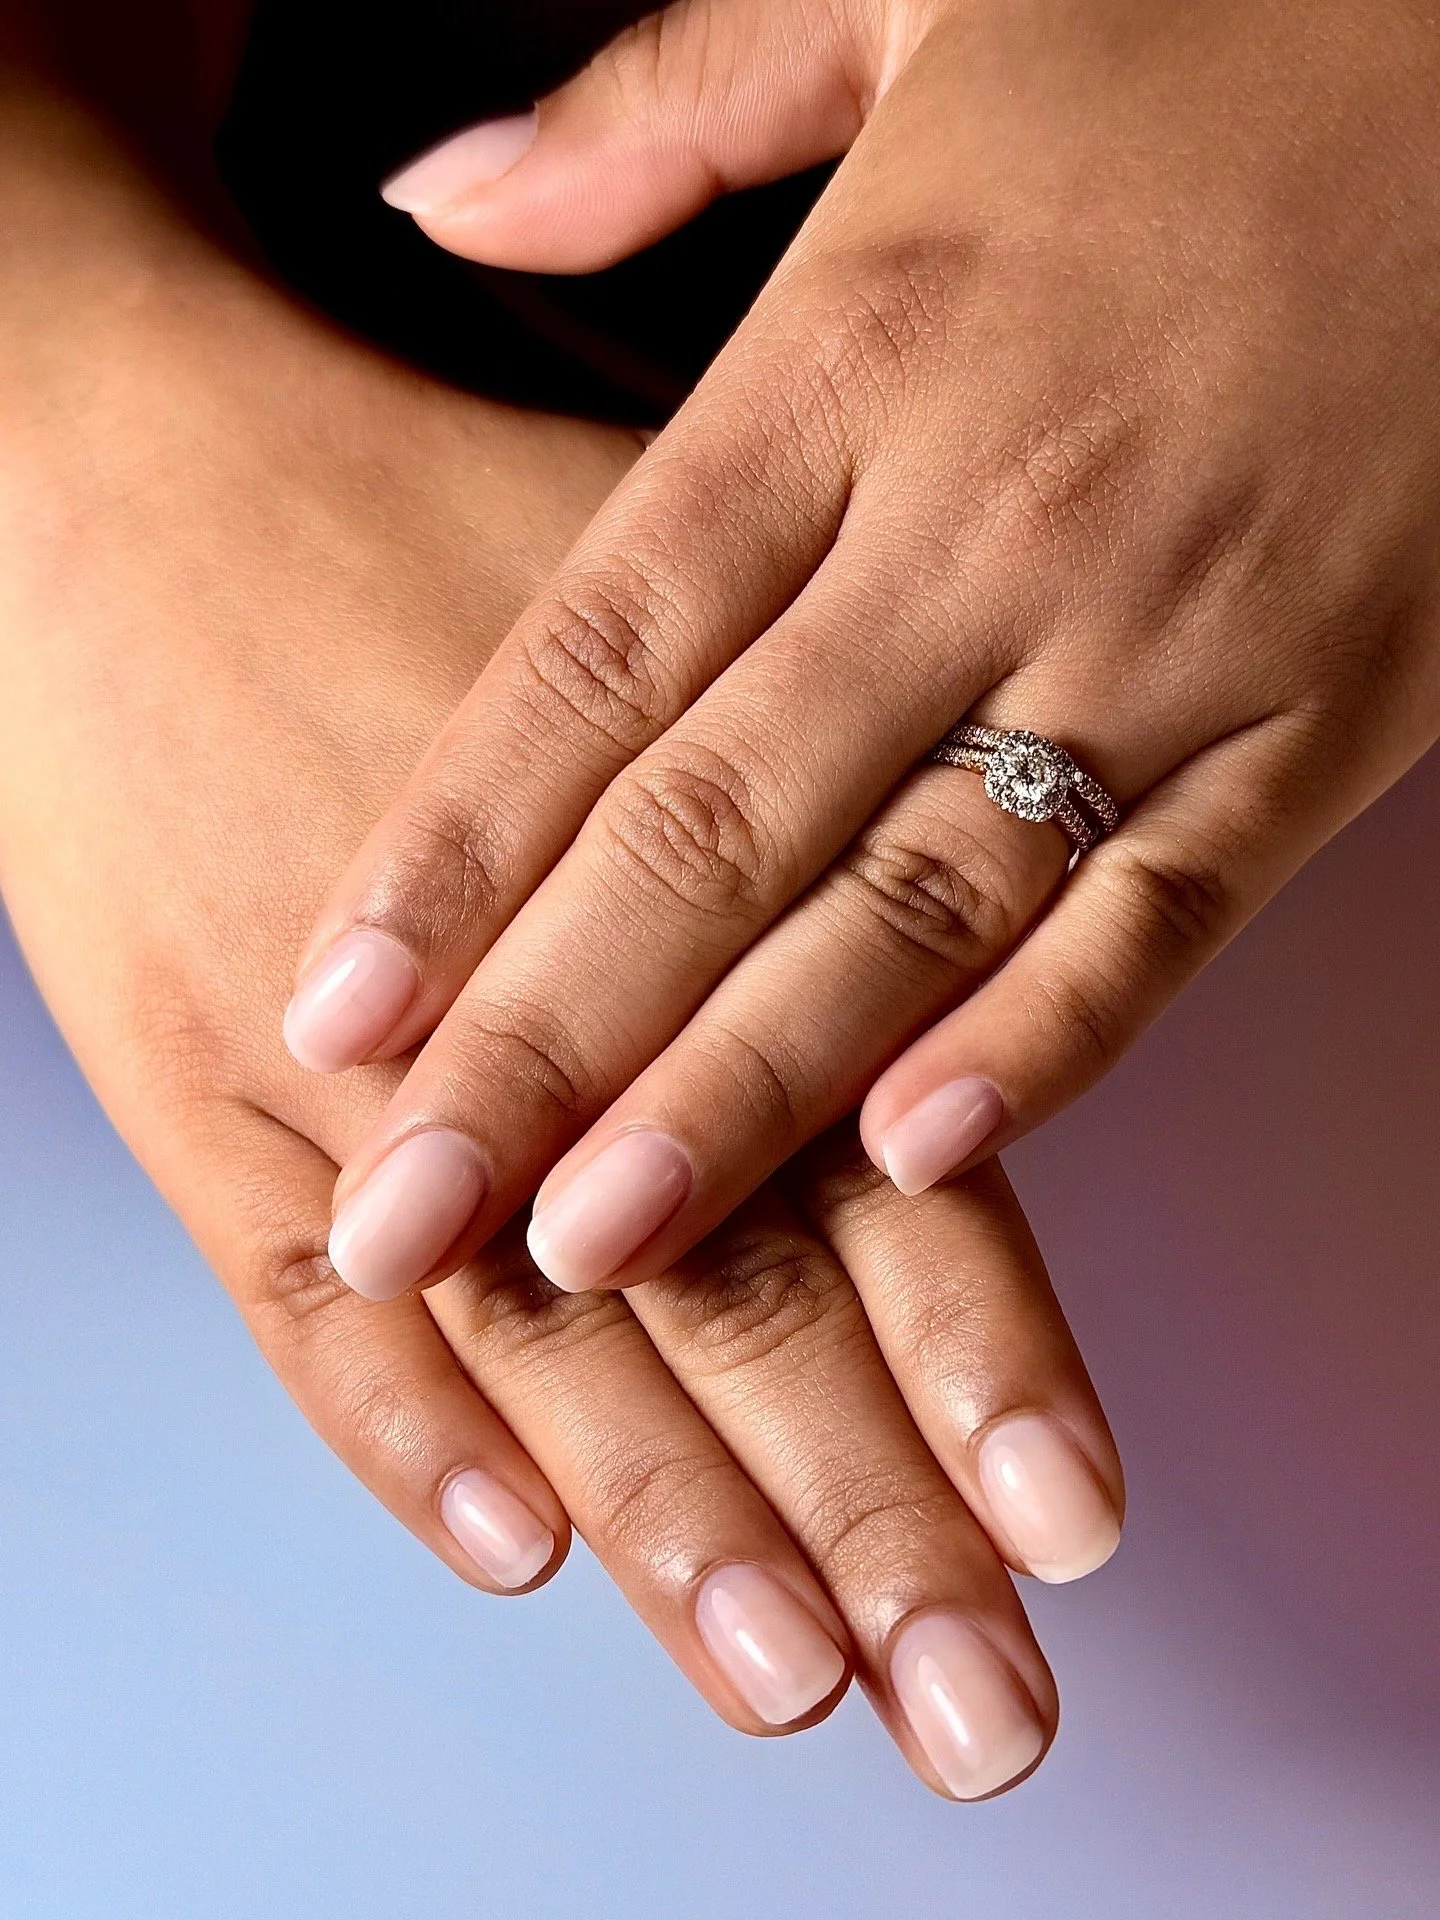
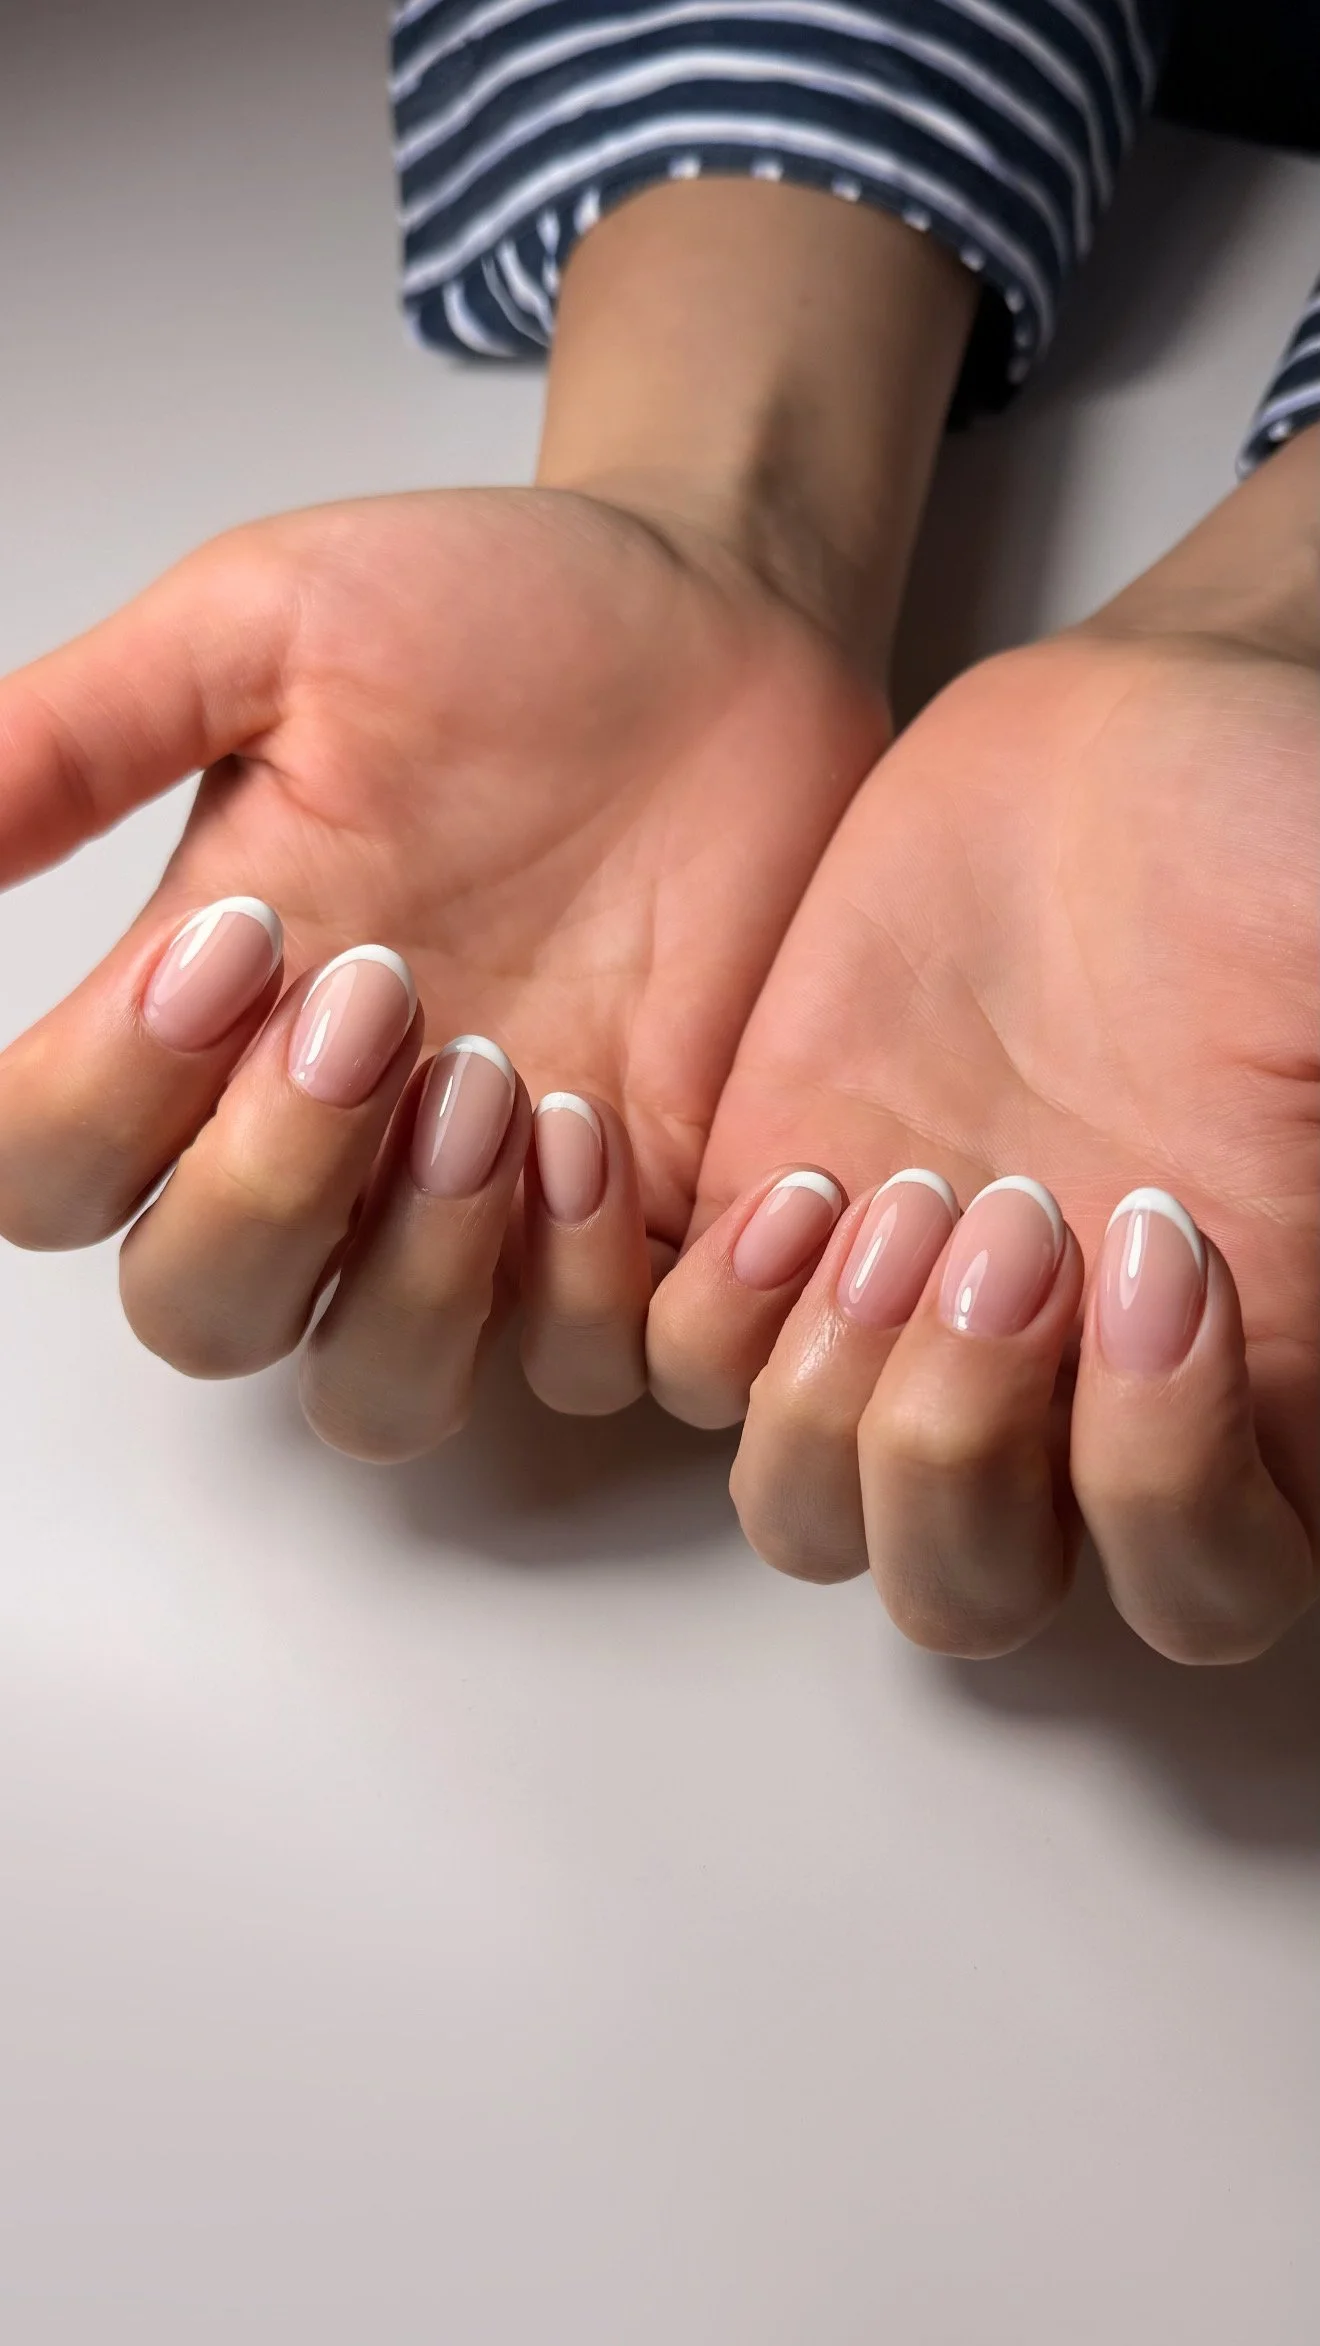
BIAB adhesion is entirely dependent on how clean and dry the nail plate is at the time of application. Any residual oil, dead skin, or moisture between the product and your nail creates a lifting point. The e-file prep used in a Russian manicure removes these barriers entirely.
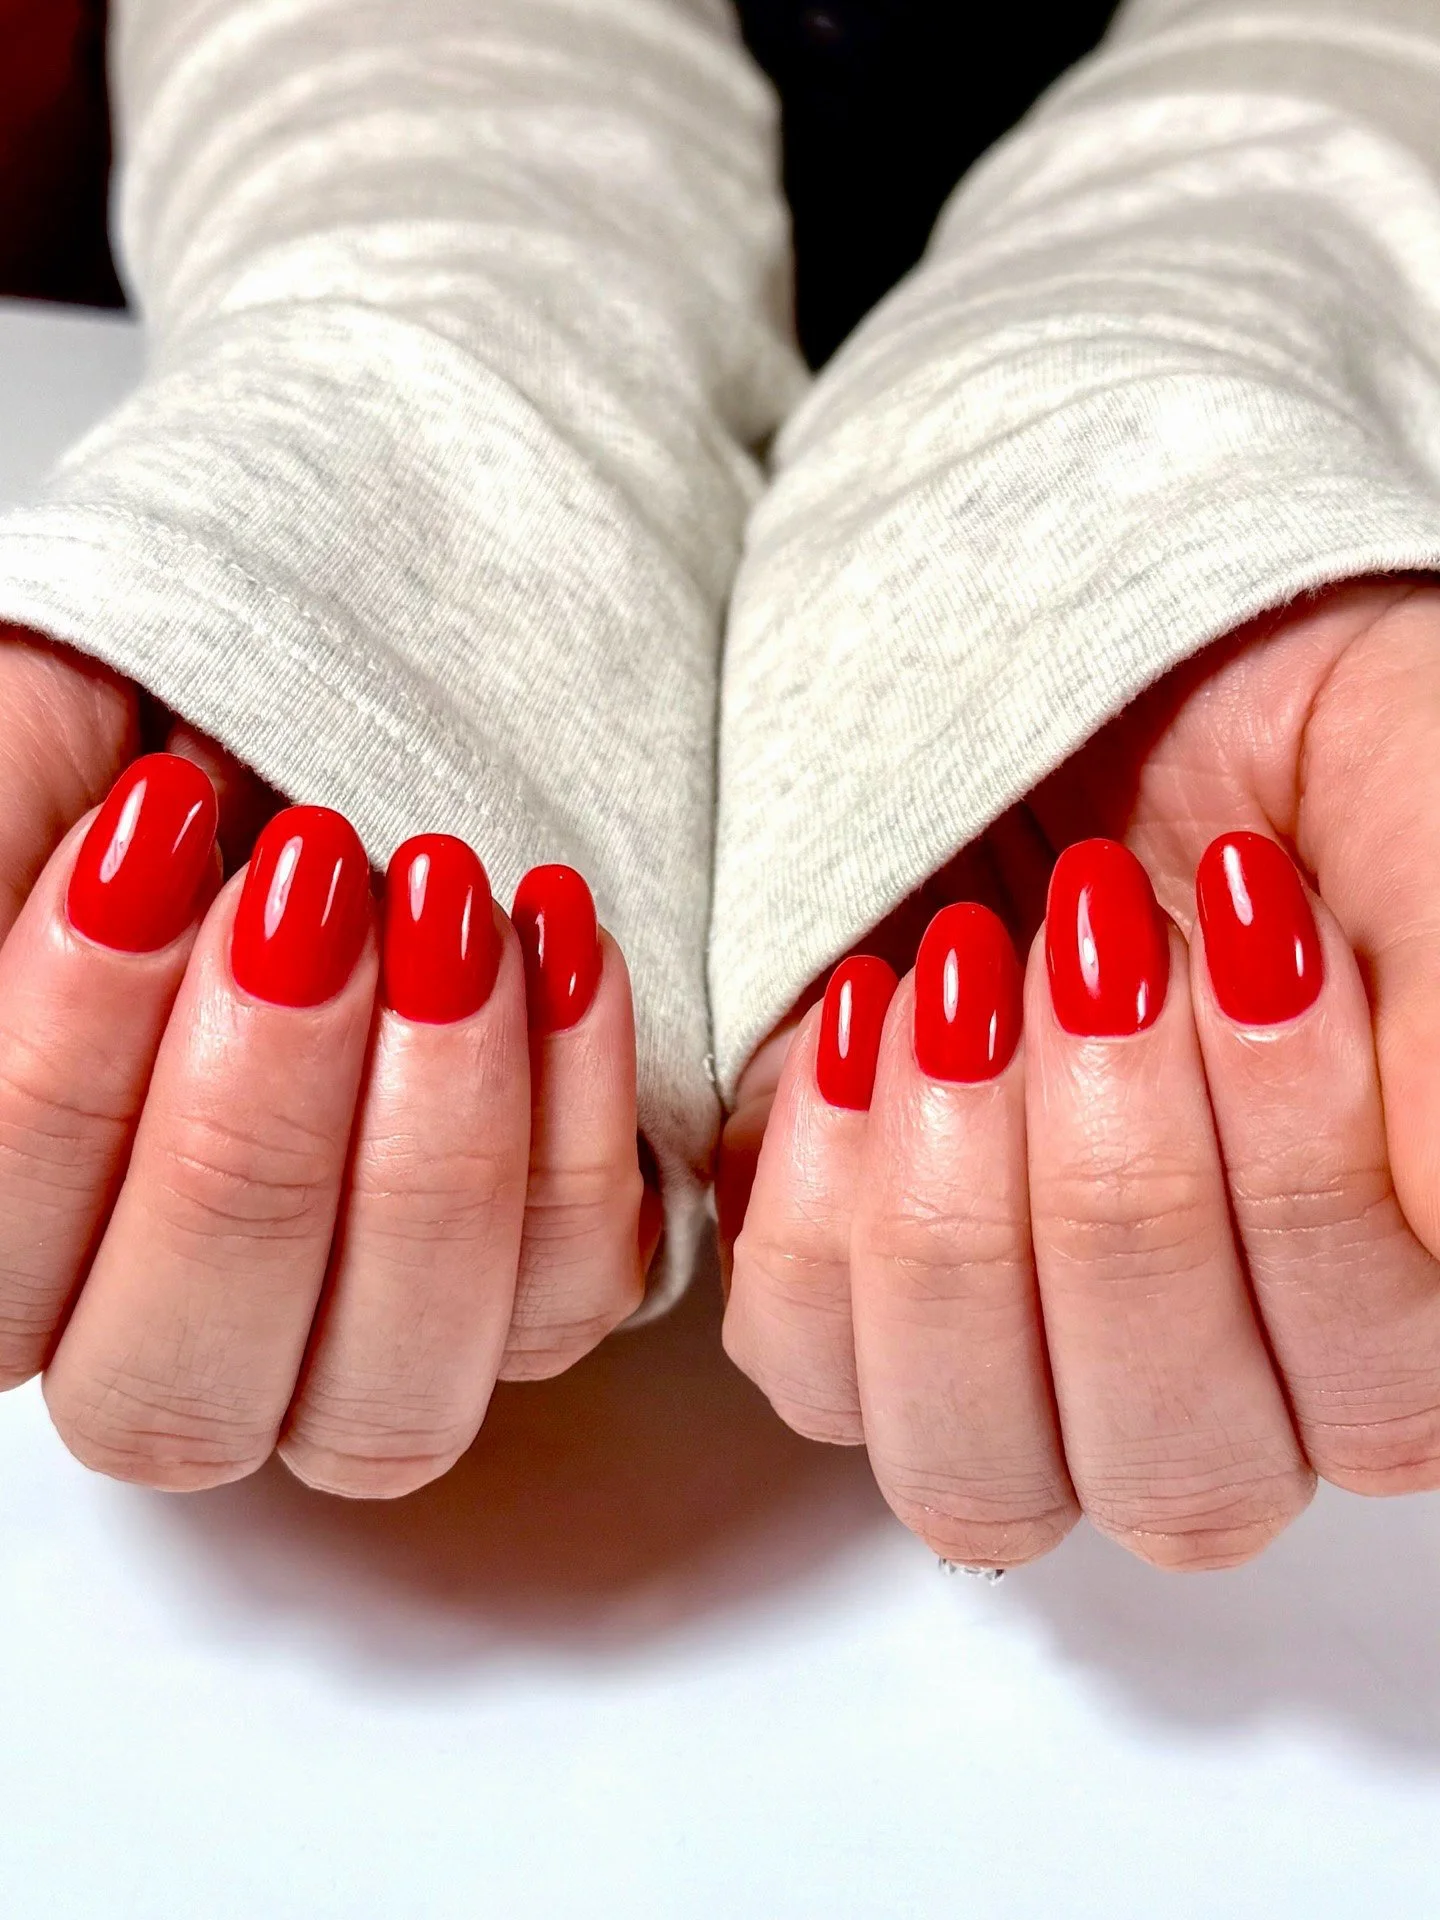
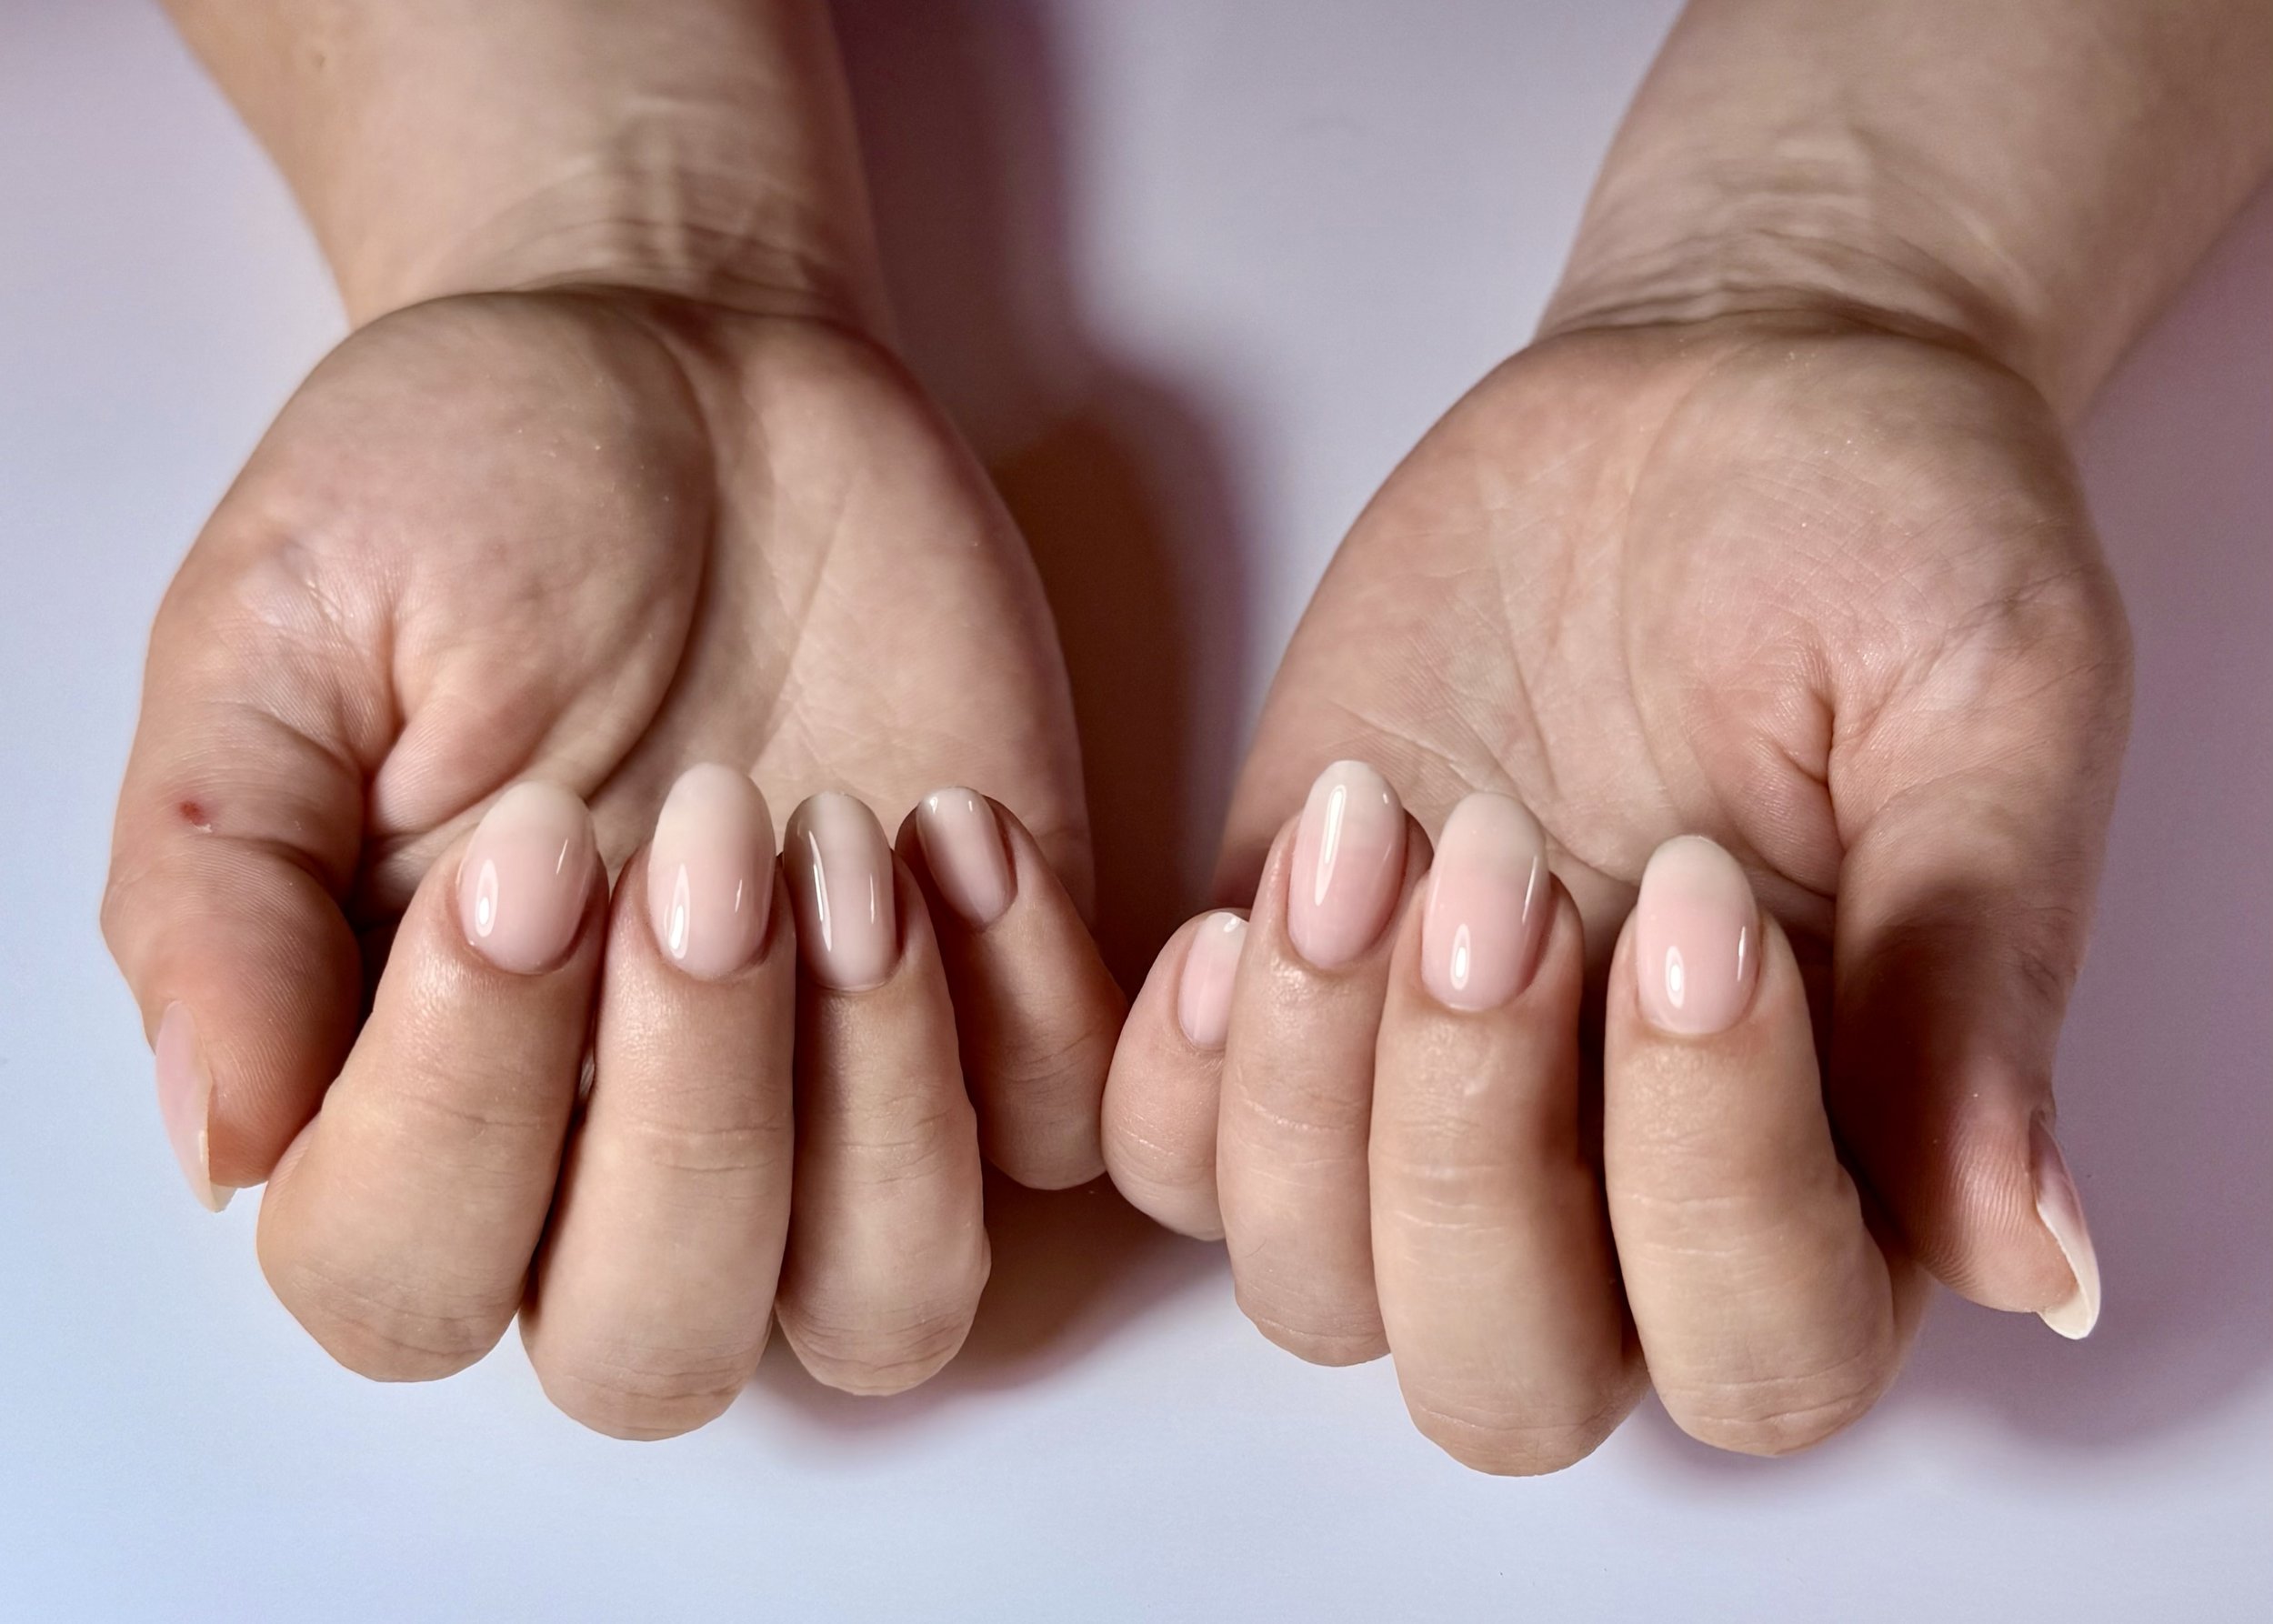
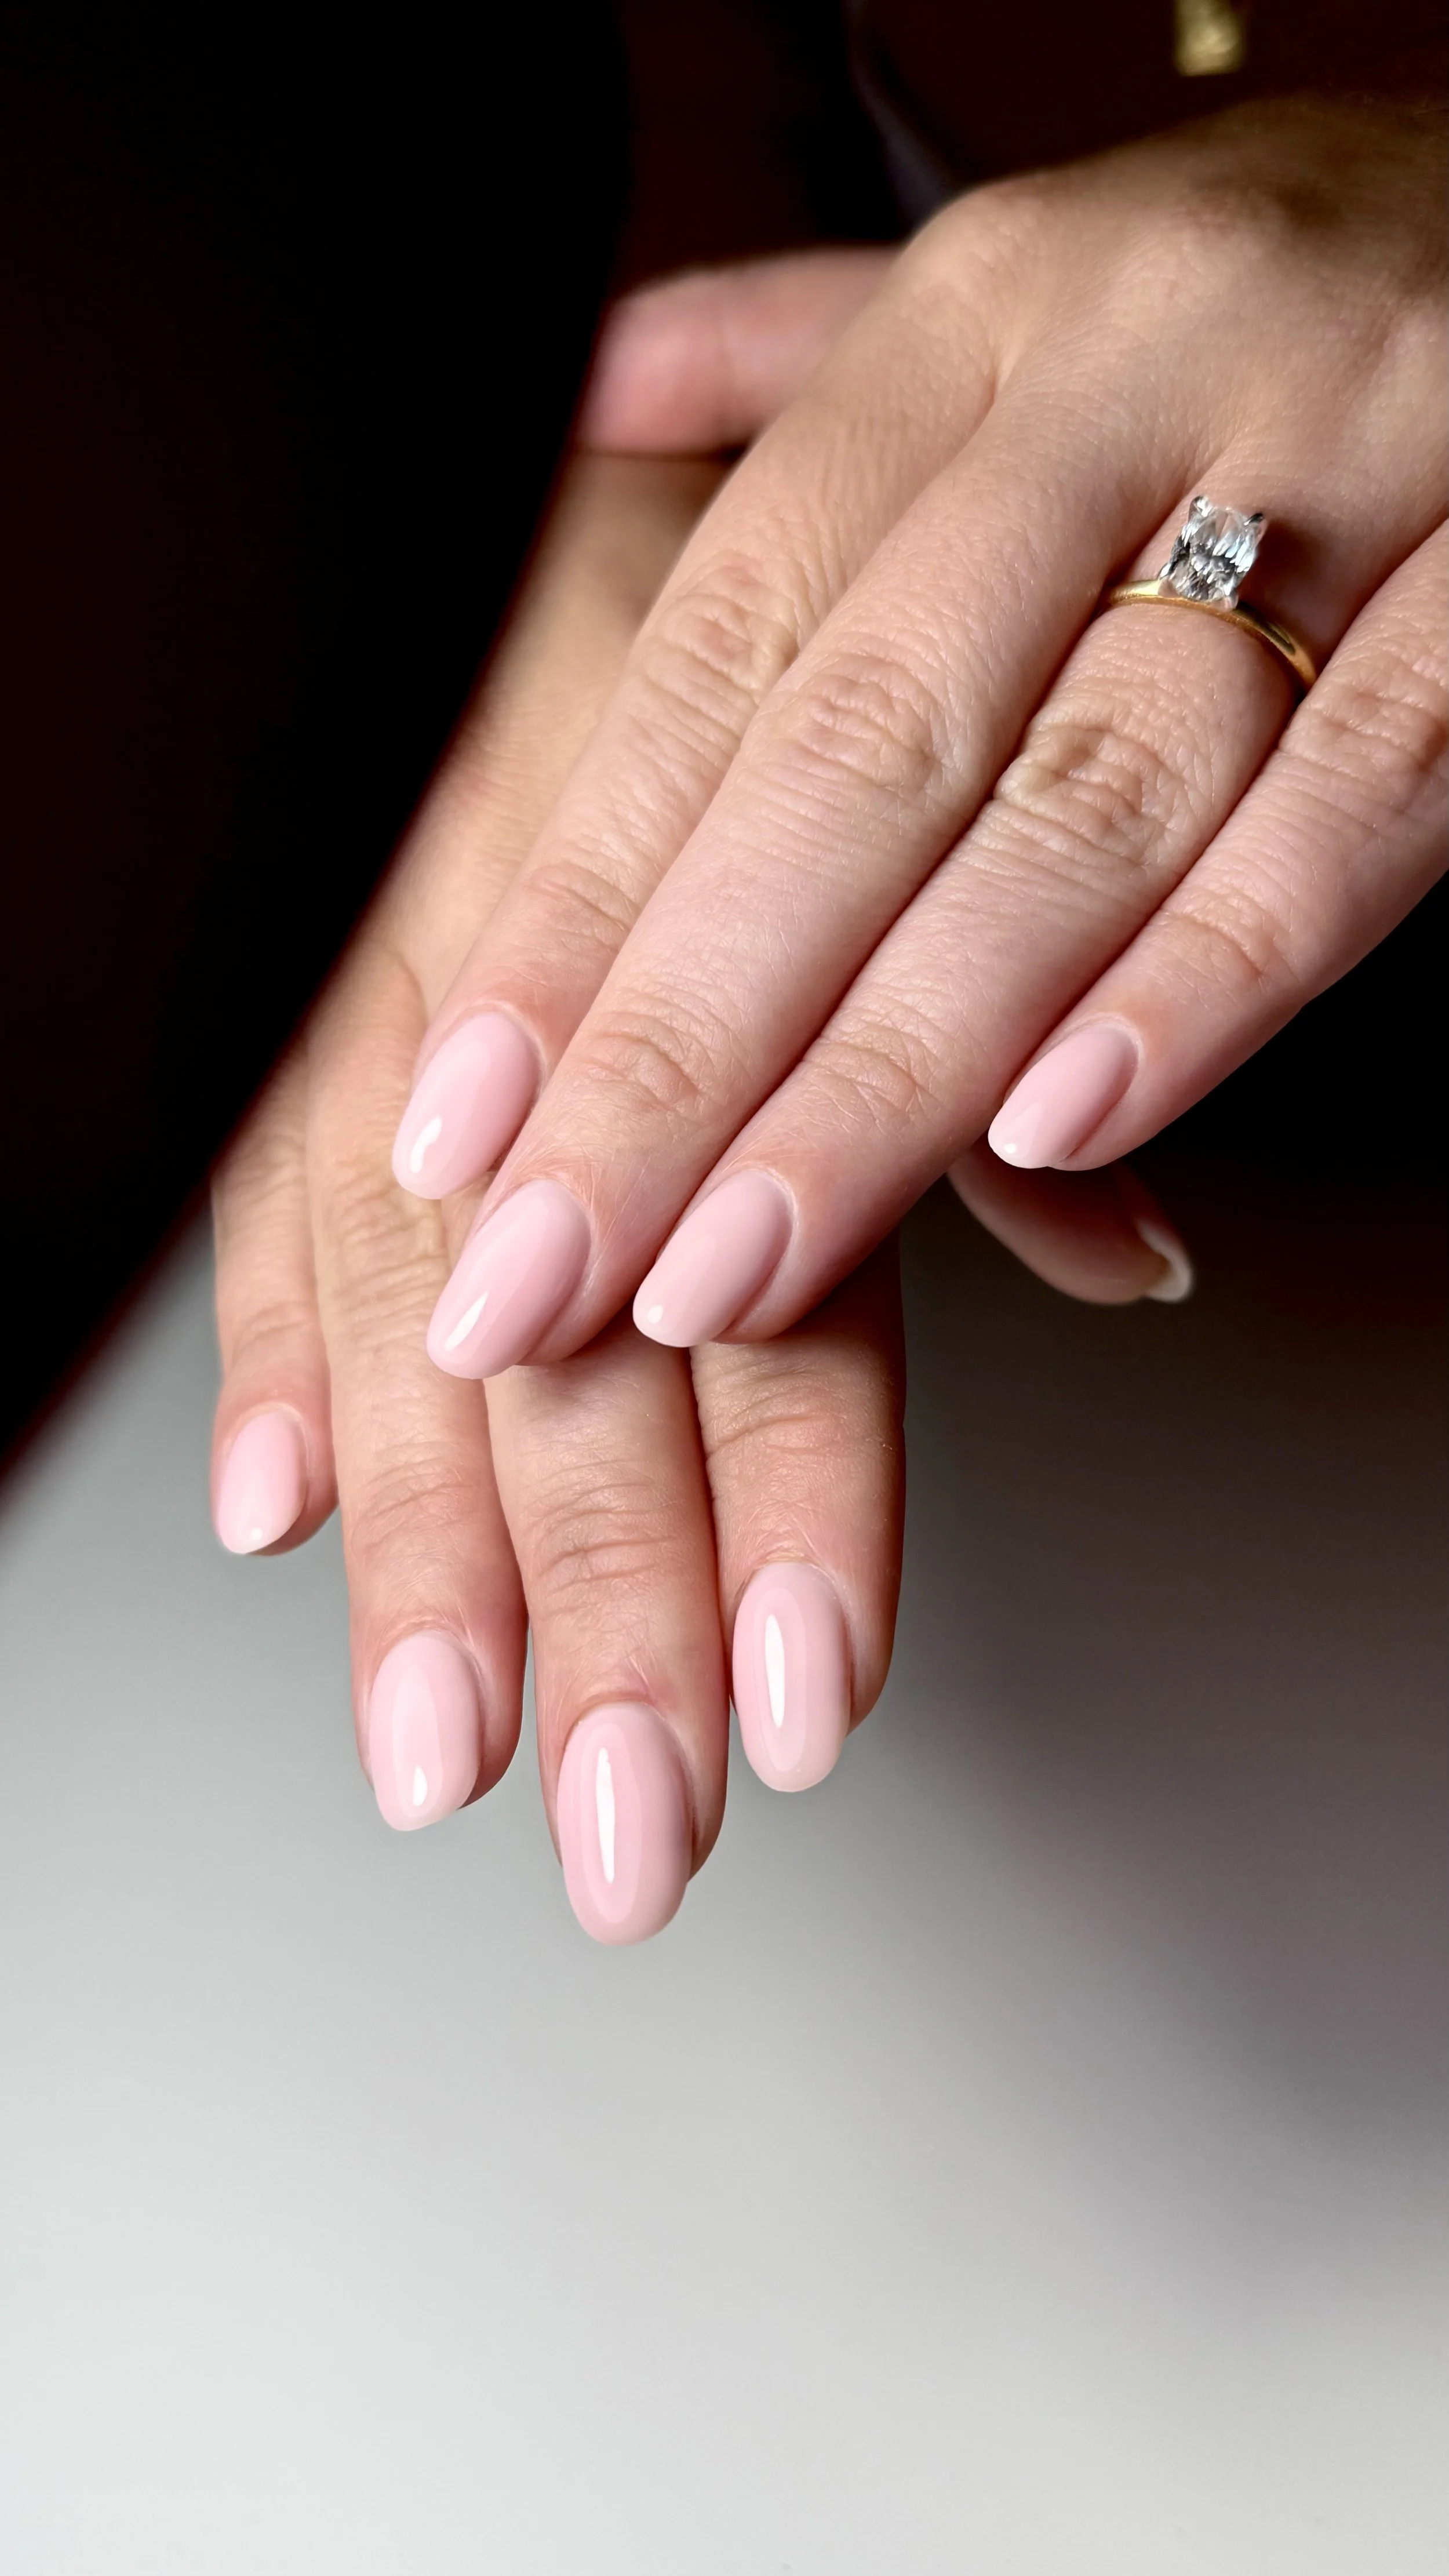
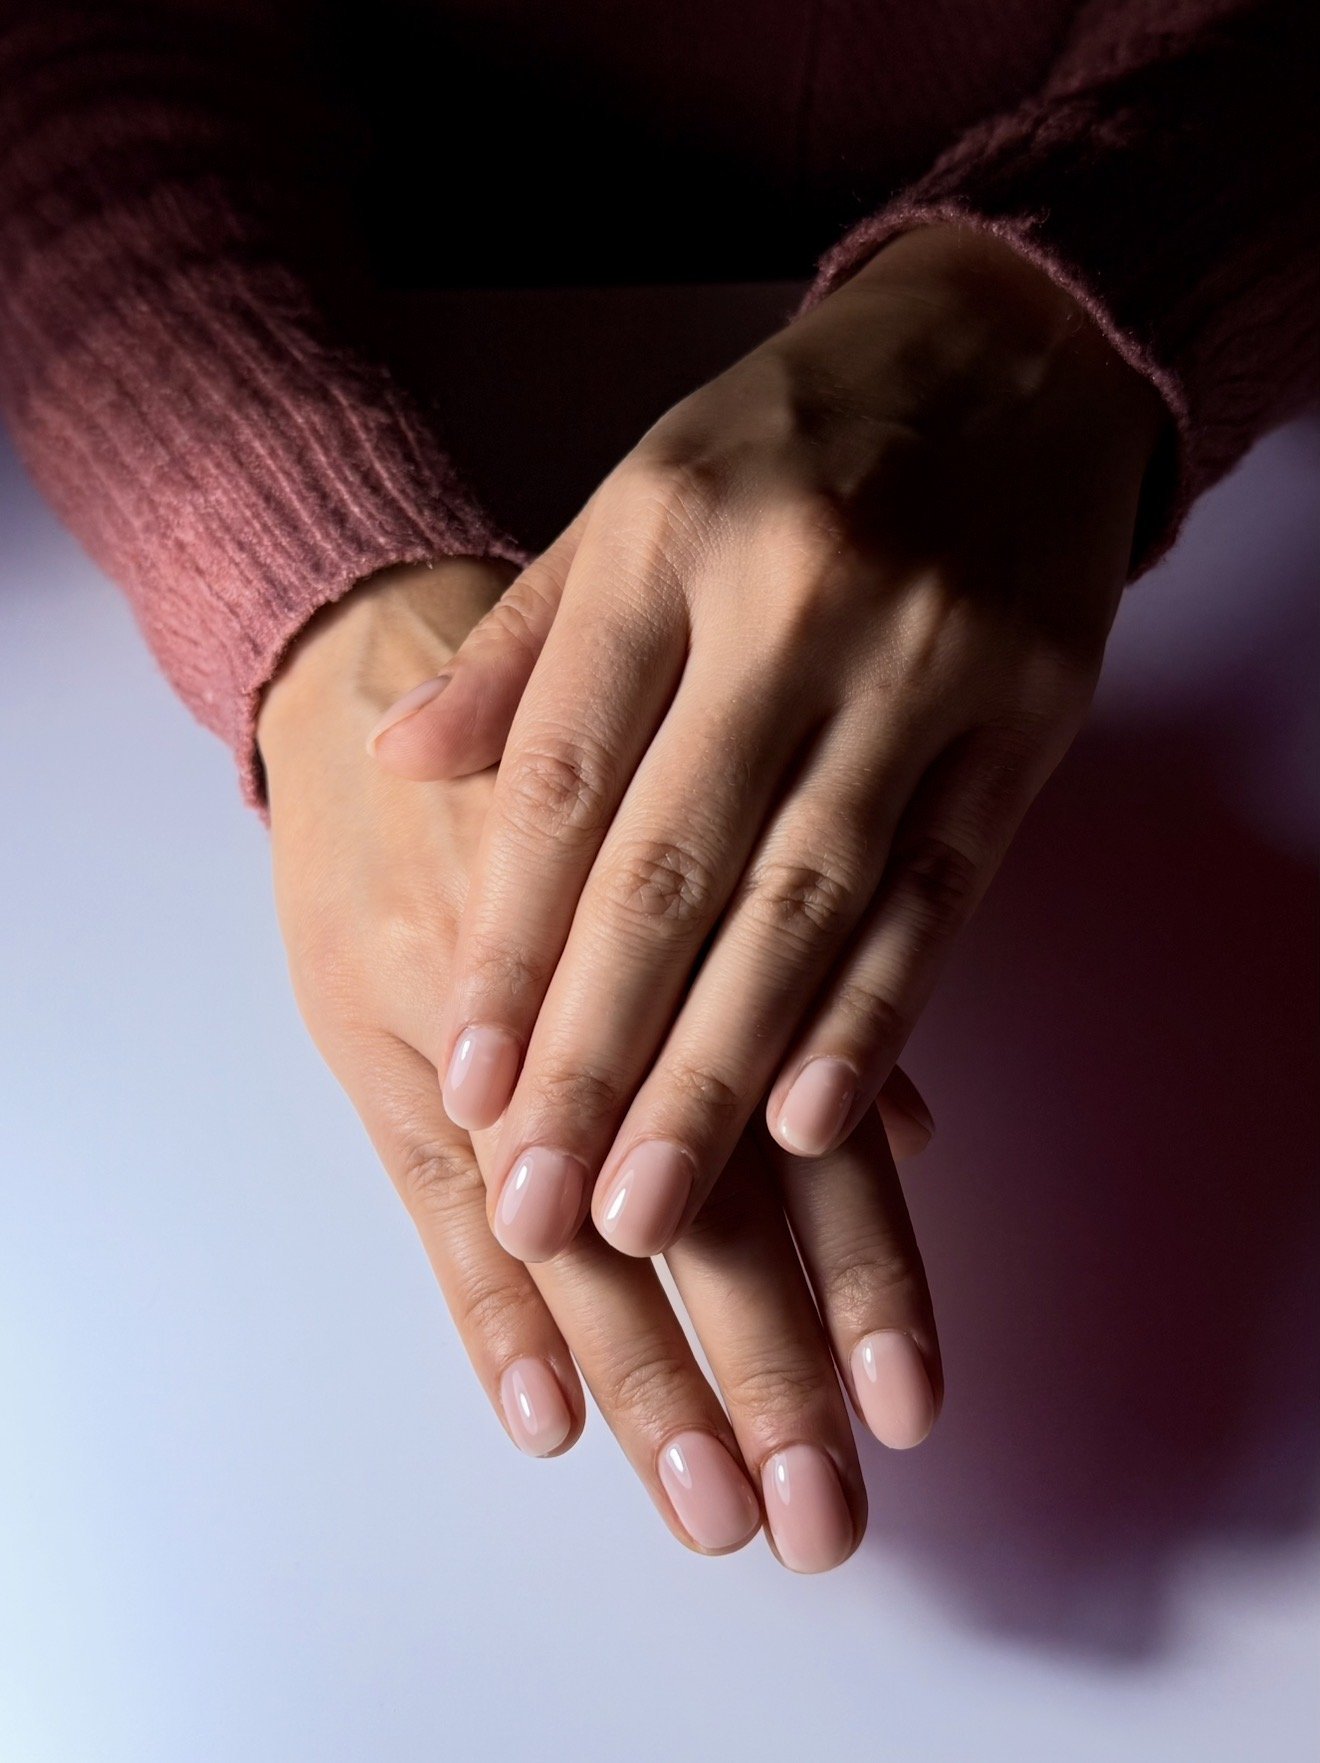
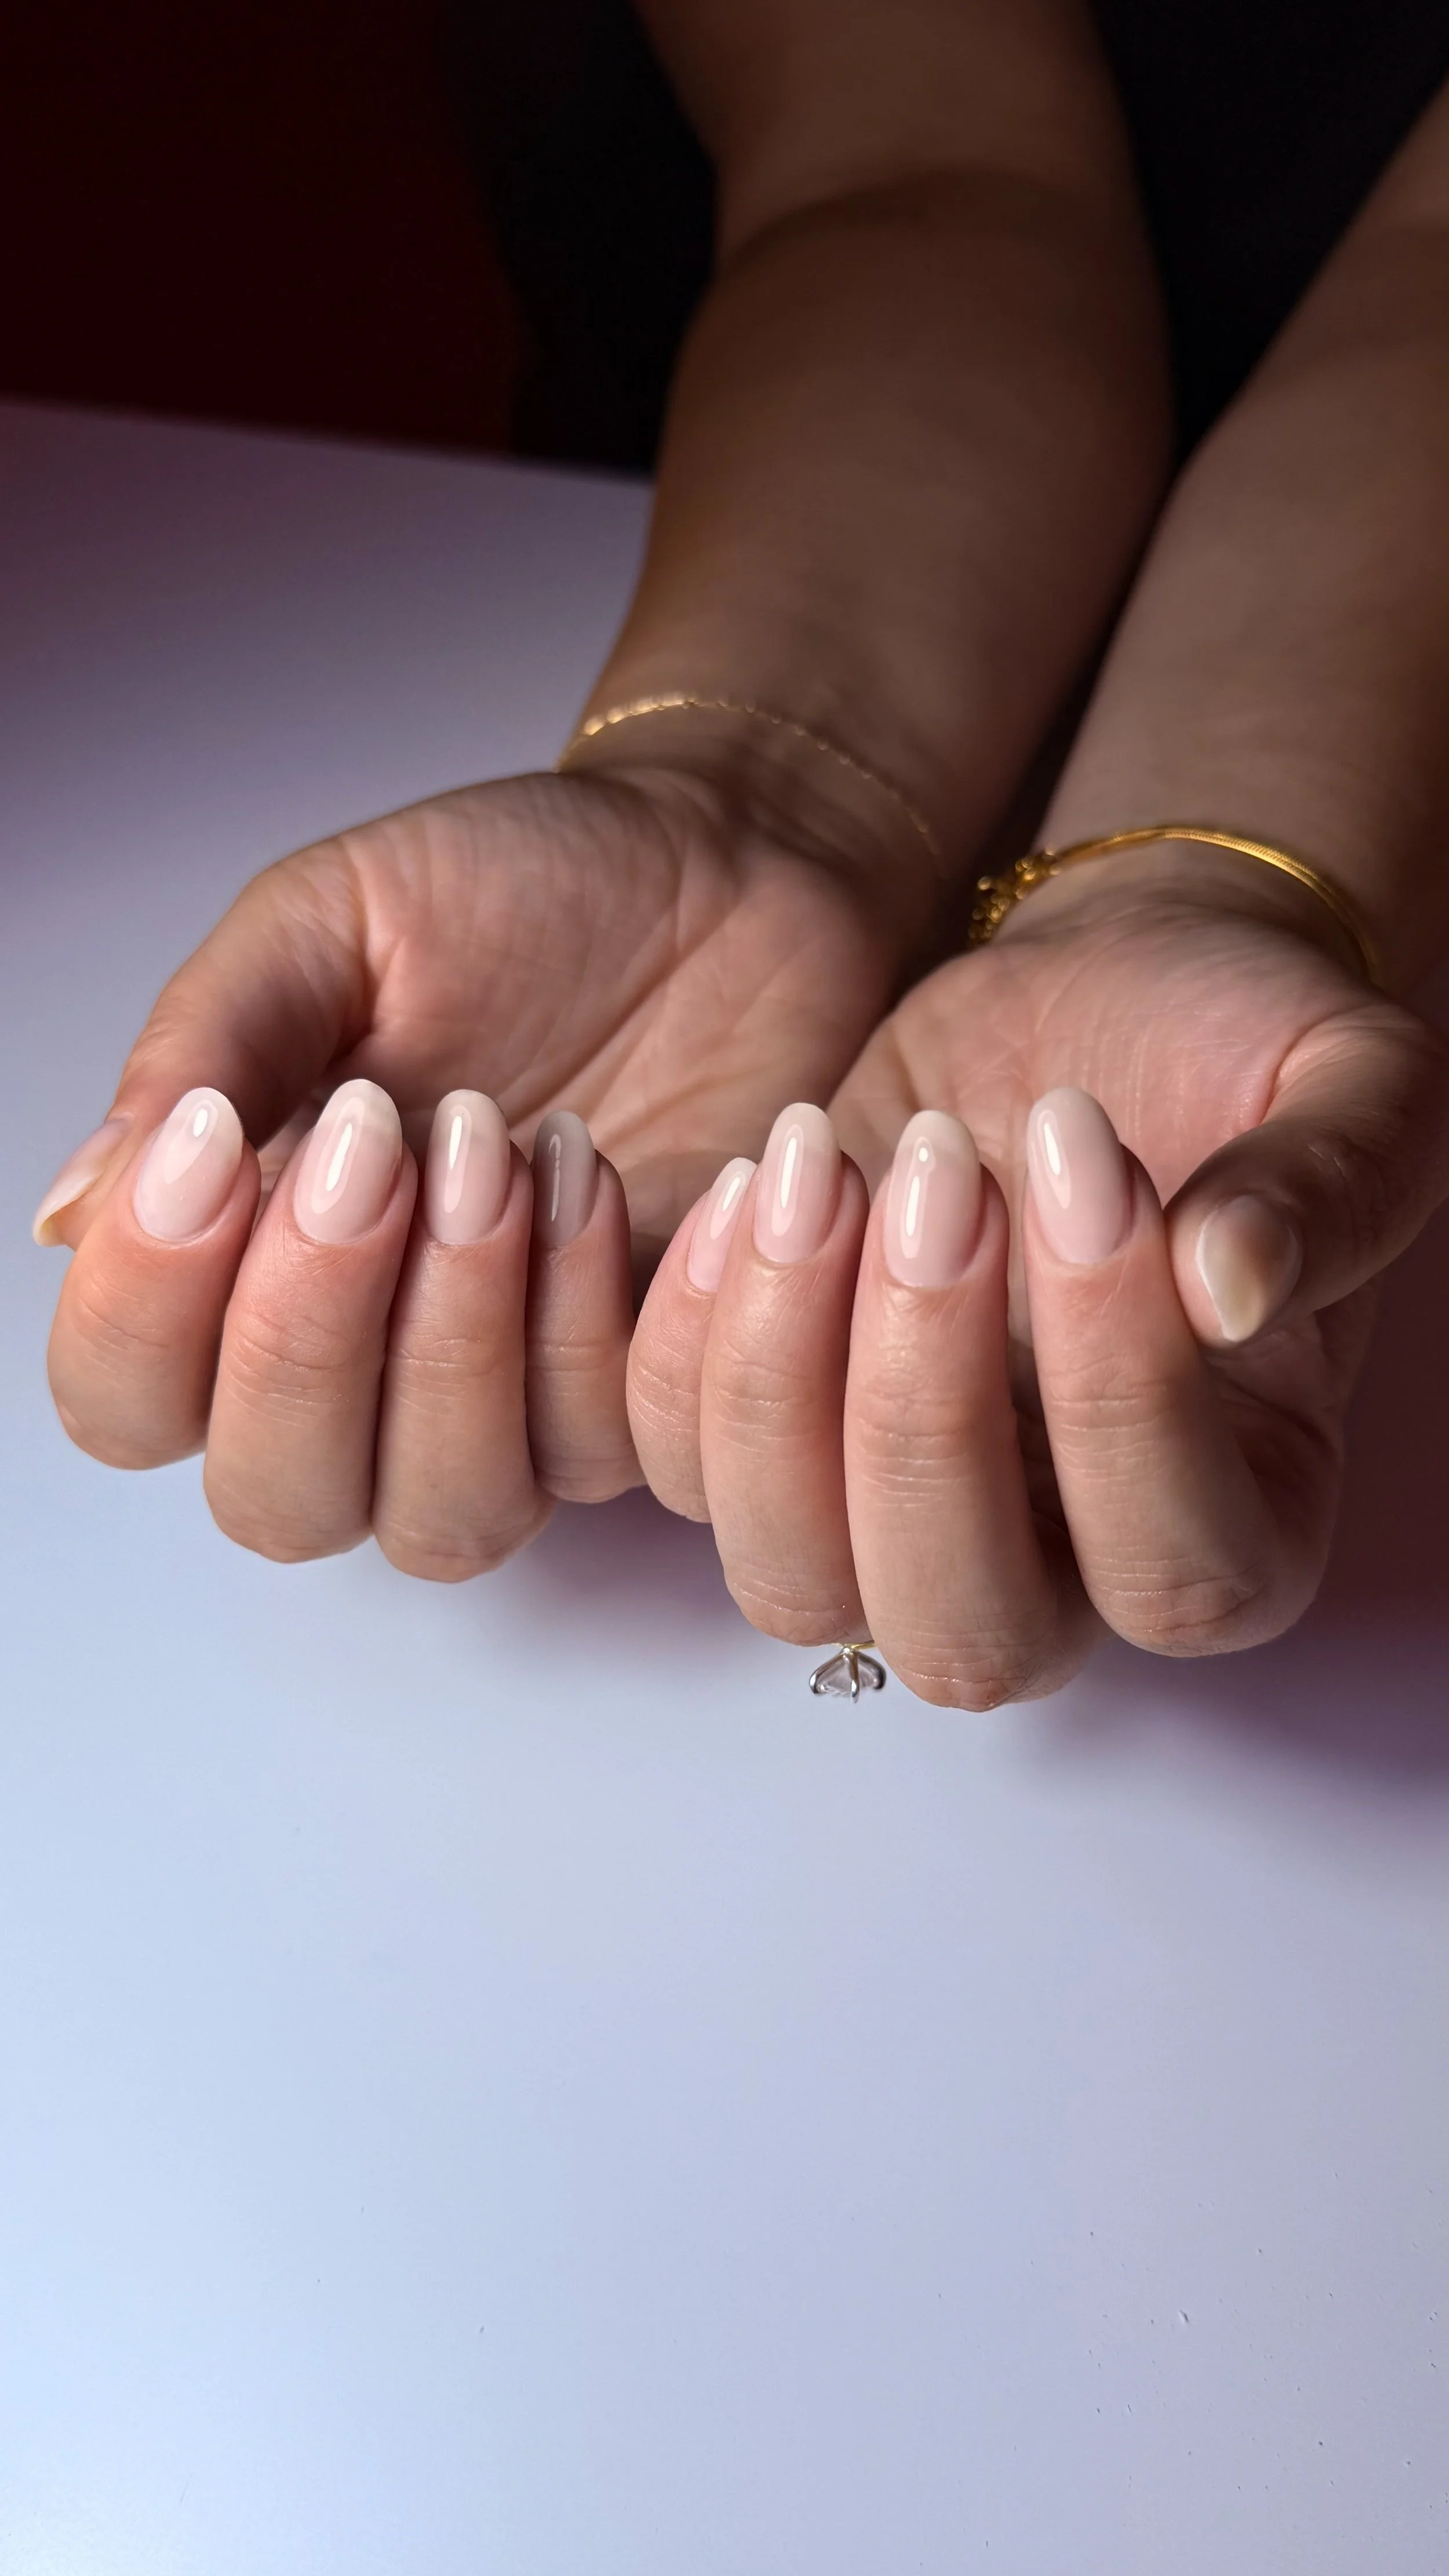
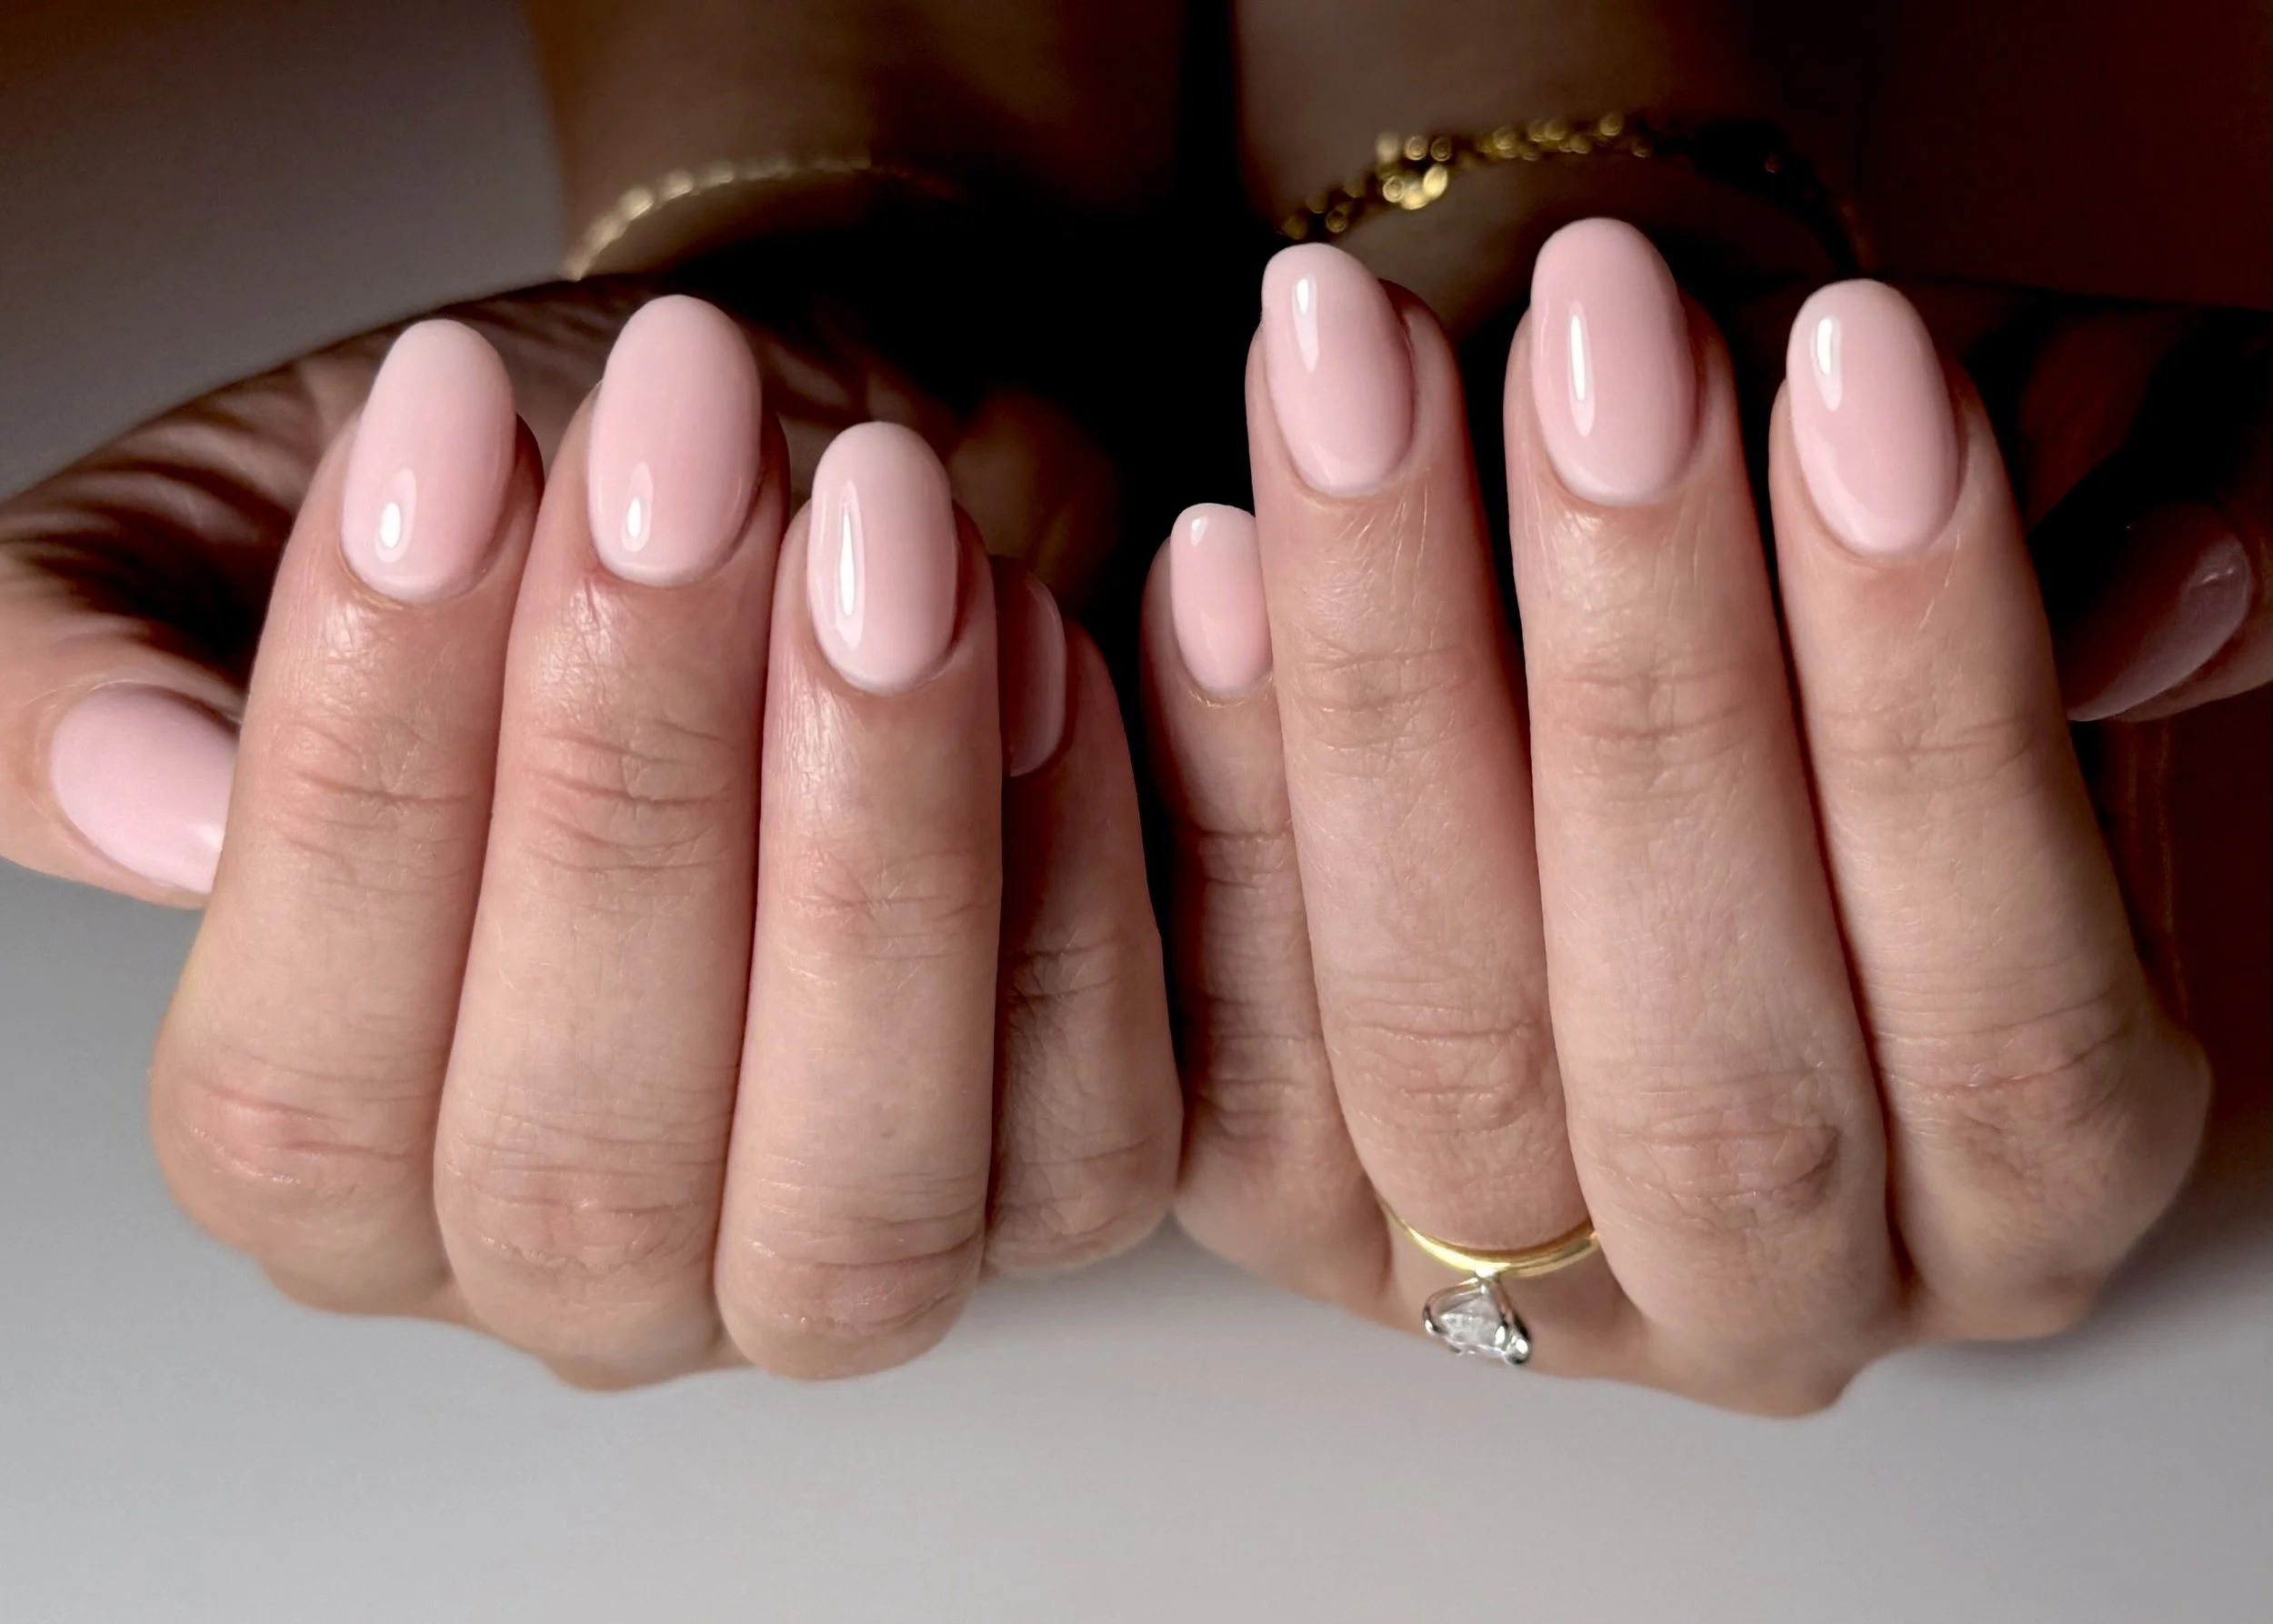
Clients who switch to Russian manicure-prepped BIAB at Apricot Nails consistently report their sets lasting three to four weeks with no lifting, compared to one to two weeks at other salons.
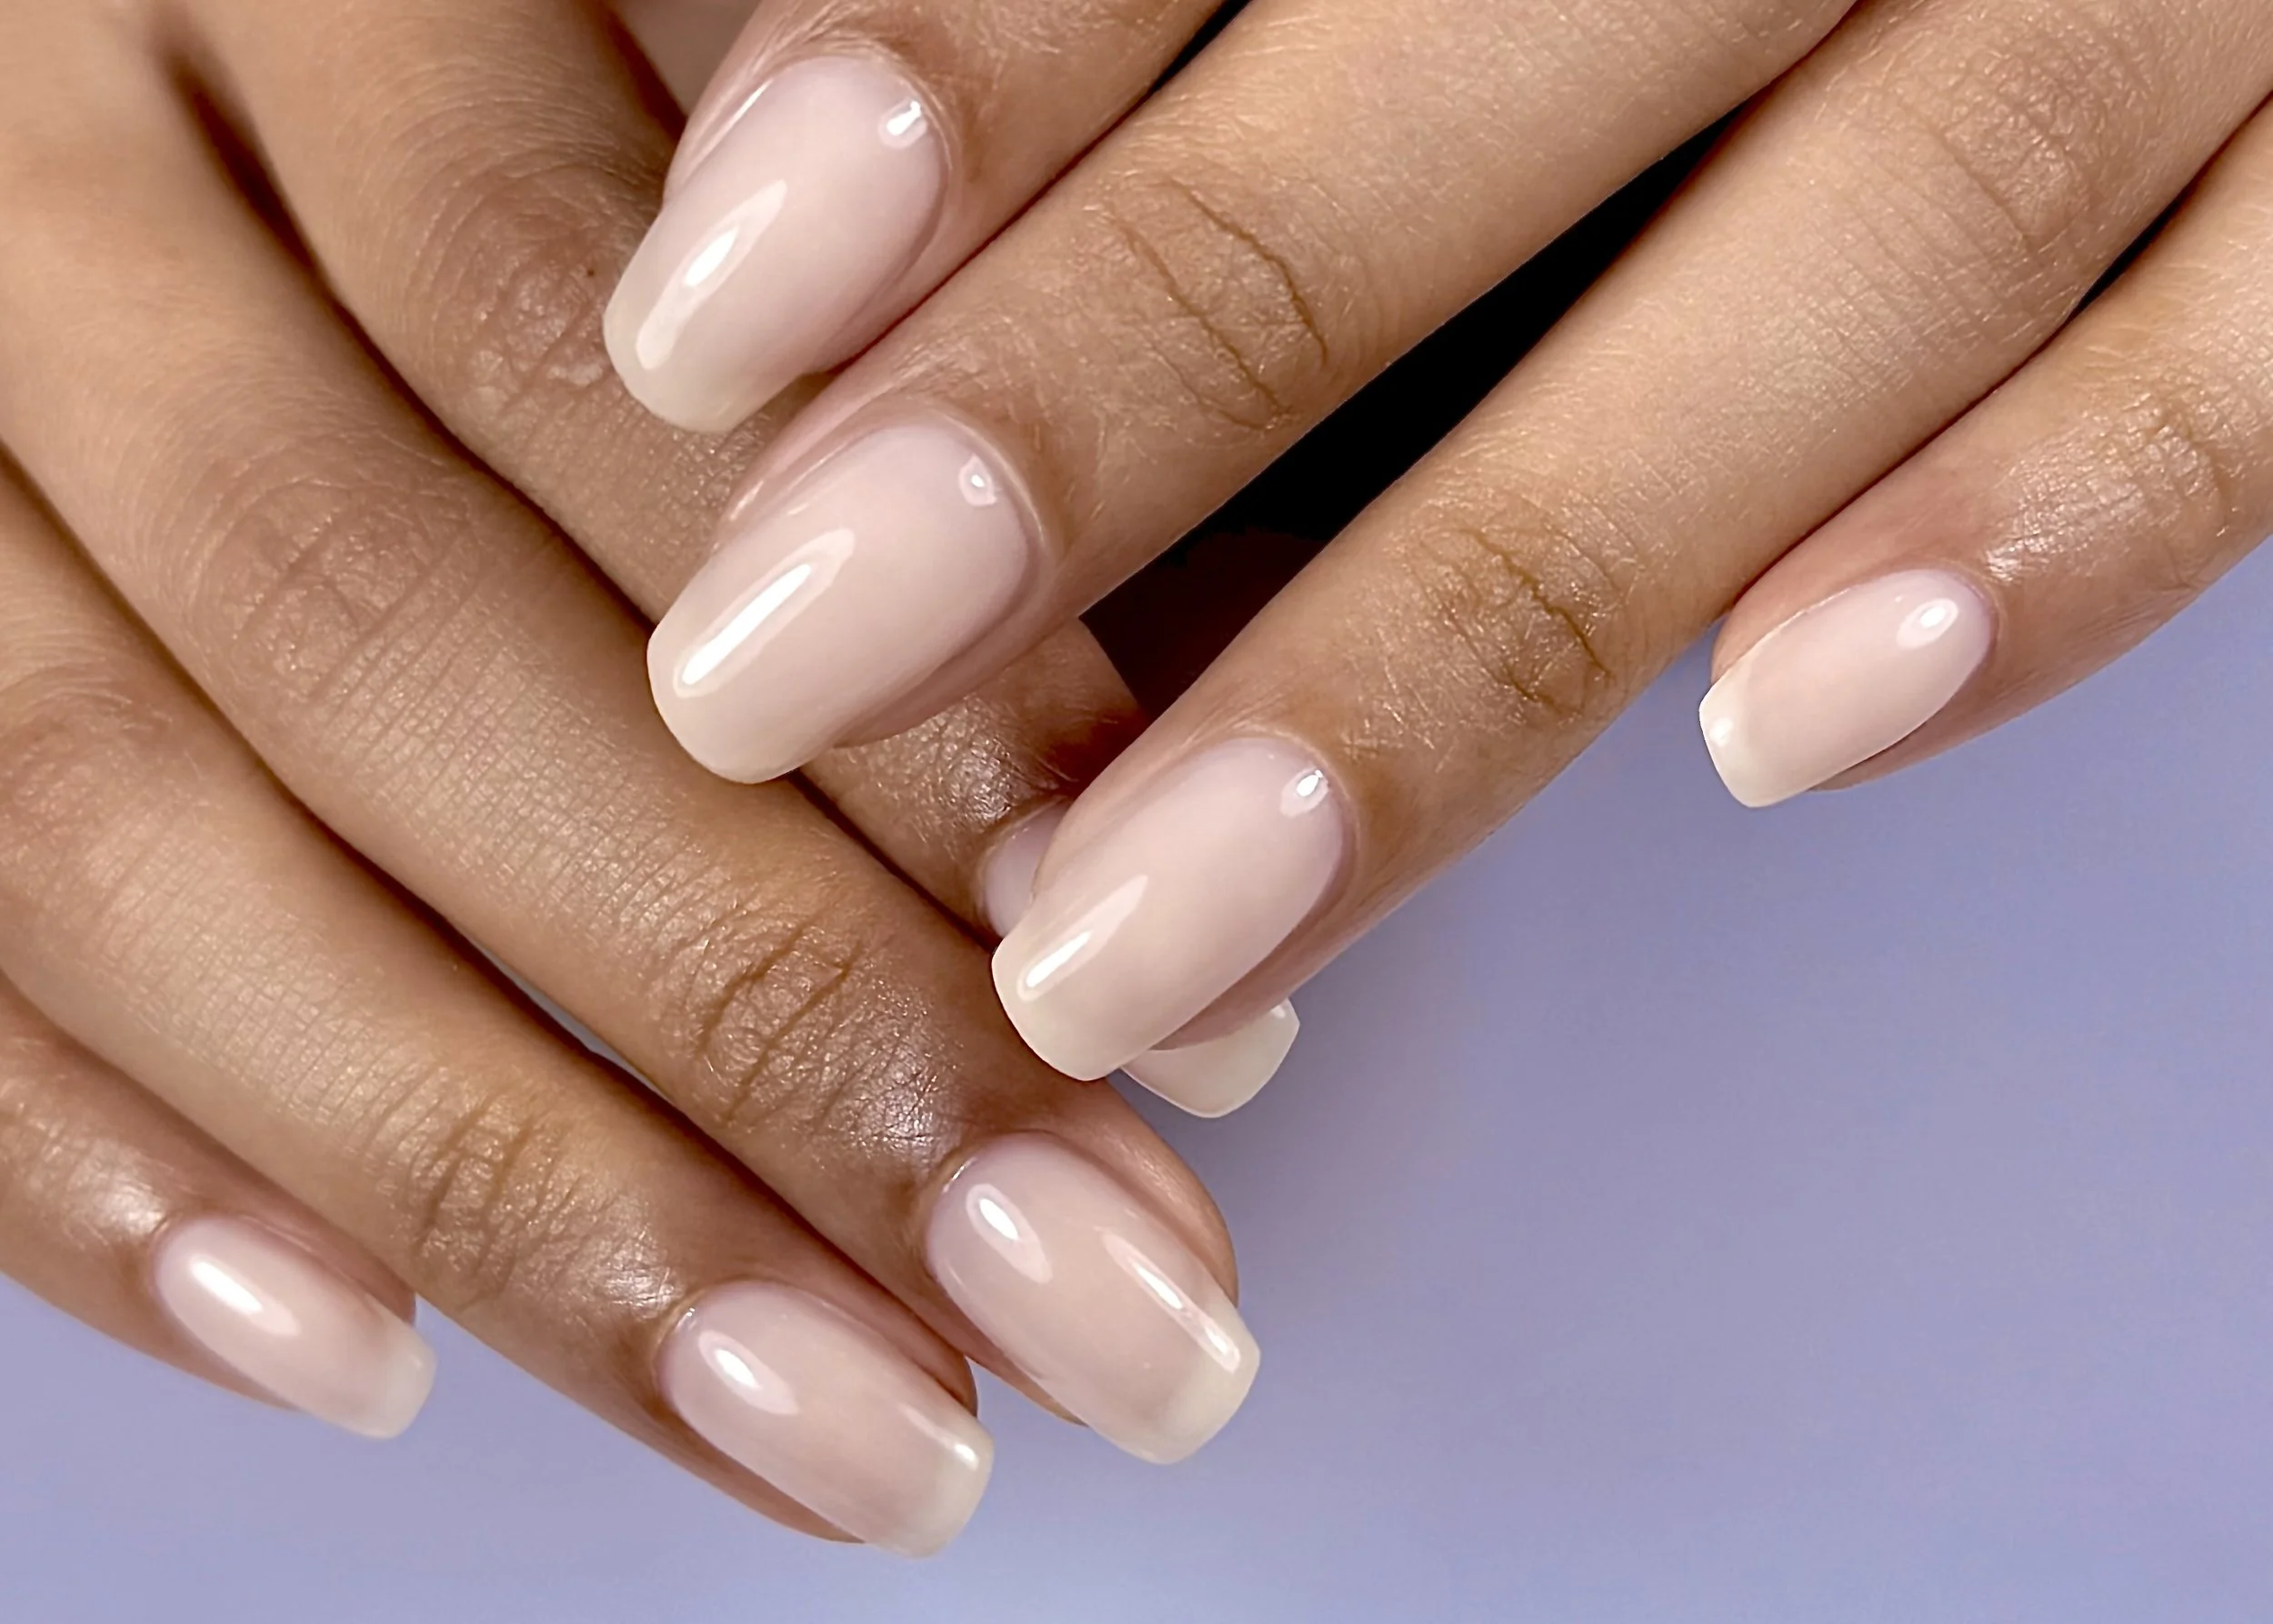
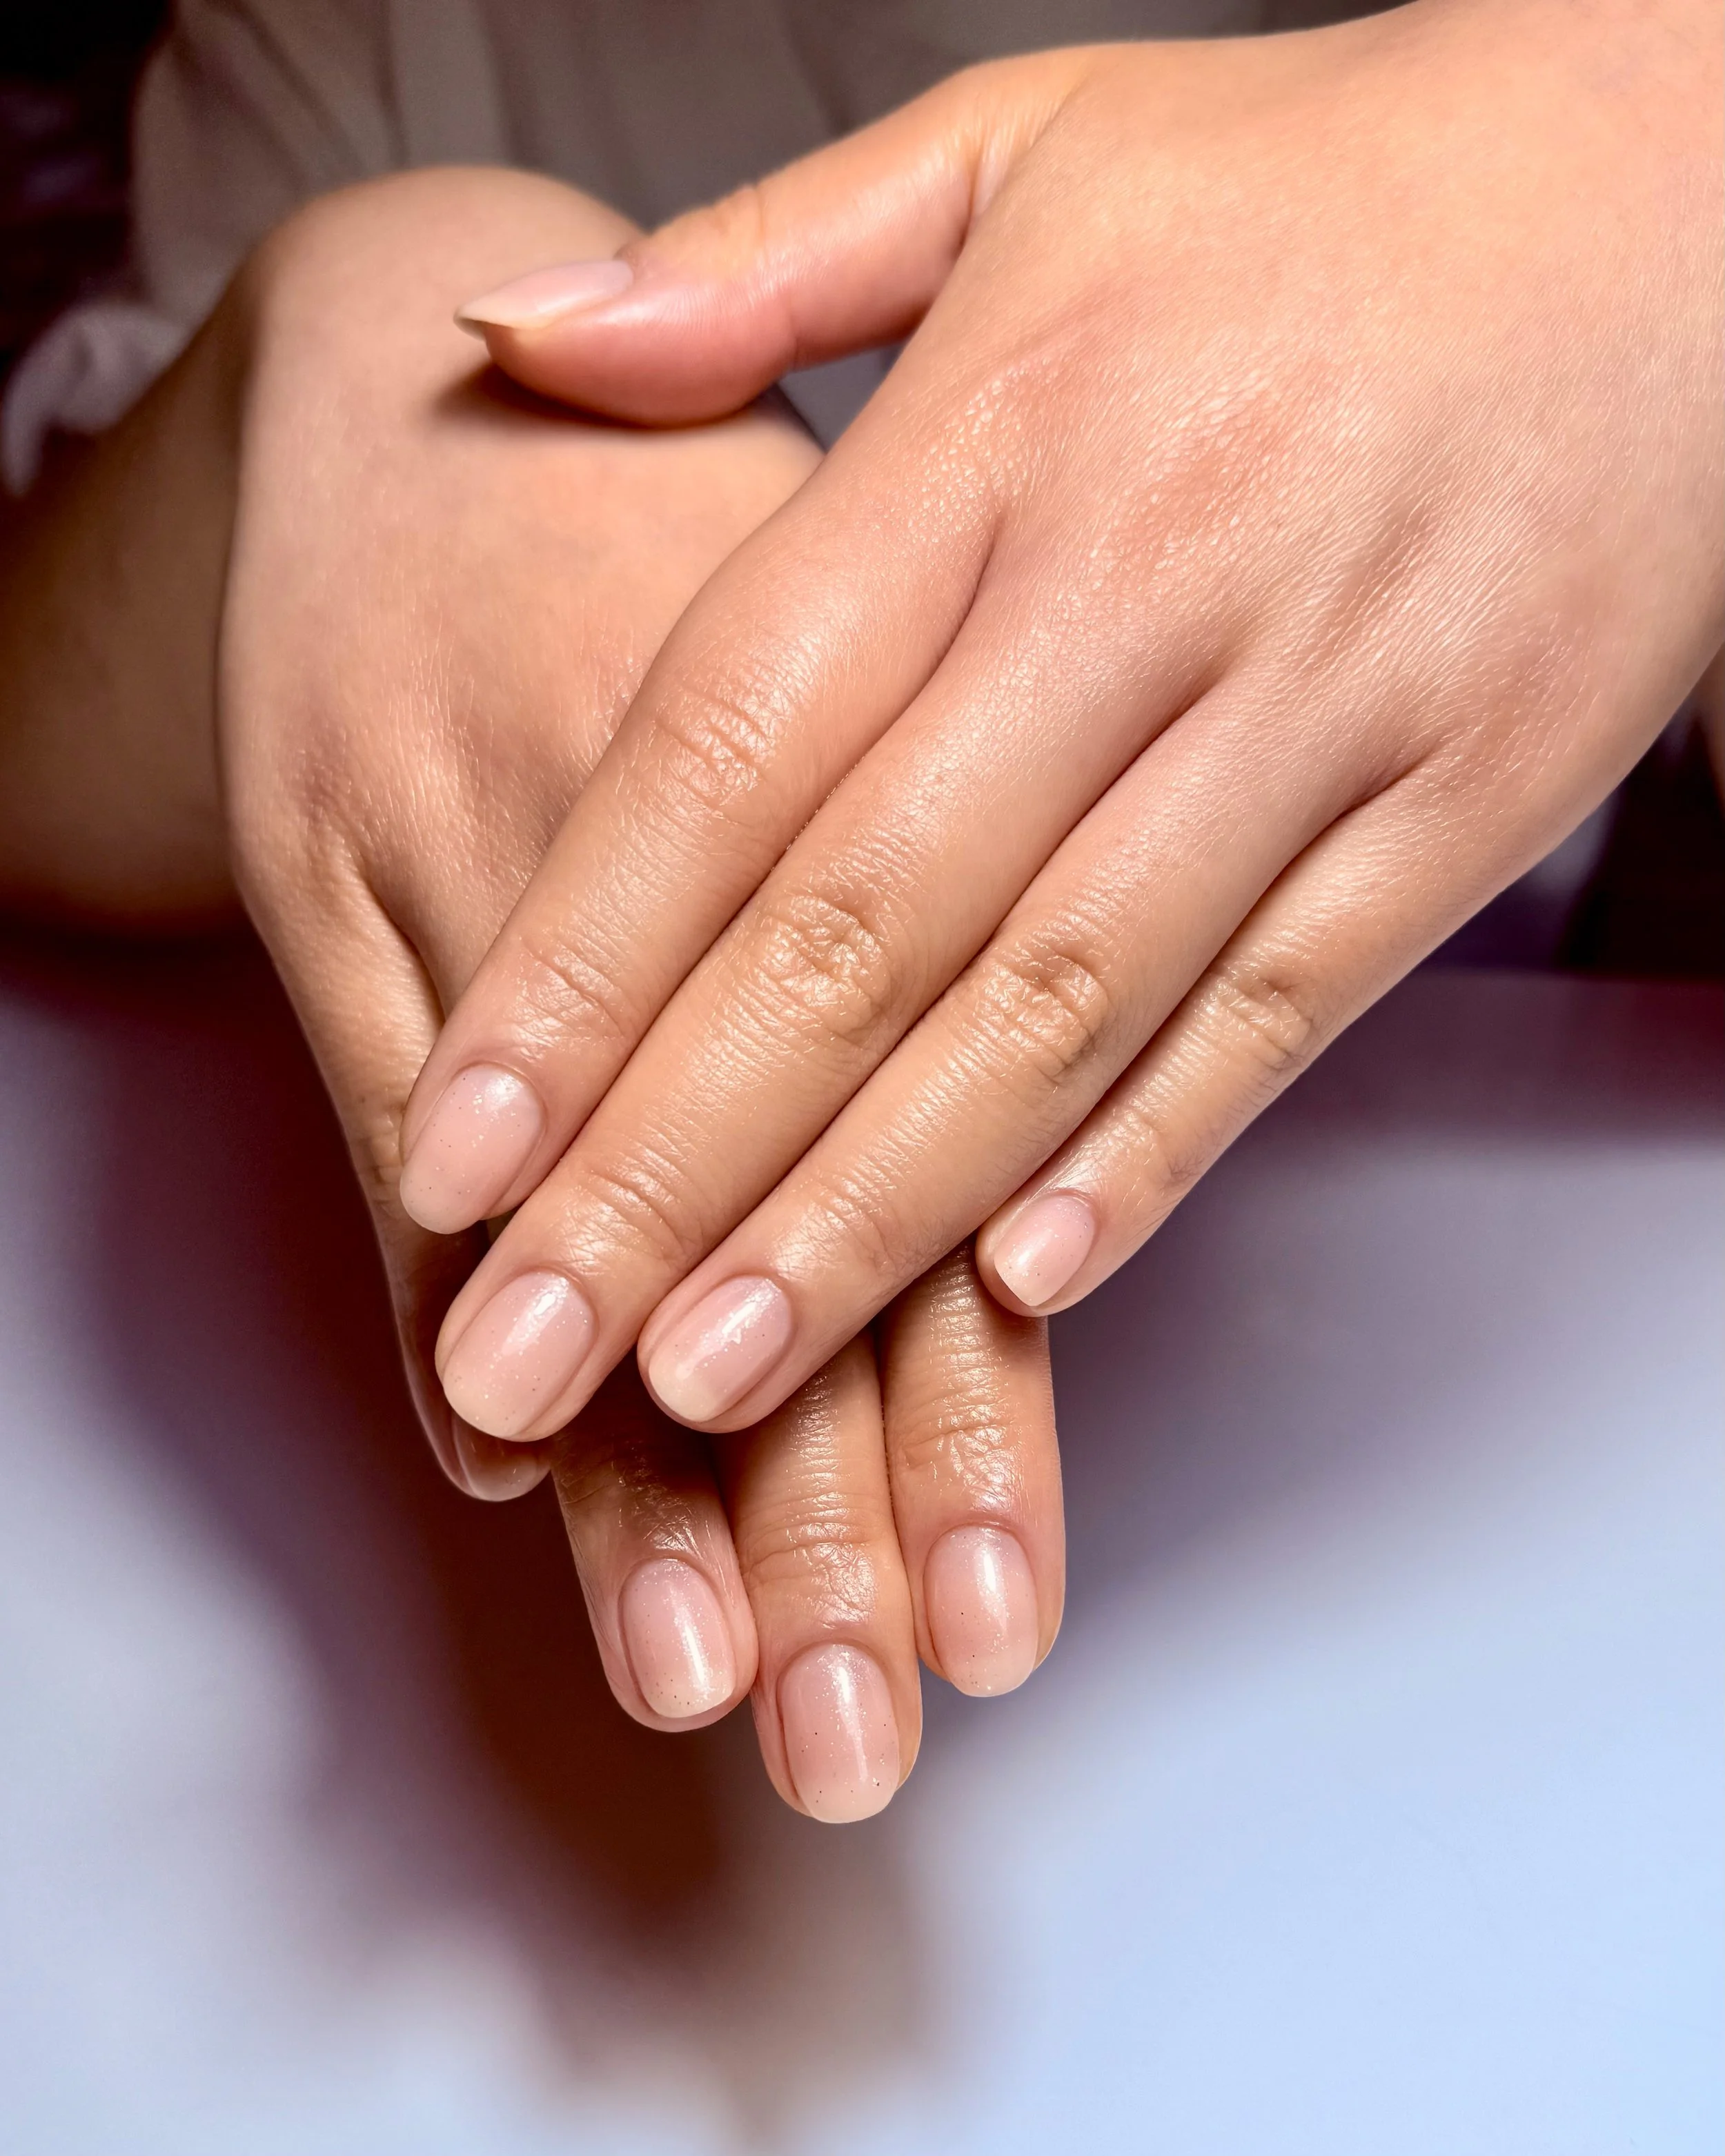
It also means less product build-up over time. Because the prep is so clean, less BIAB is needed for a smooth finish, which keeps the nails feeling lightweight and natural.
What Happens During the Appointment?
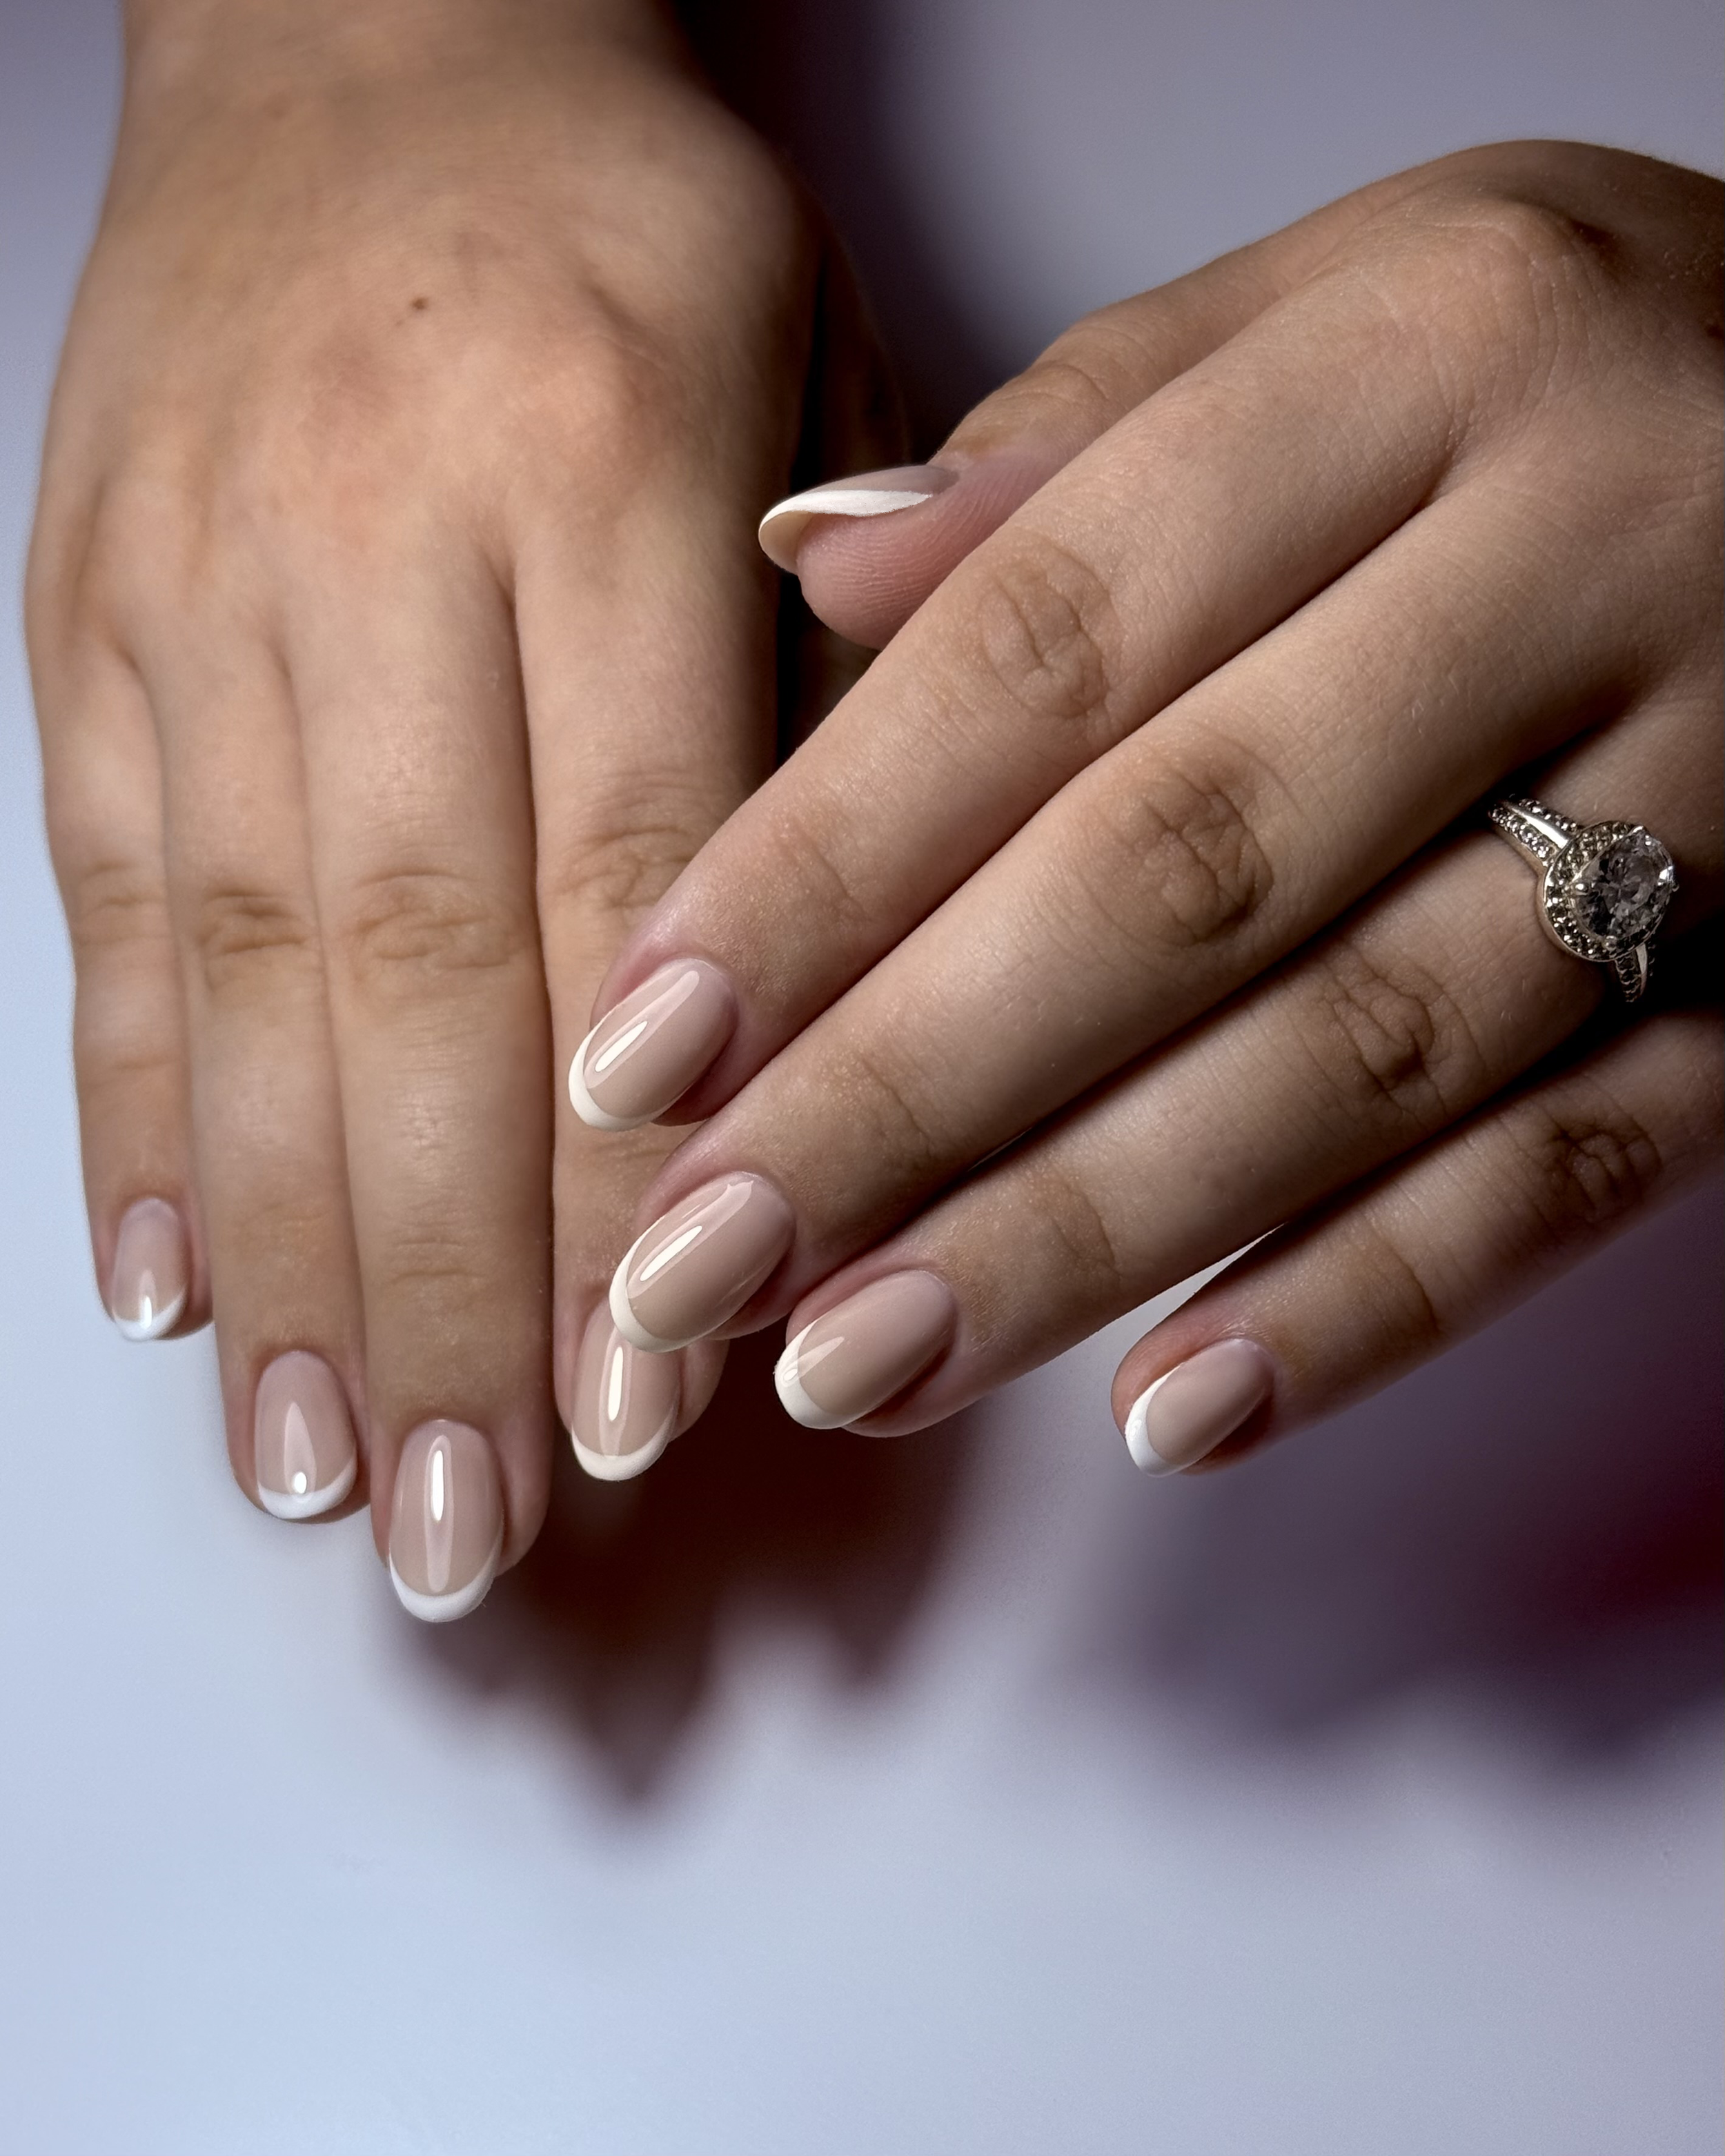
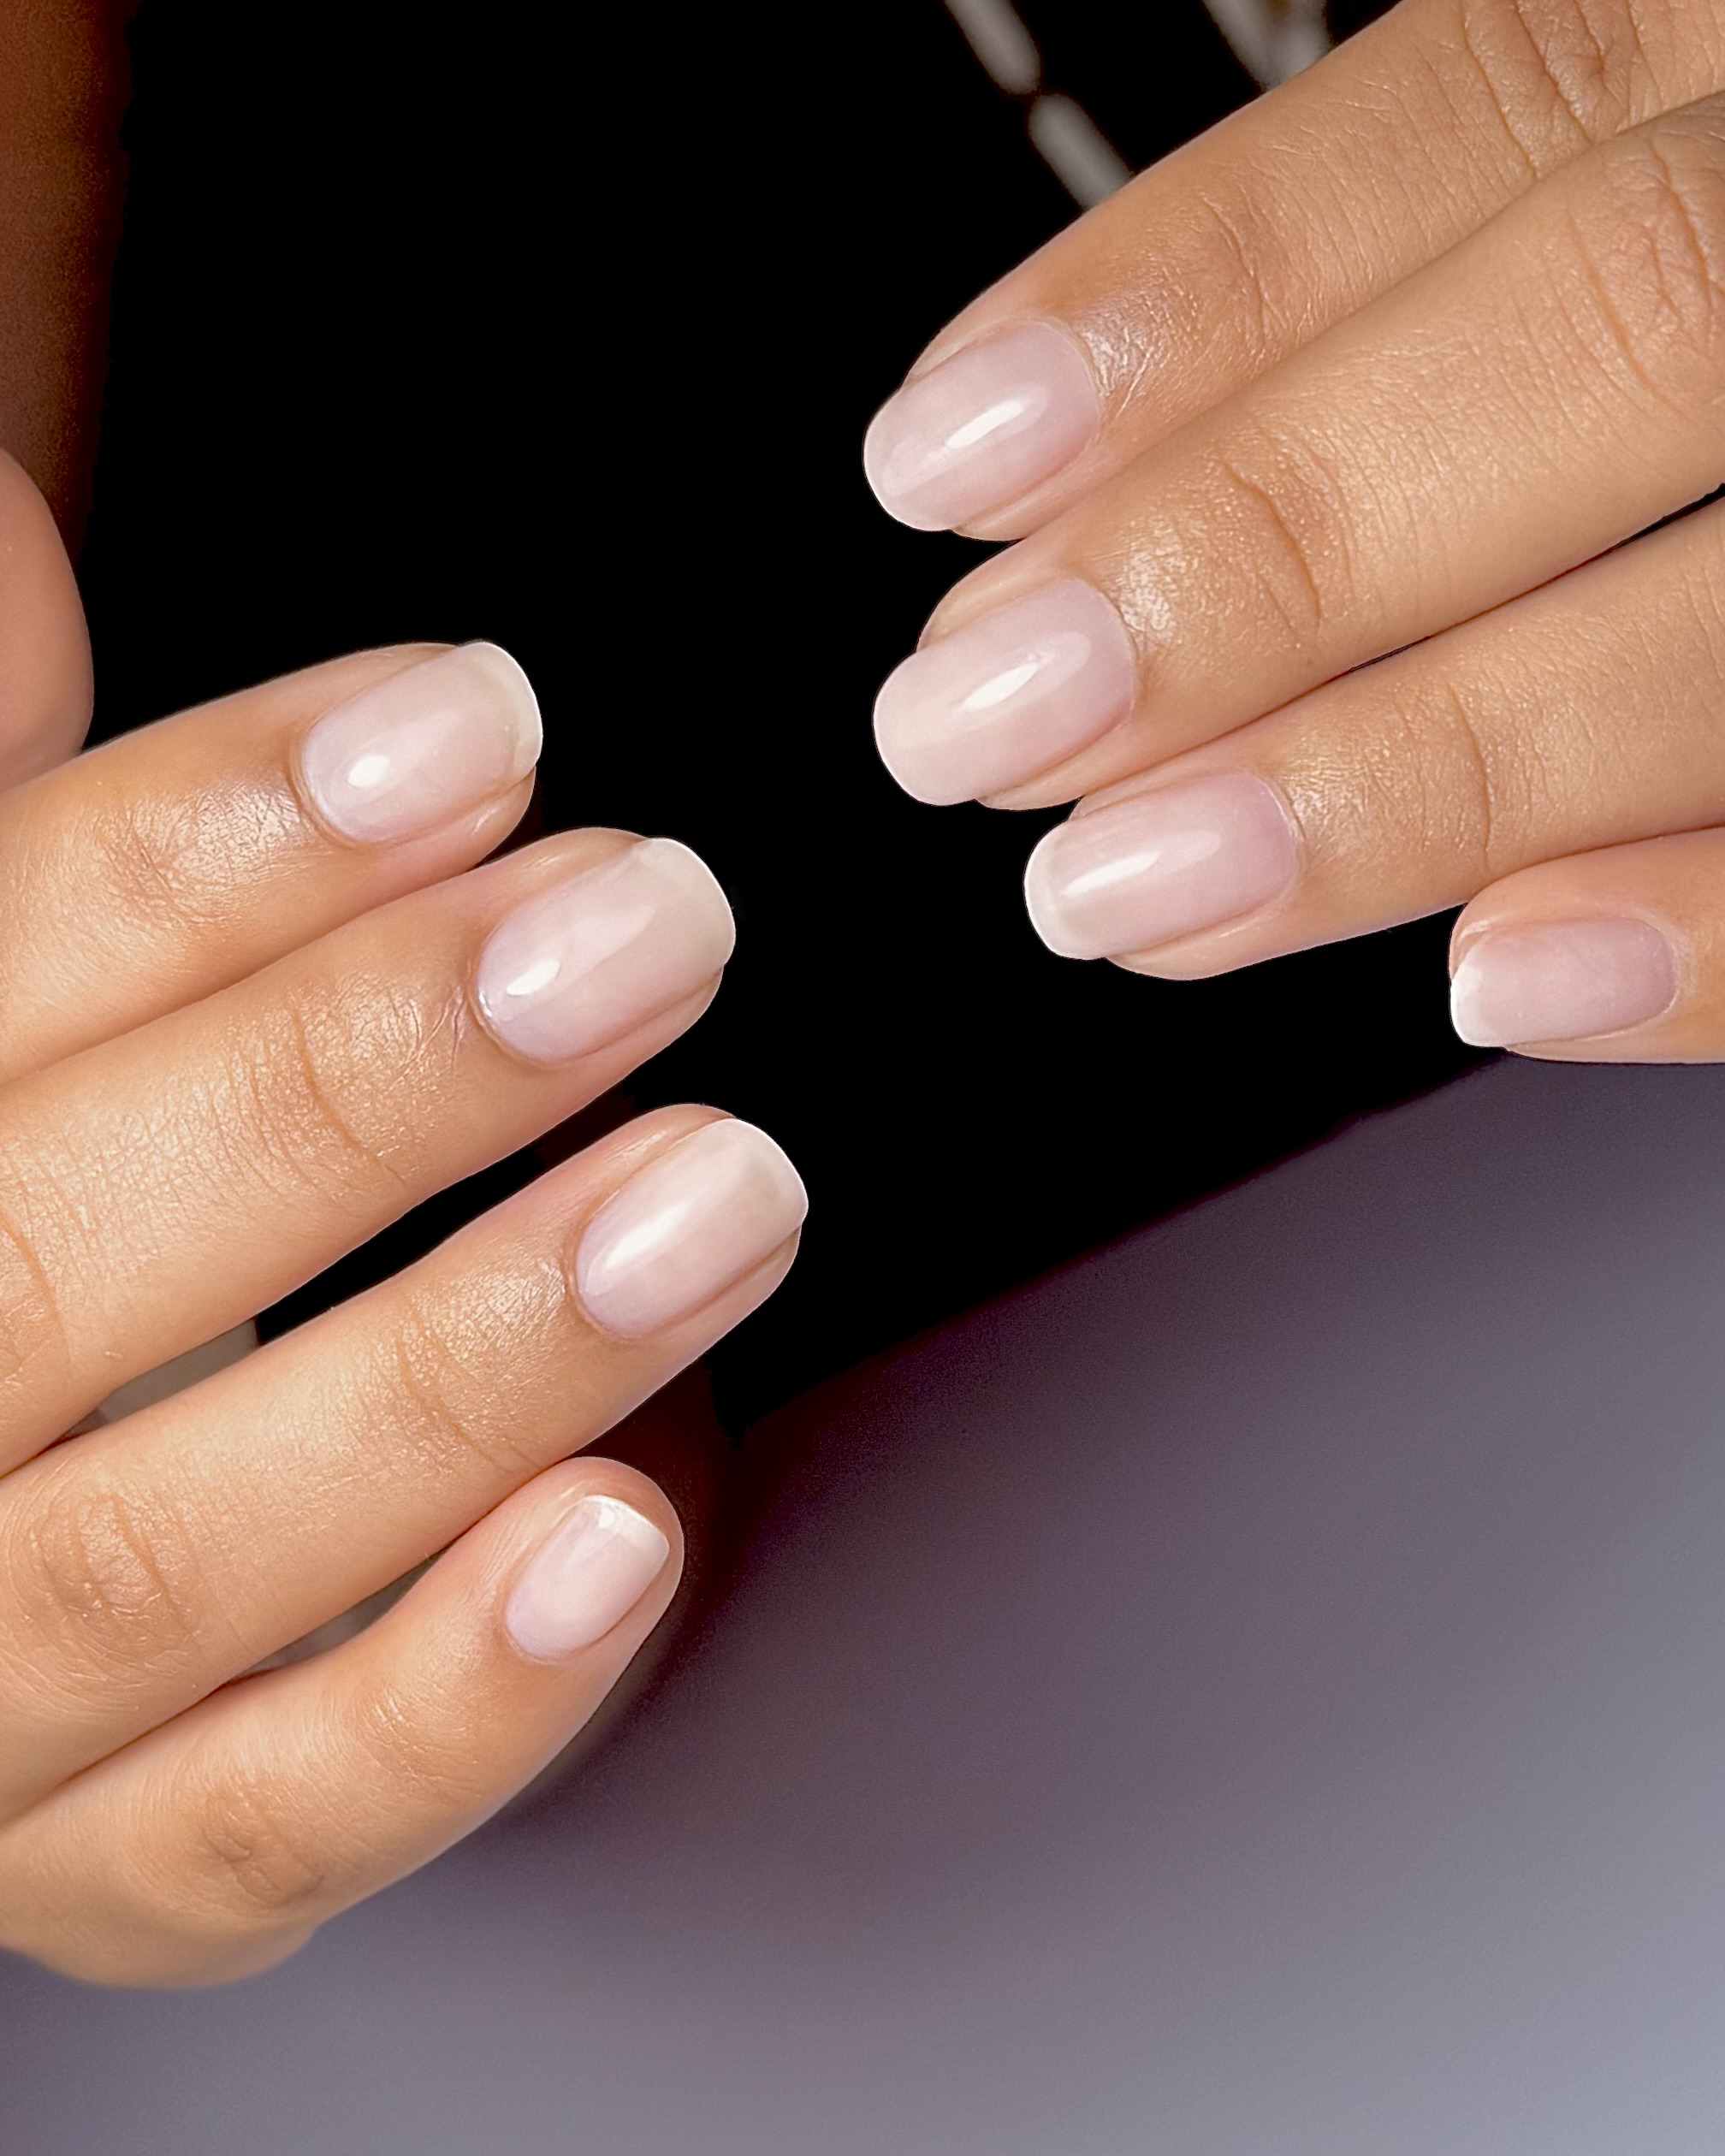
Your appointment begins with a consultation and visual assessment of your nail plate, cuticle condition, and any existing product. The Russian manicure prep takes about 20–30 minutes and involves working through each nail with precision bits to remove dead tissue, refine the nail shape, and create a clean surface for BIAB application.
You'll have a chance to read through exactly what happens on the What to Expect page before you arrive, highly recommended if it's your first time.
Who Is This Technique Best For?
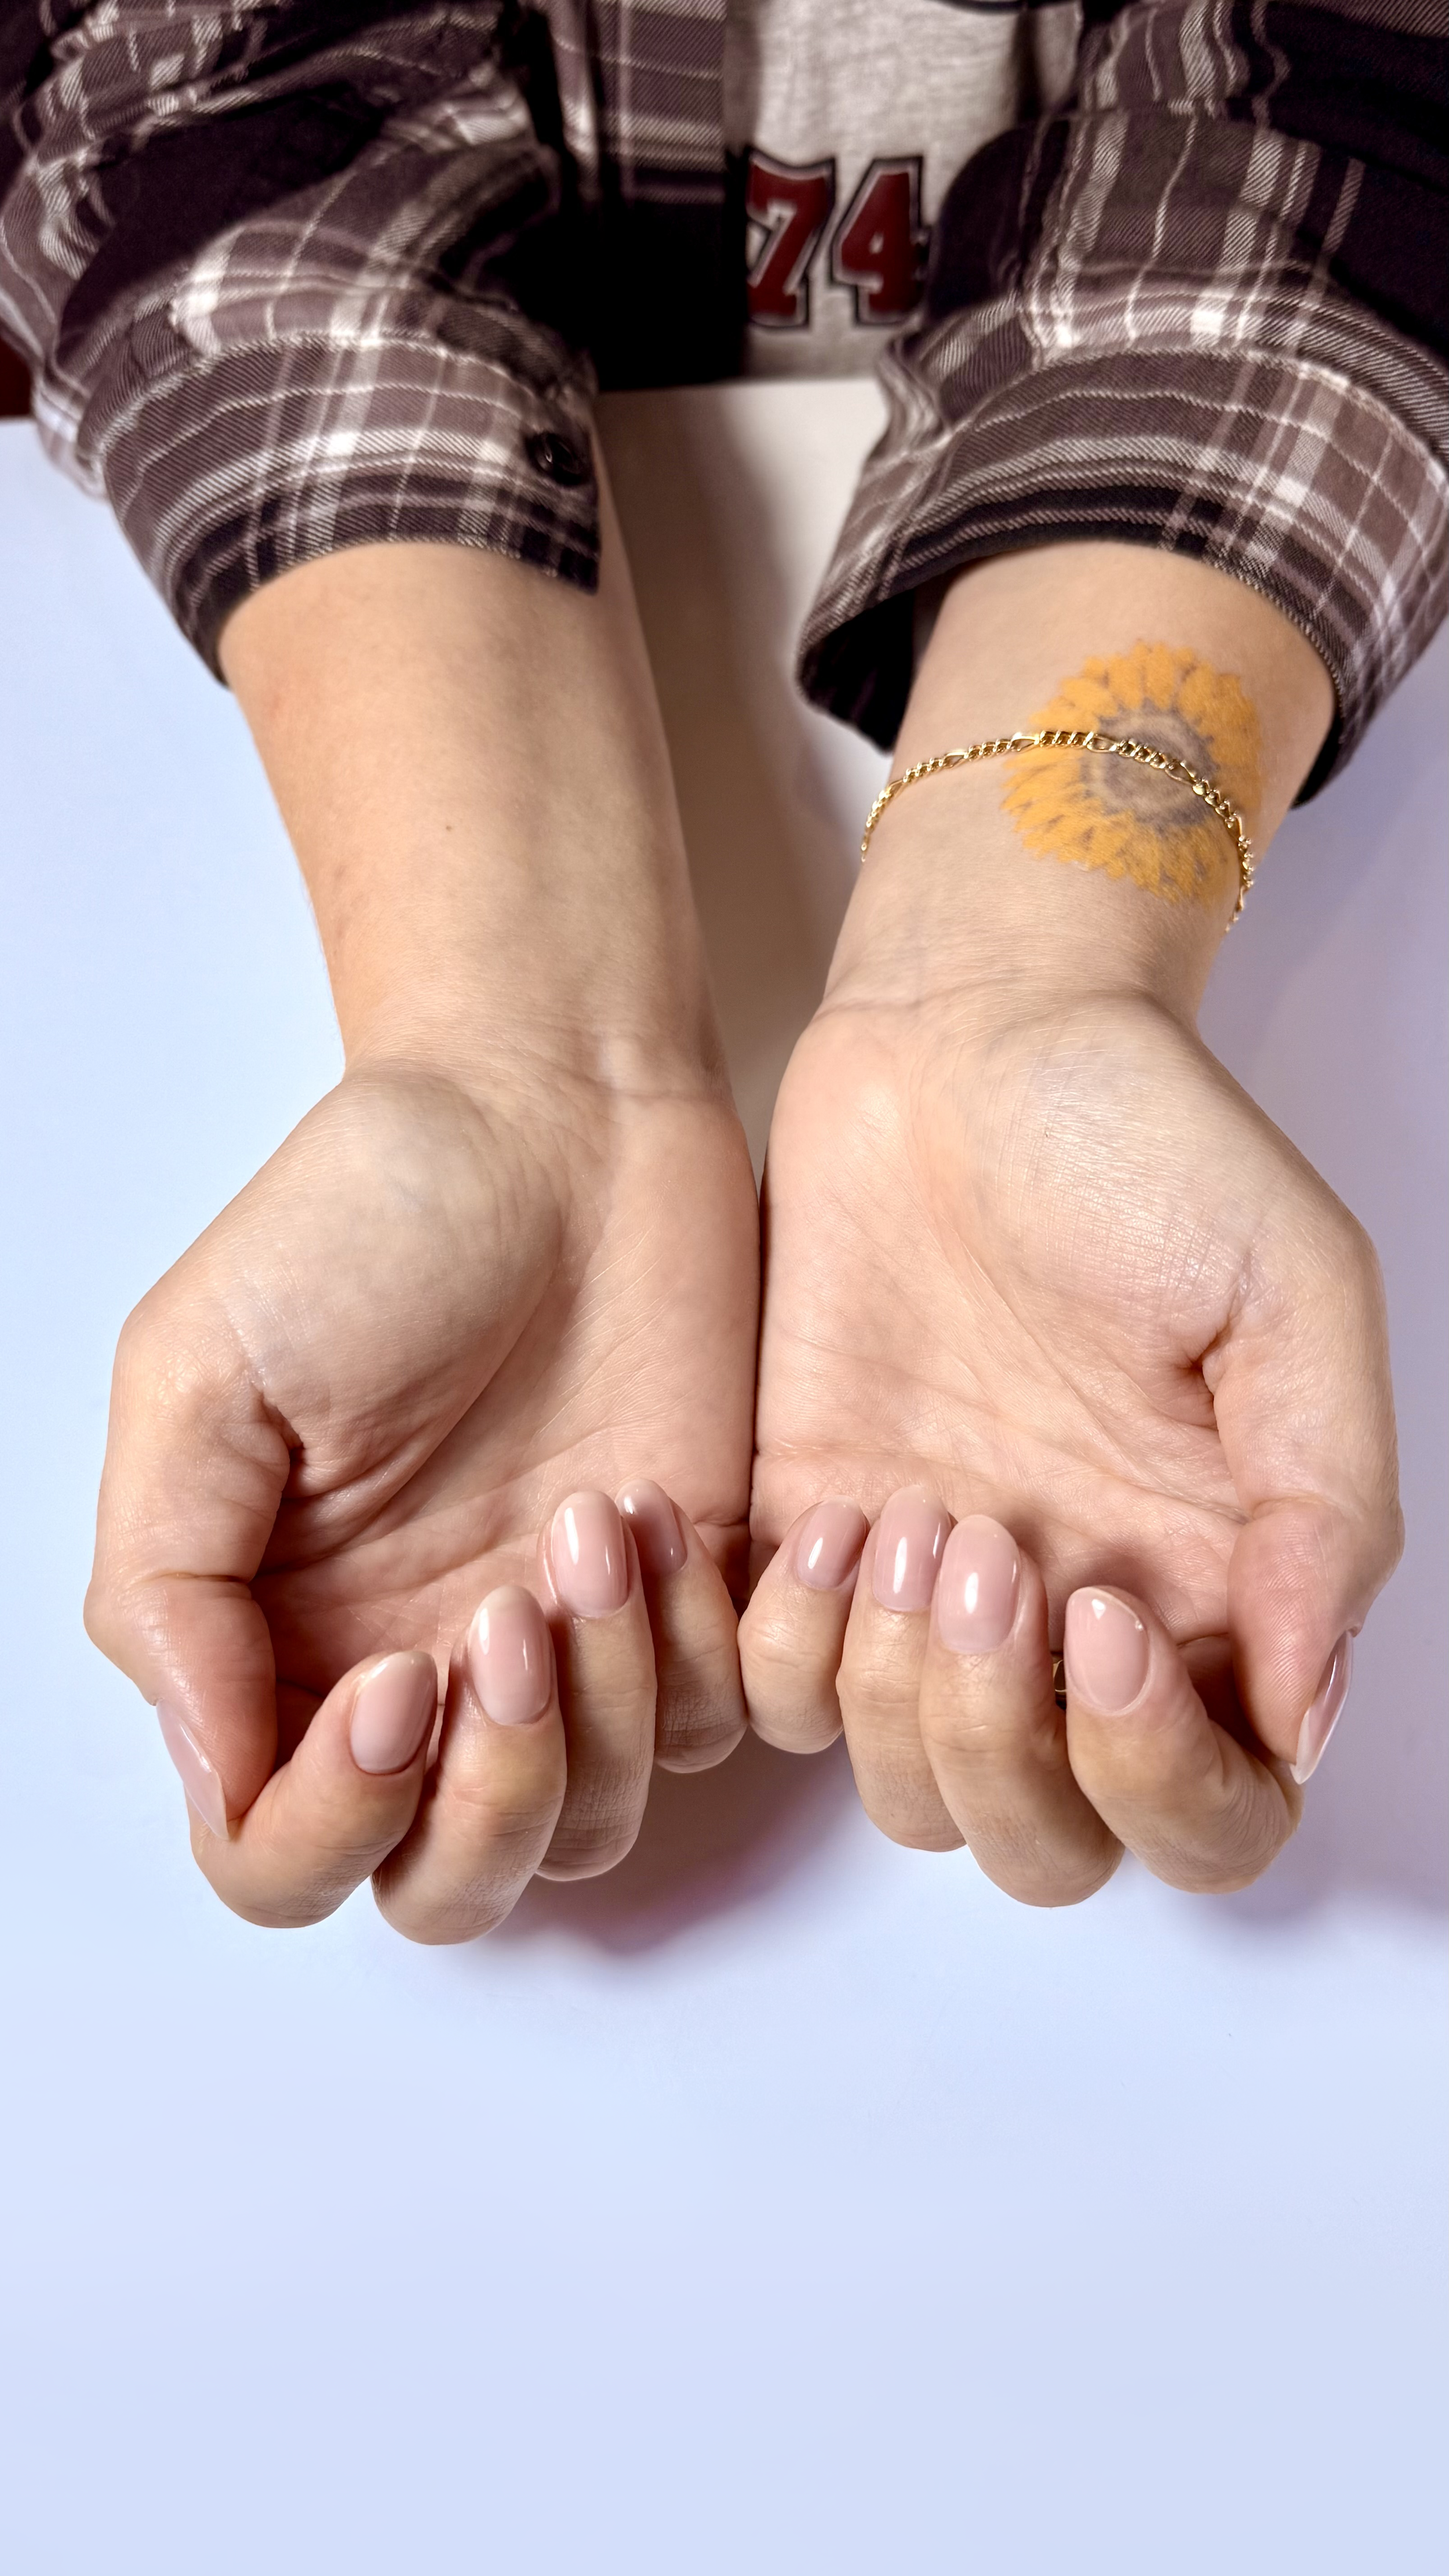
Russian manicure prep is genuinely beneficial for almost every client — but it's especially valuable if you:
— Have heavy cuticle overgrowth that makes gel products lift quickly
— Have experienced lifting or poor retention at other salons
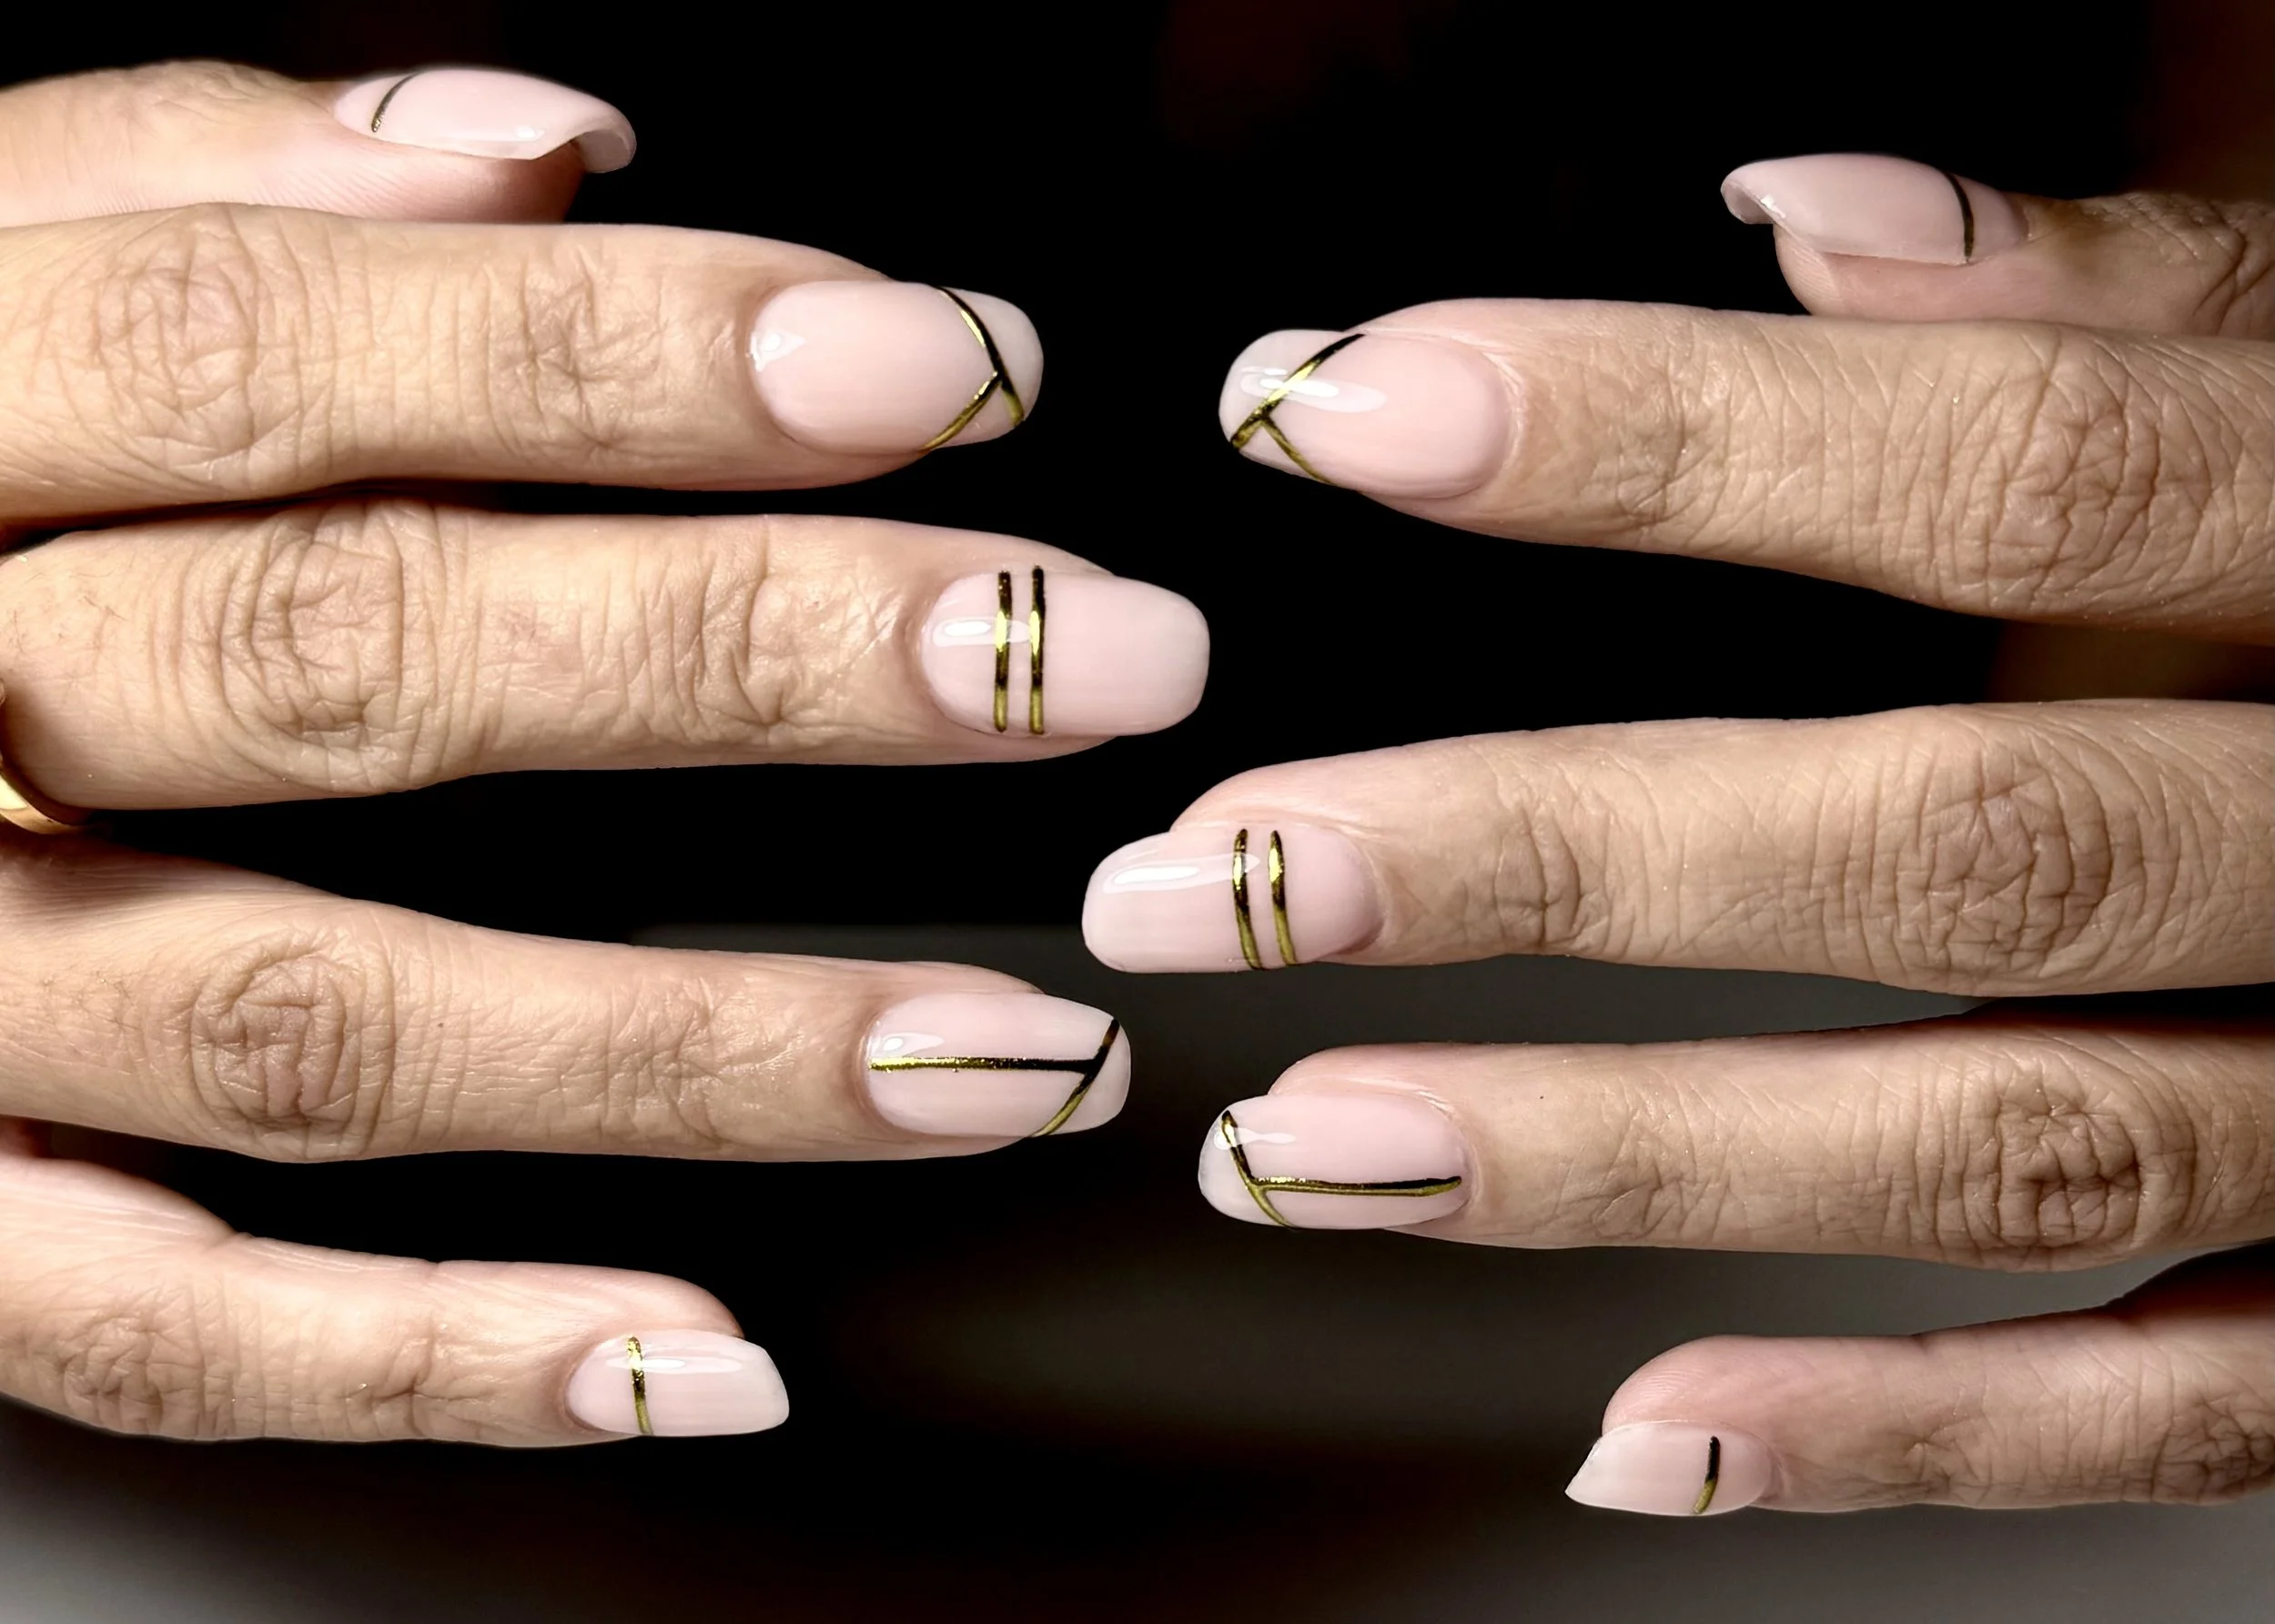
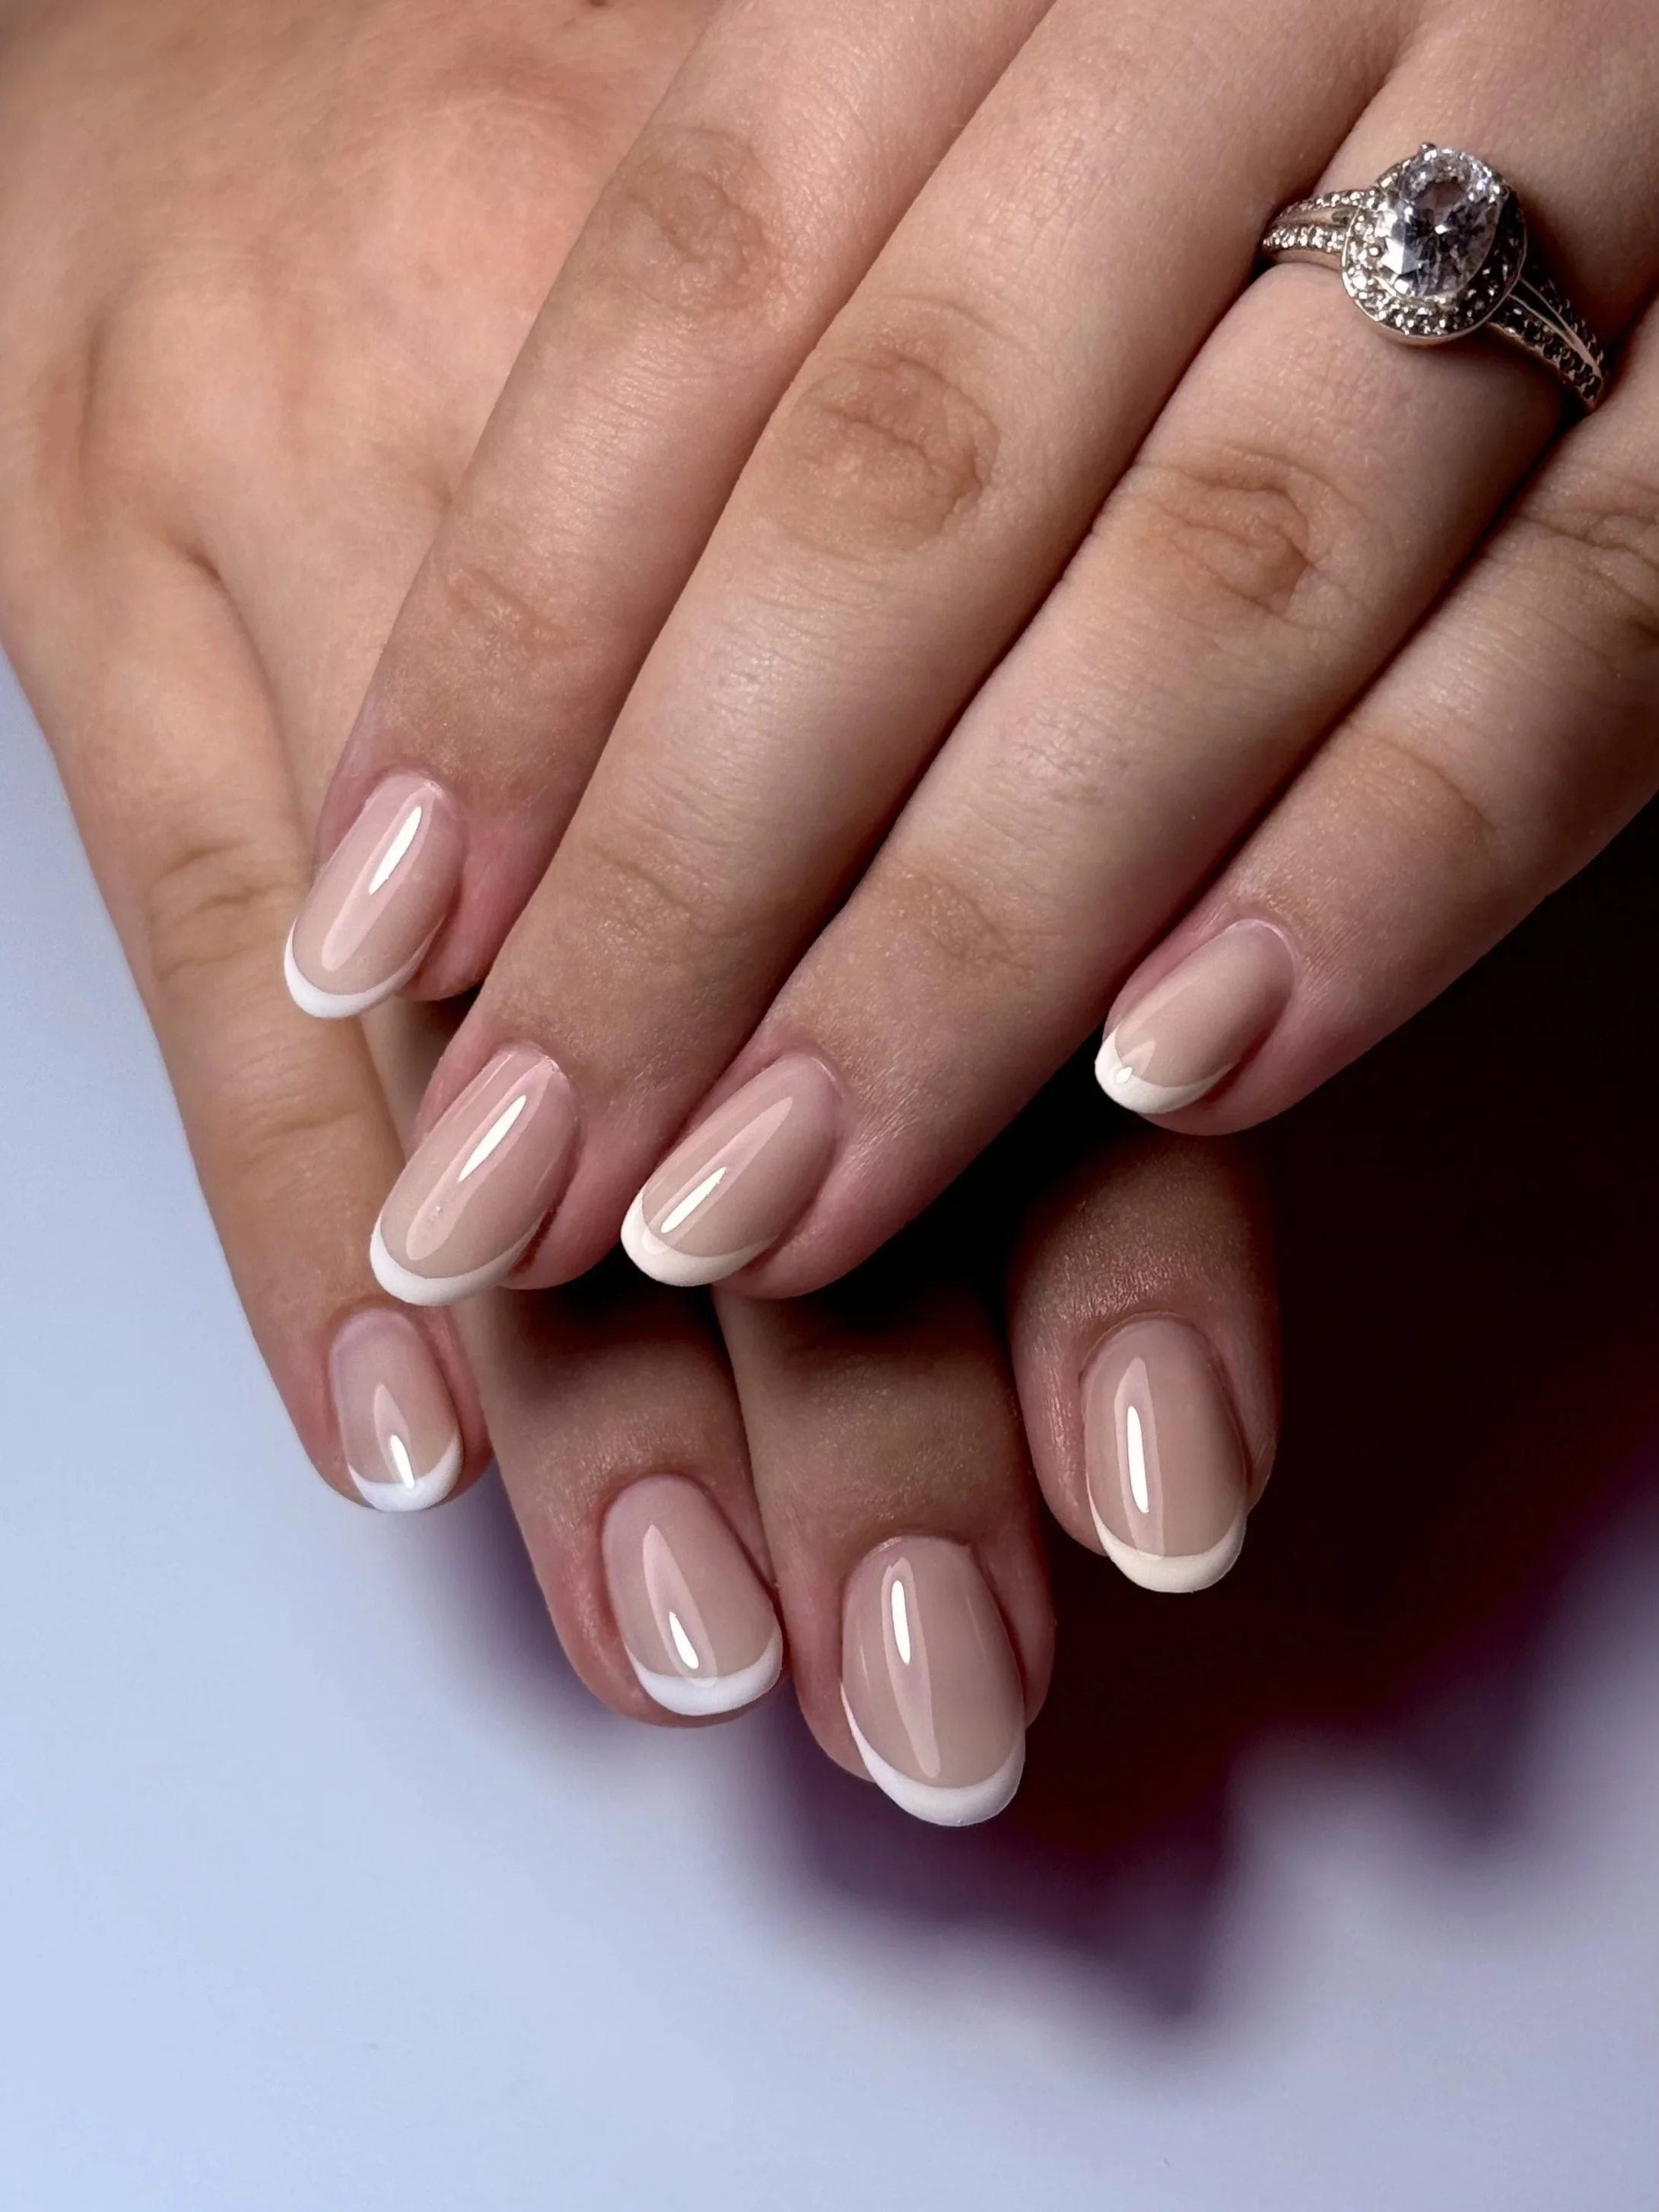
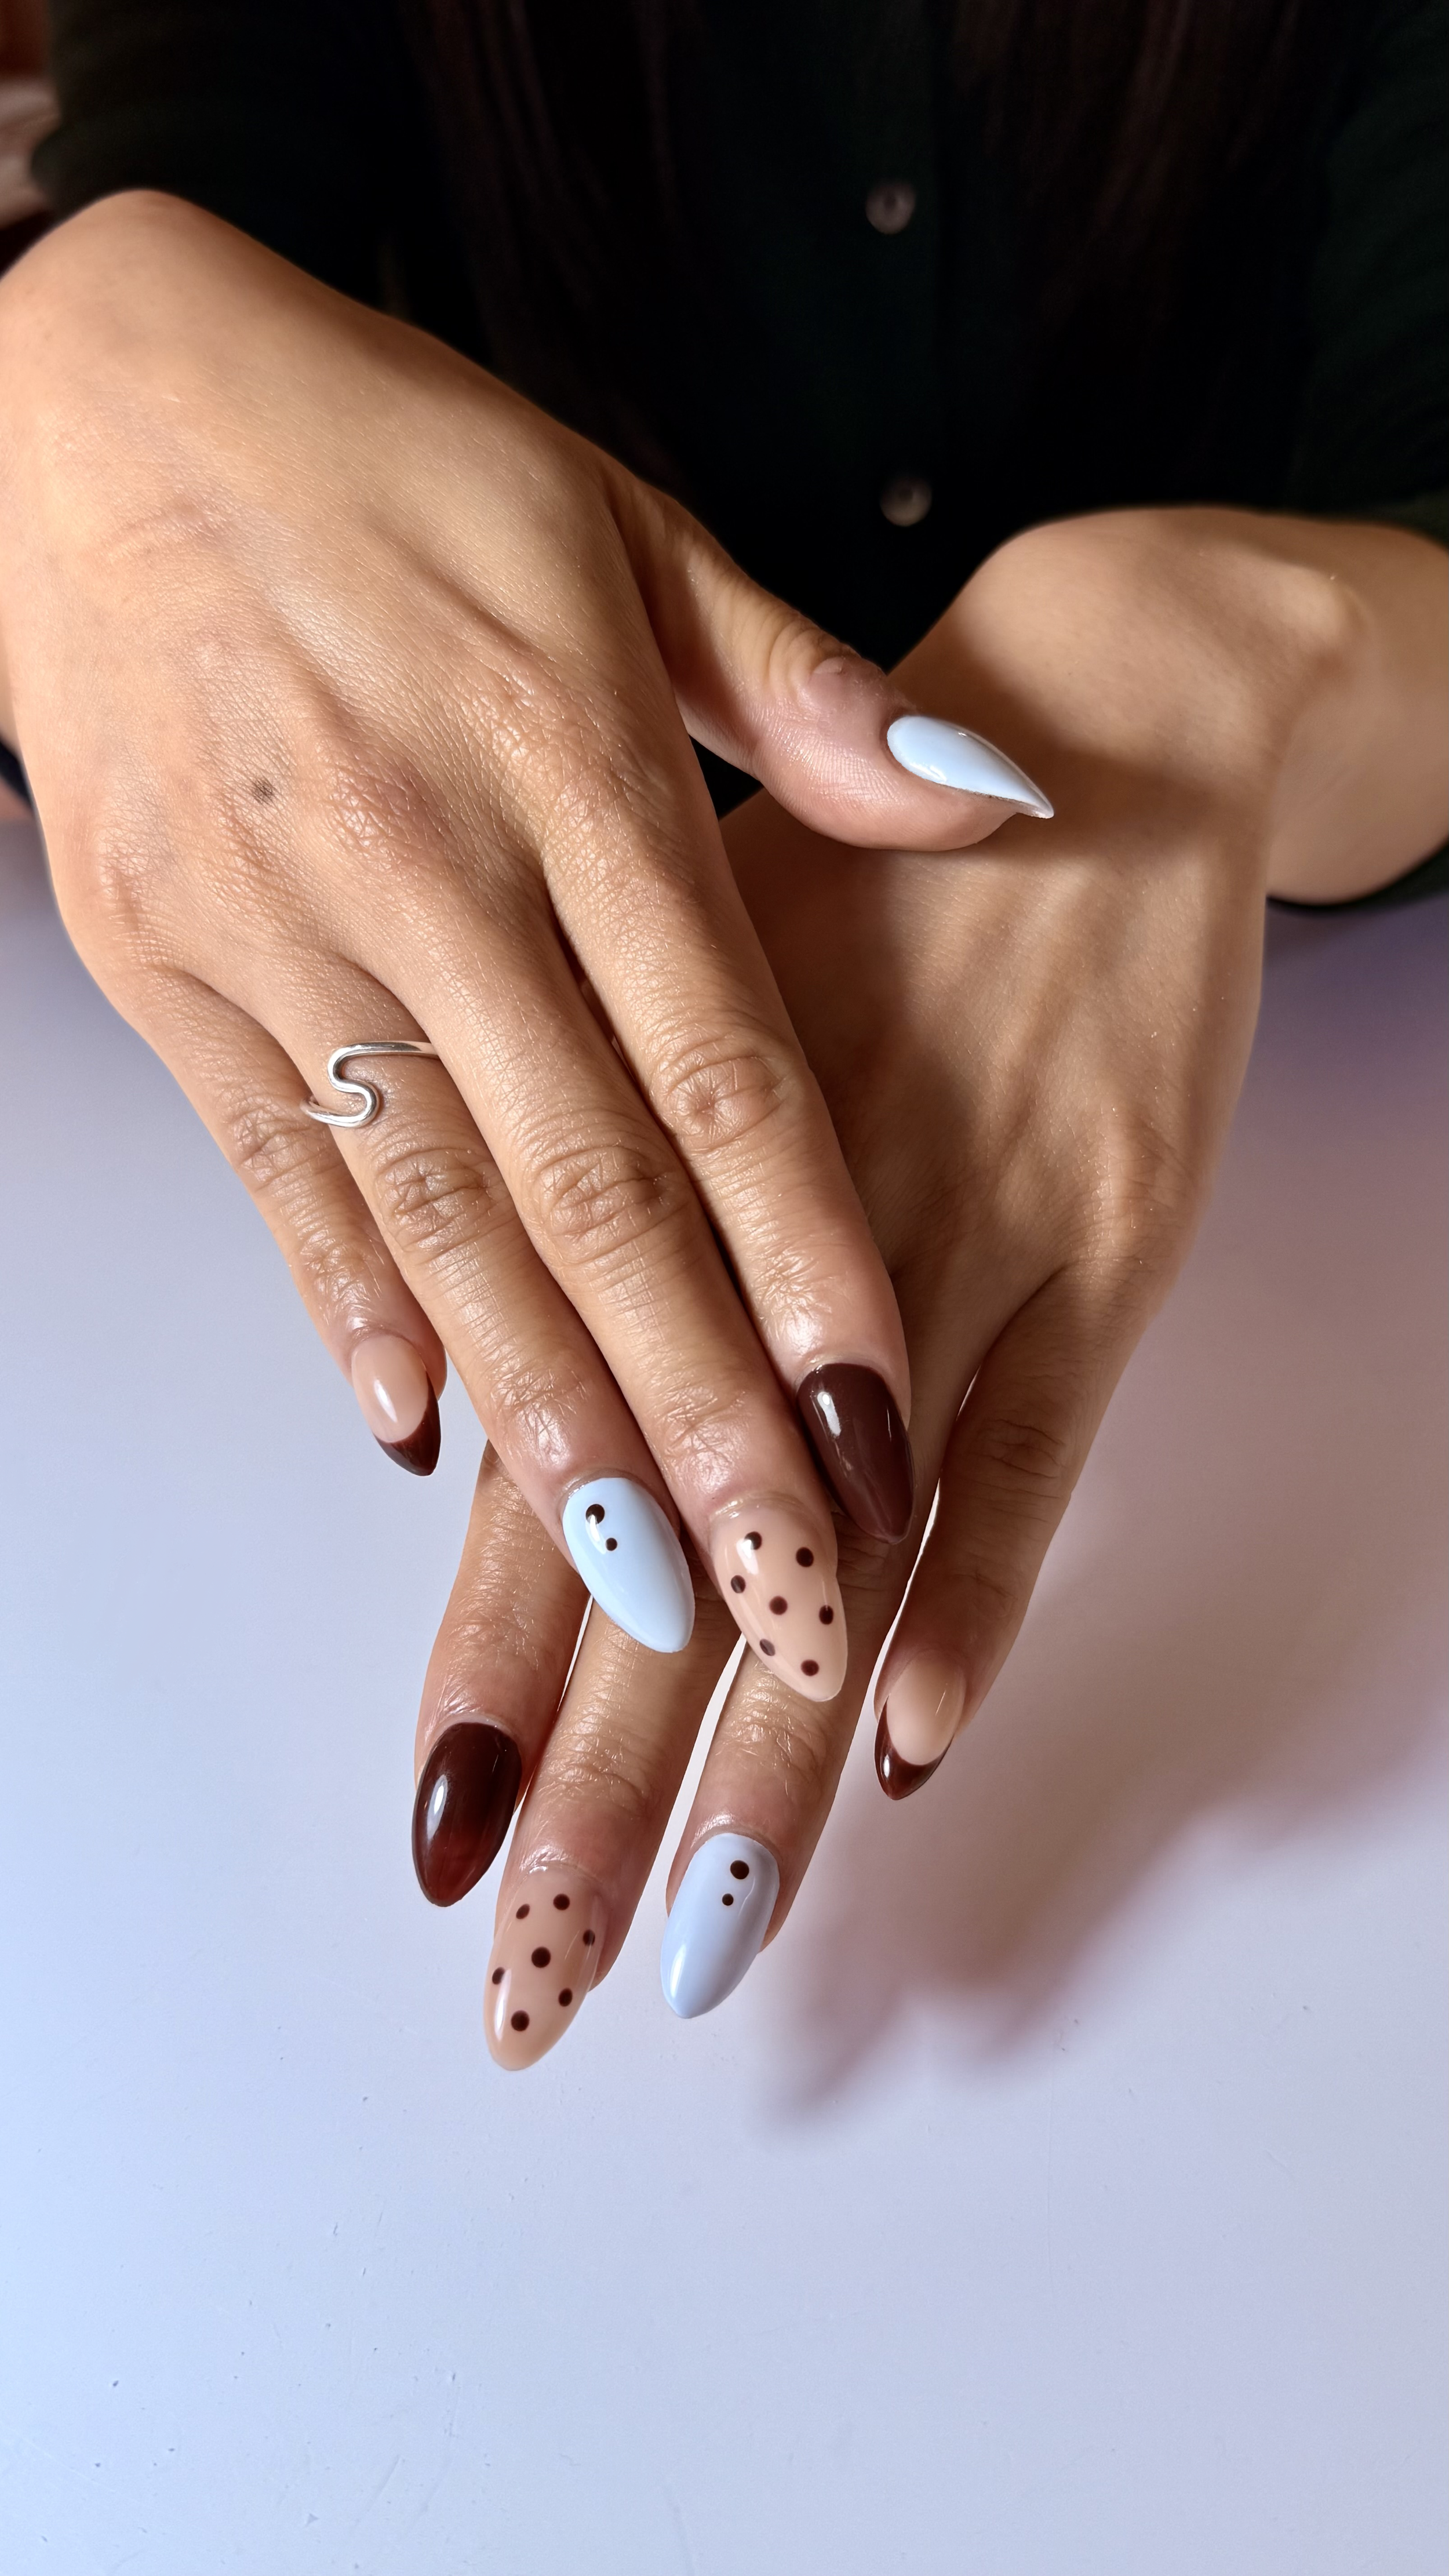
— Want the cleanest, most precise finish possible
— Have sensitive skin and want to avoid water-soaking or metal nippers
— Are transitioning from acrylics and want to restore natural nail health
Frequently Asked Questions
Does a Russian manicure hurt?
No — it should feel like light pressure and a gentle warmth at most. If you experience any pain or heat, tell your nail tech immediately. The technique at Apricot Nails is always adapted to individual sensitivity.
How often do I need a Russian manicure?
The prep is built into every BIAB appointment at Apricot Nails, so you don't need to book it separately. As your nails grow and cuticle skin regenerates, the prep is repeated at each infill, typically every three to four weeks.
Is it safe if I have very thin nails?
Yes — thin nails actually benefit greatly from this technique because the structured BIAB overlay adds support. The e-file prep is adjusted to the nail's thickness and never works on the nail plate itself during cuticle prep. See the BIAB FAQs page for more on nail health.
Can I get a Russian manicure without BIAB?
At Apricot Nails the Russian prep technique is used as part of BIAB and gel nail services. It's most effective when paired with a structured overlay — the prep creates the optimal surface for long-lasting product adhesion.
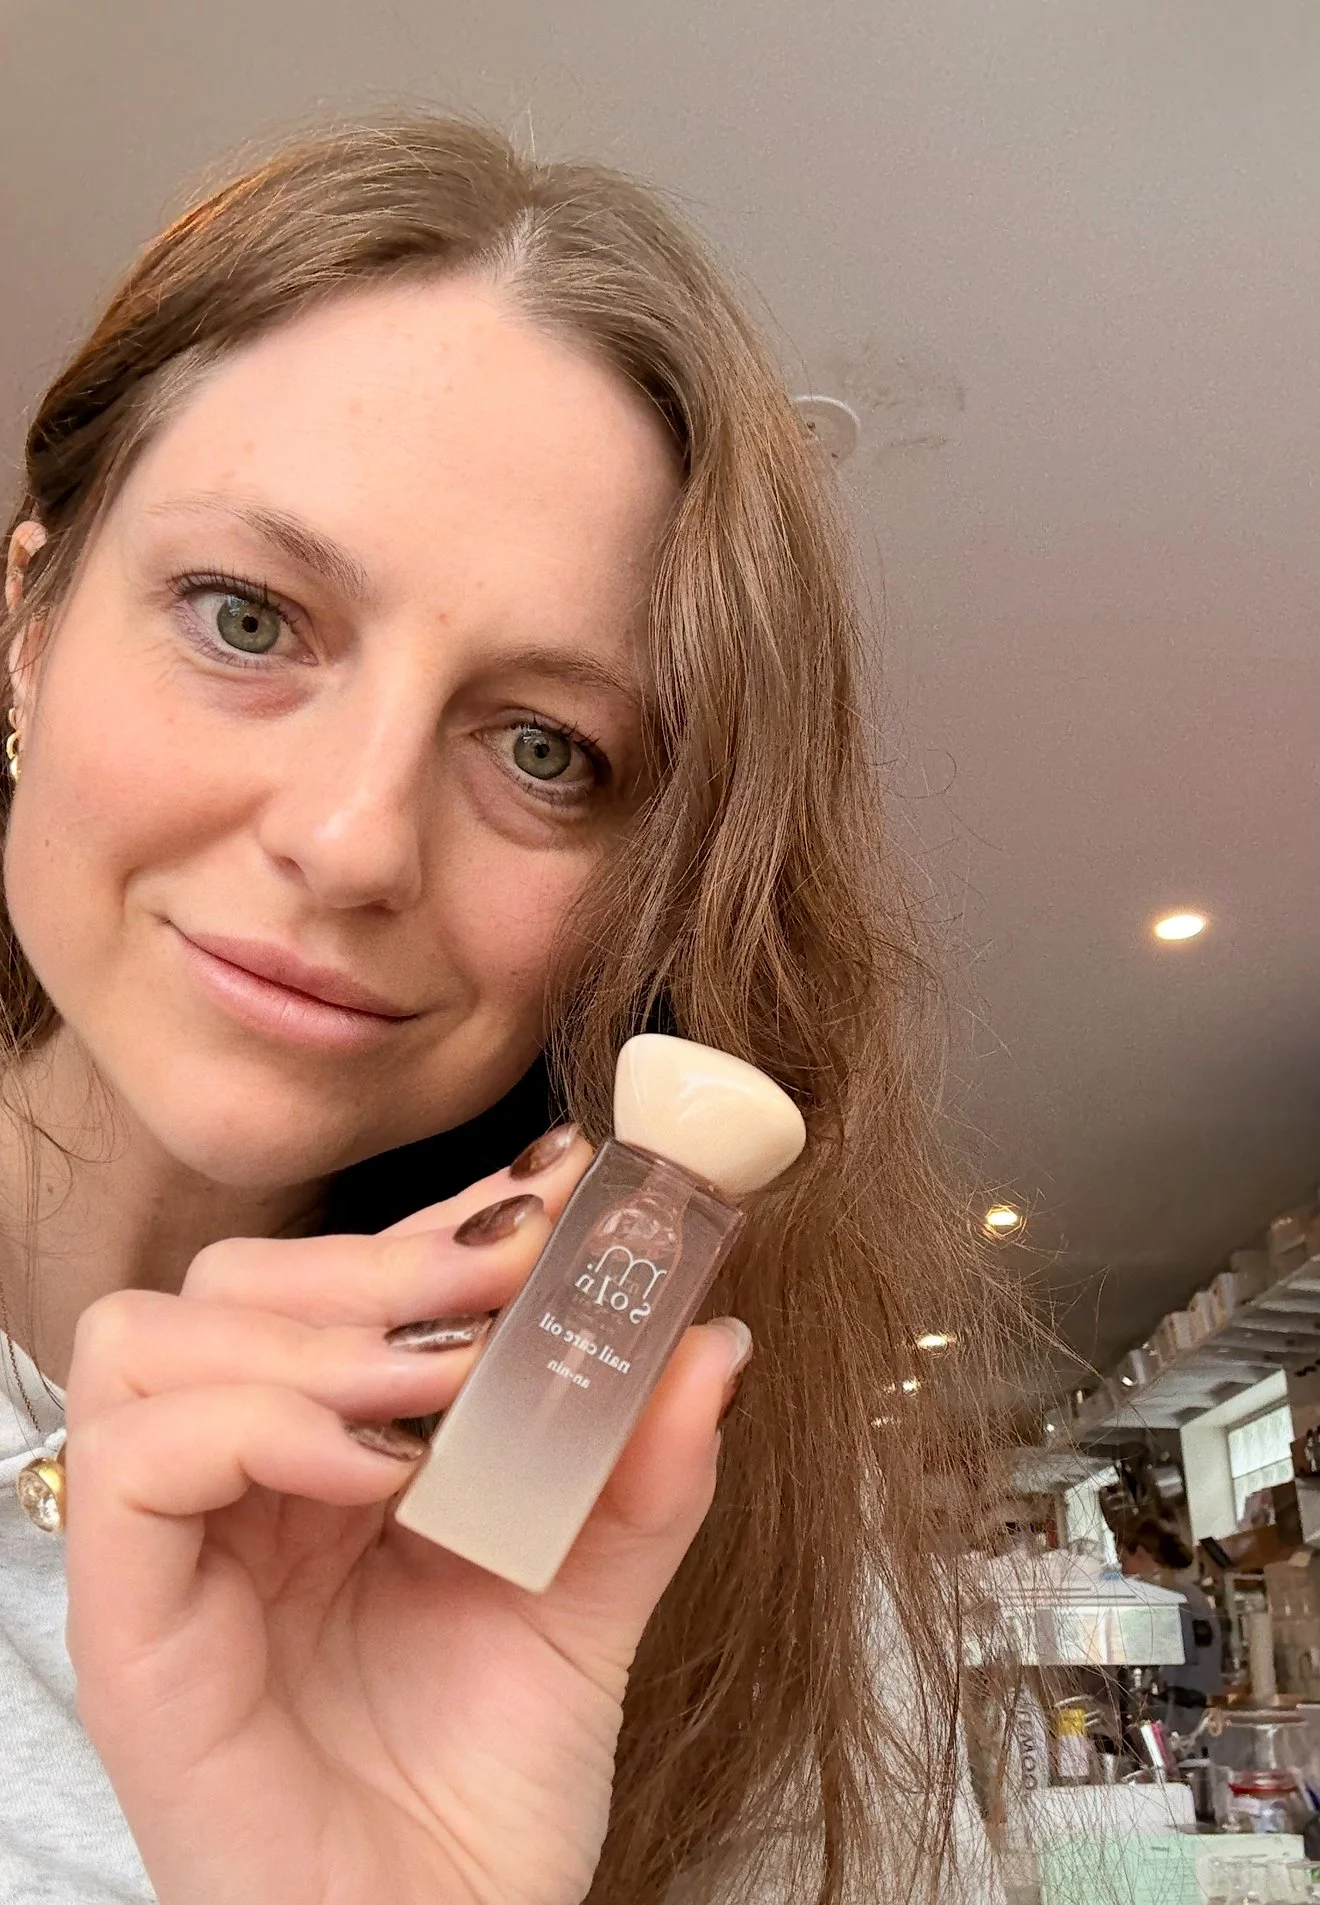
Still have questions? The BIAB FAQs page covers everything from nail health to what to use at home between appointments. Or, if you're ready to experience the difference, you can secure your spot in the studio below.
Experience Russian Manicure Prep at Apricot Nails
Private 1:1 appointments · Hawthorn, Melbourne