
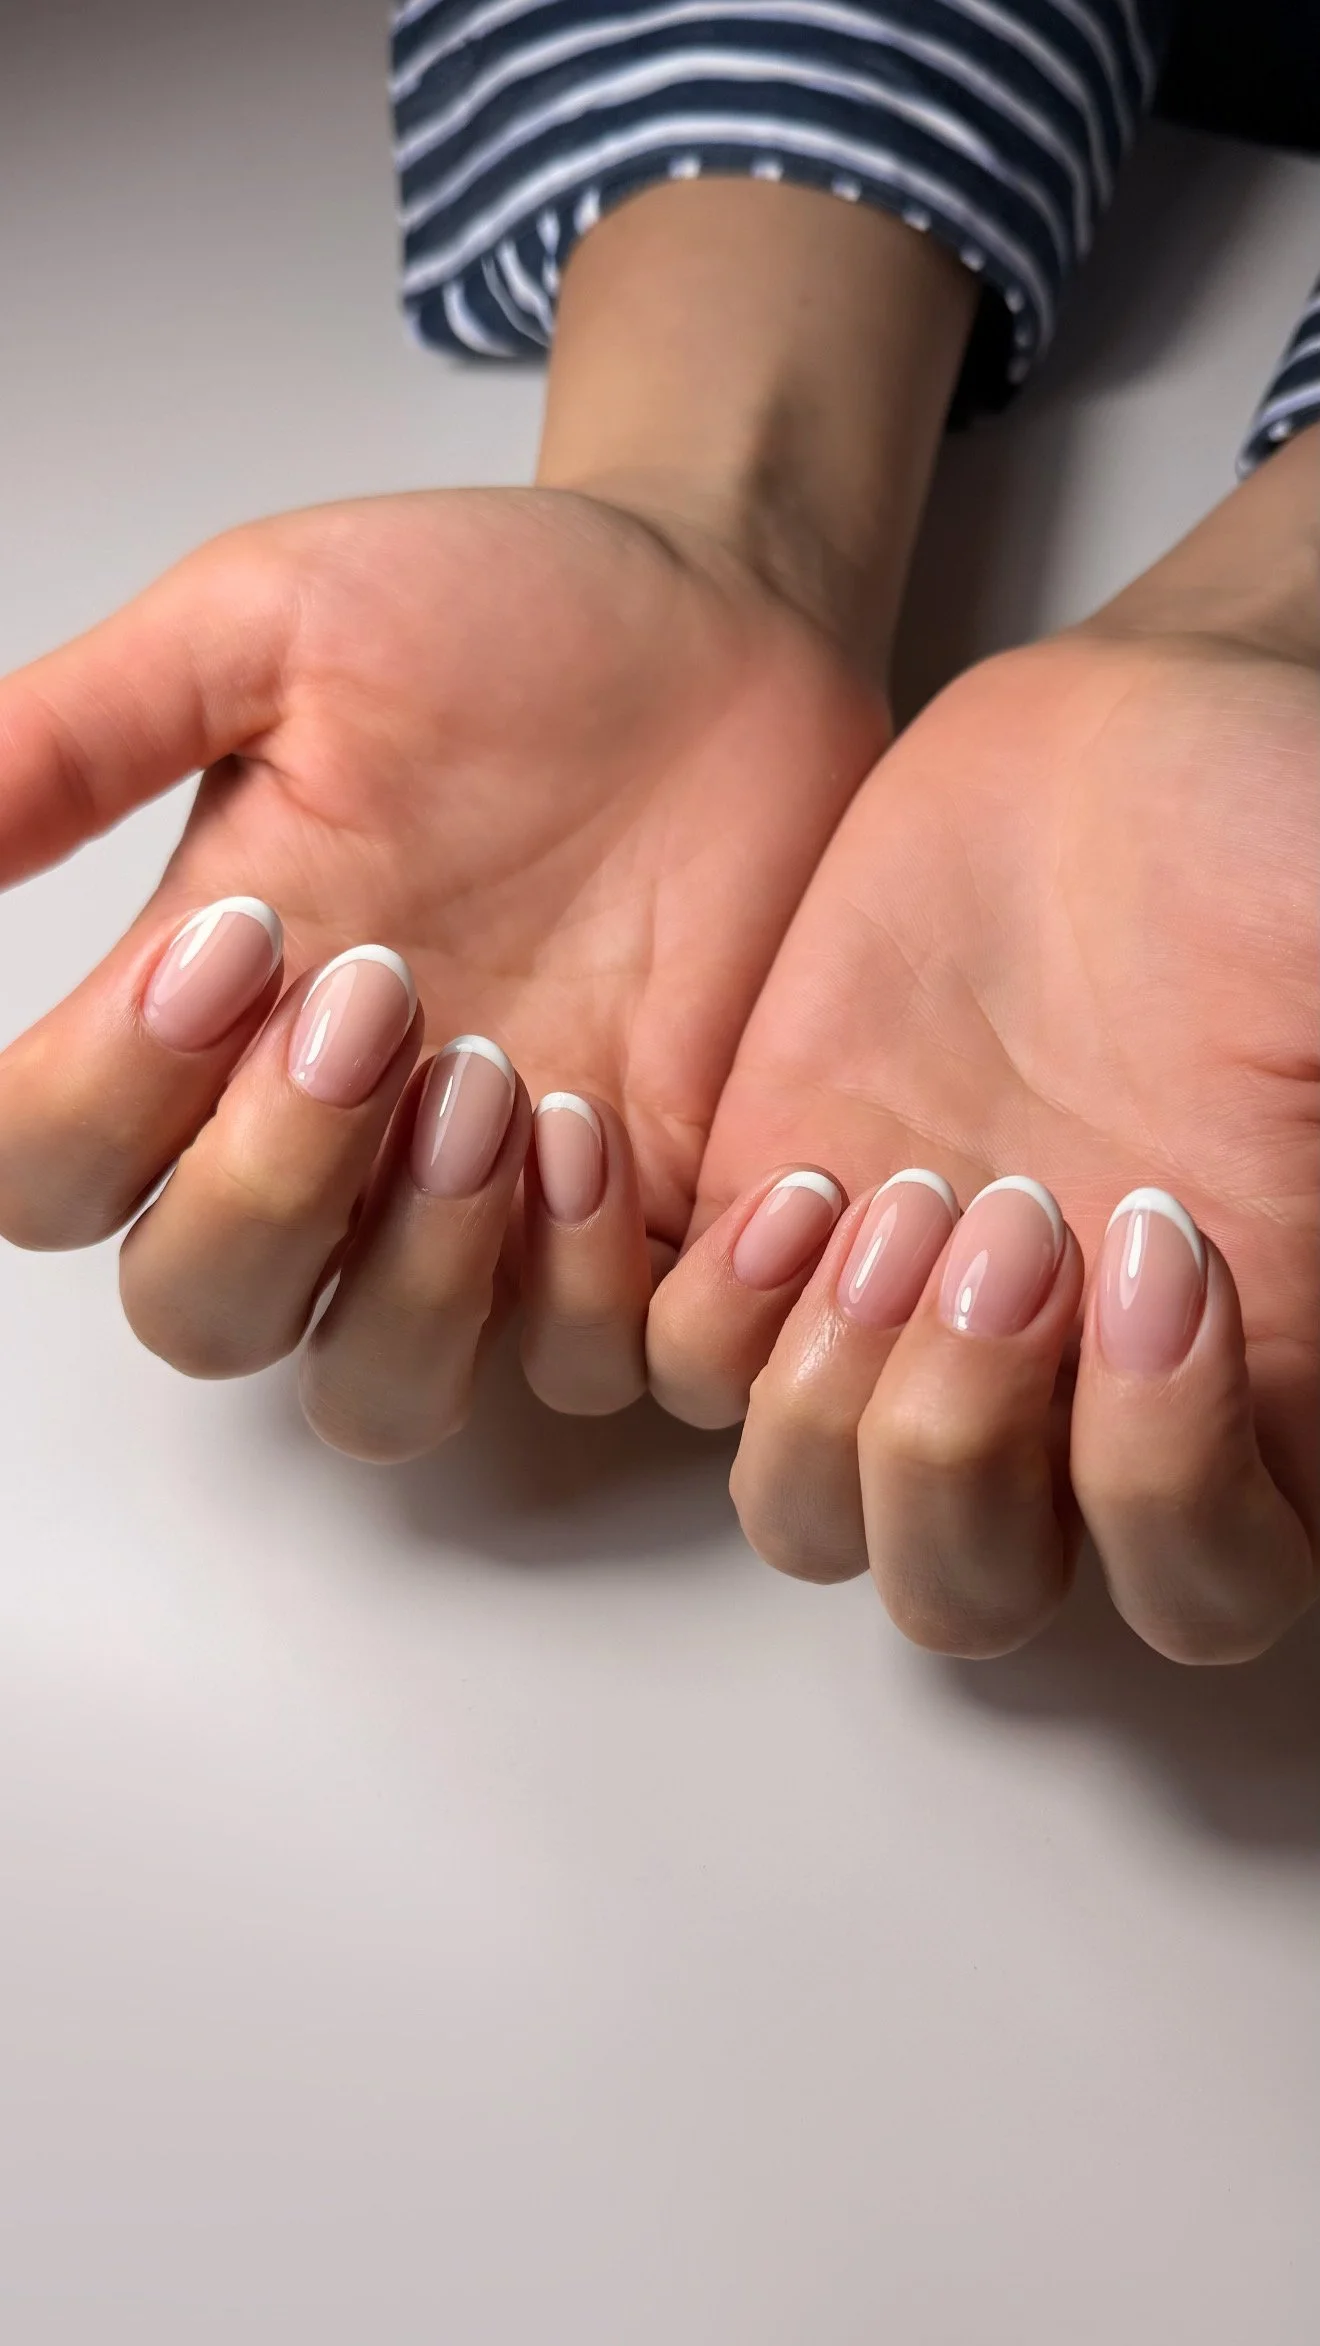

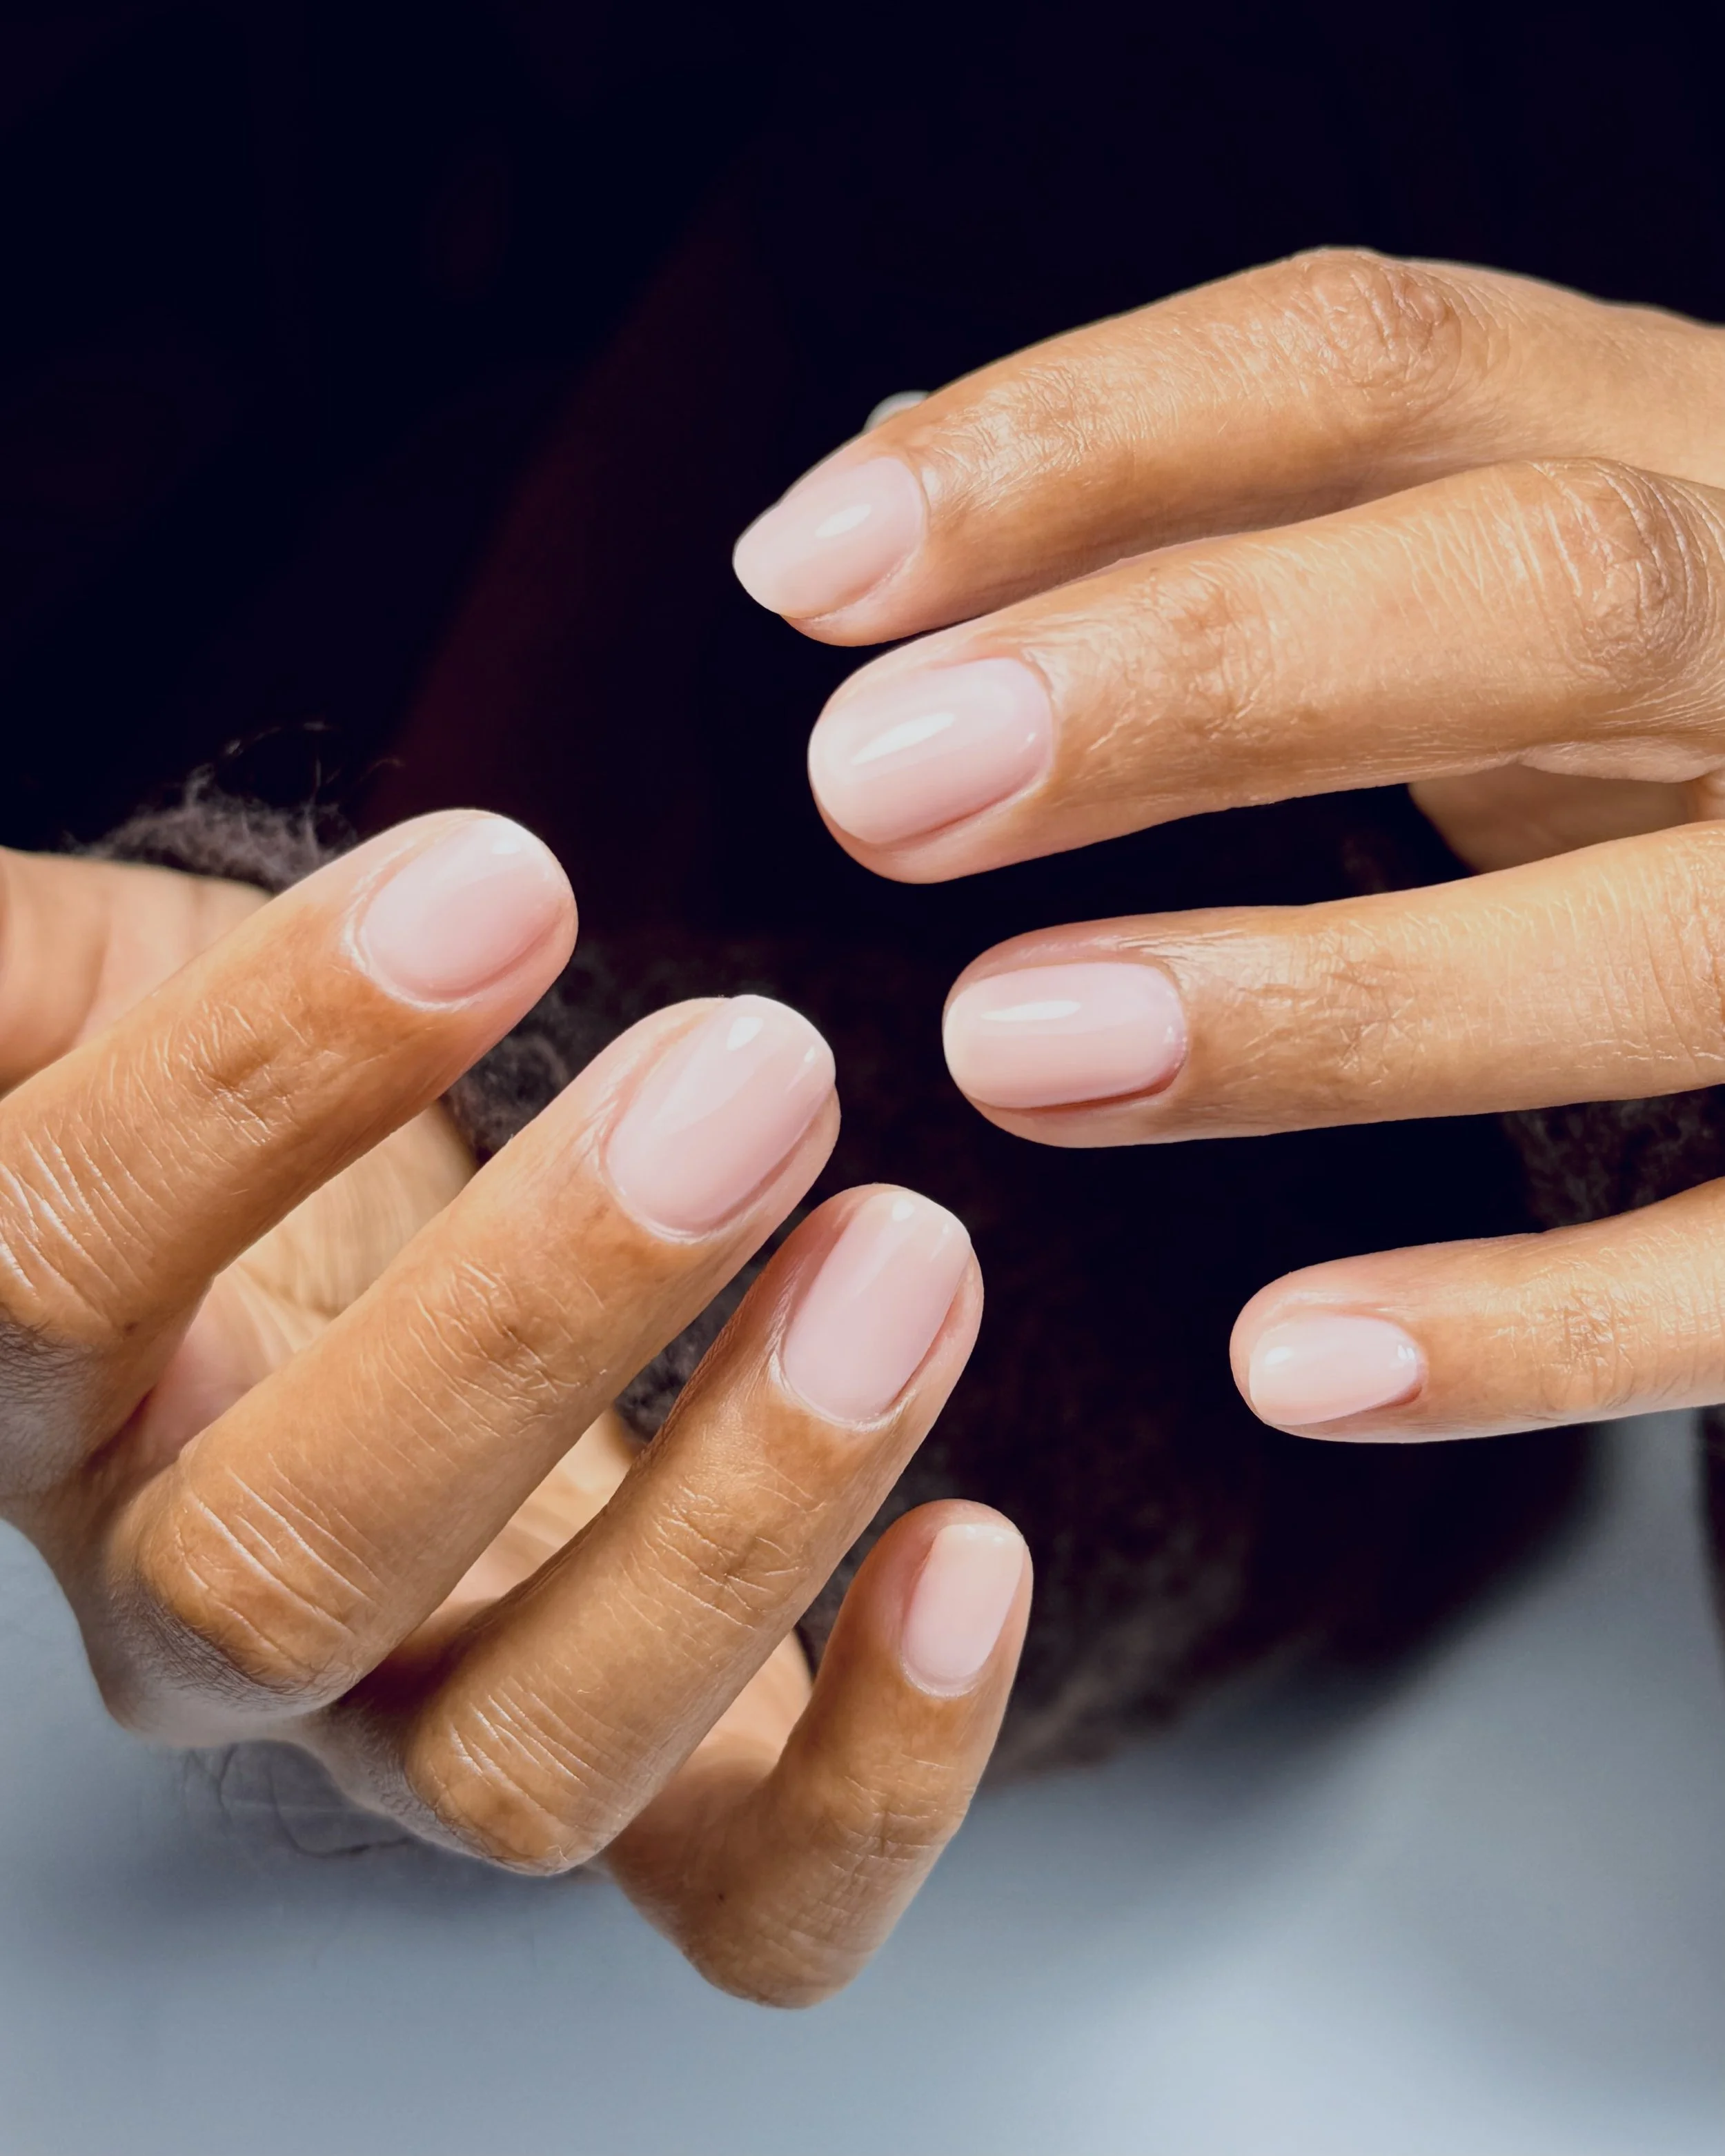


I get it. You bought the kit. You watched the tutorials. You followed every step (kind of). But somehow, your gel manicure is peeling off by day three and you’re left wondering why your nails never seem to last.
Here’s the honest truth. DIY gel nails are tricky. There are a lot of things that can go wrong behind the scenes, even when it looks like everything is going right. If your gel polish is lifting, chipping or peeling too soon, it’s not because your nails are broken. It’s because gel needs the right prep, tools and technique to actually work.
Let’s break down why your at-home gel mani isn’t holding up and what to do about it.
I Used to Skip Prep Too
Prep is everything. And it’s usually the first thing skipped or rushed in a DIY setup. Just pushing back your cuticles and going straight to polish? That won't cut it.
Here’s what proper prep actually involves:
Gently removing excess cuticle from the nail plate
Lightly buffing the surface to remove shine and oil
Using a nail dehydrator or alcohol to cleanse
Applying a proper gel base coat and curing it fully
When I prep nails in the studio, I’m not rushing it. I’m watching how your nails react, whether they’re brittle or flexible, and tailoring my steps from there. Good prep makes all the difference in how long your gel lasts.
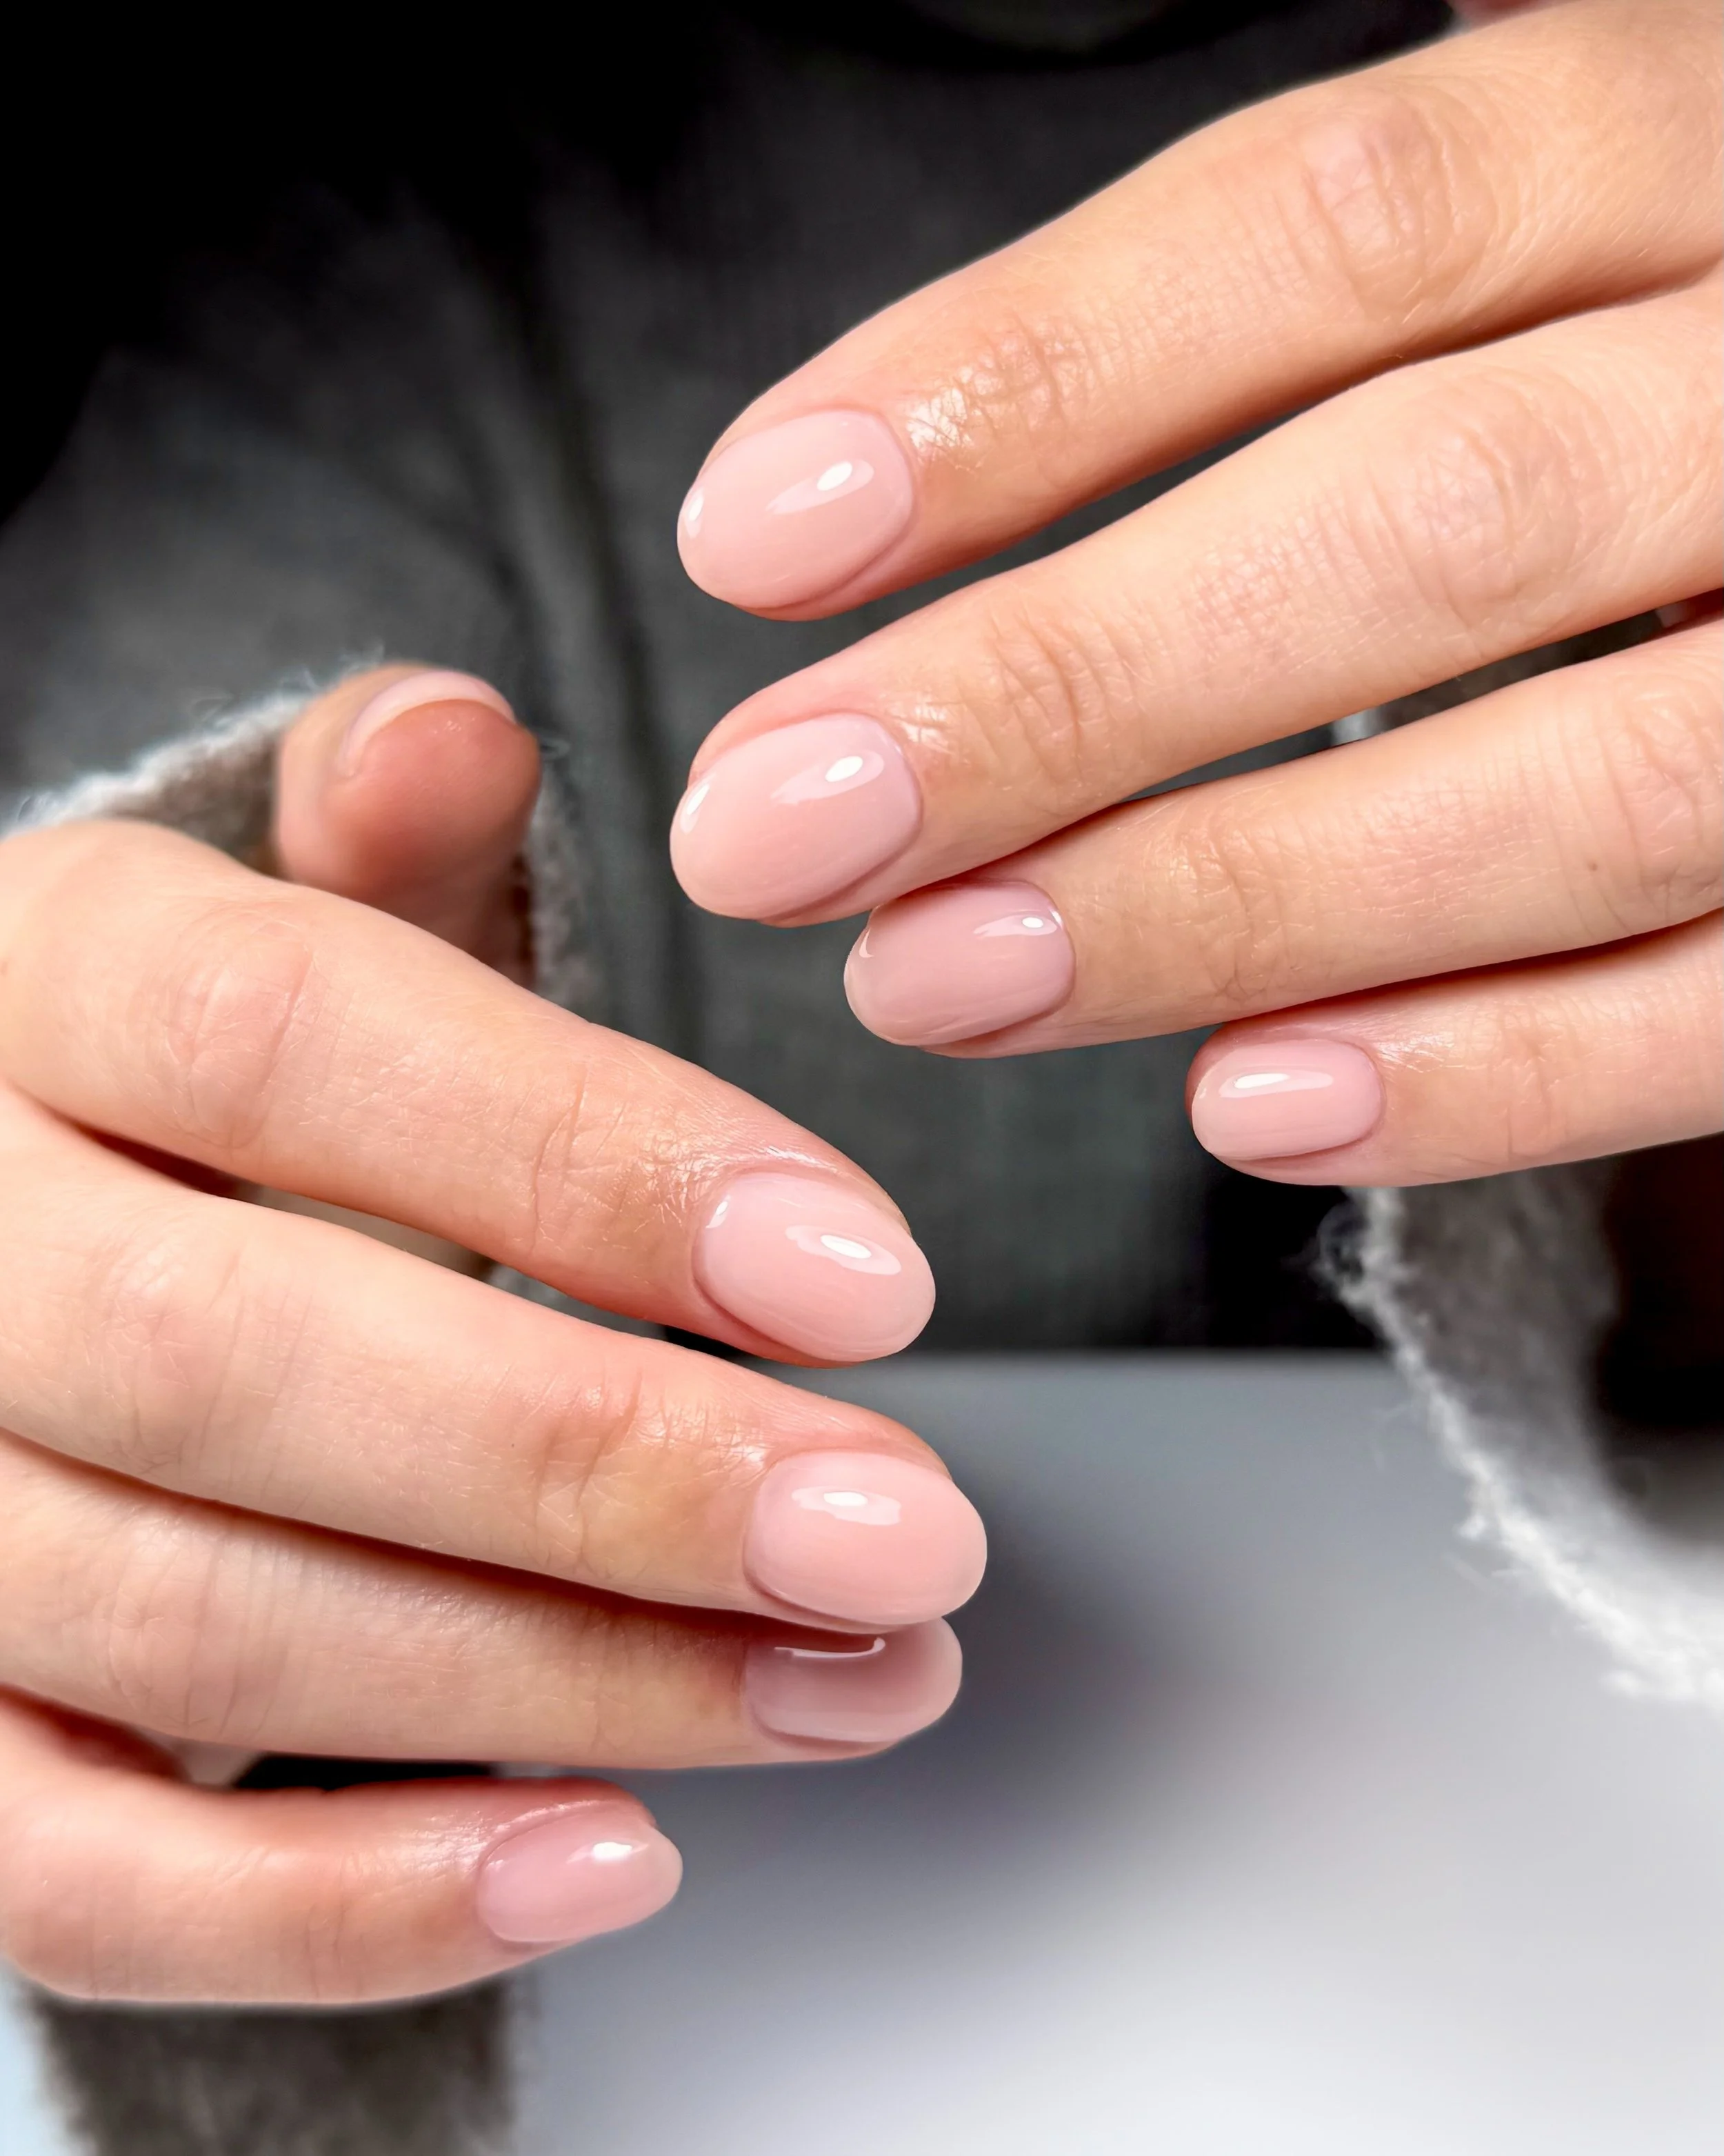
You’re Probably Using Too Much Product
Gel looks great glossy and thick at first, but heavy layers almost always lead to lifting. Most people doing DIY gels don’t realise gel is meant to be applied super thin, layer by layer.
Too much gel = uneven curing = early peeling. It’s that simple.
I always apply in light layers and cure each one properly under a calibrated lamp. This keeps the gel smooth, even and properly bonded.
Your Lamp Might Not Be Doing the Job
Speaking of curing, your cute little Amazon lamp might not be strong enough. If your gel isn’t curing all the way through, it starts to lift within days. Even if it looks dry on top, it might still be soft underneath.
In the studio, I use professional-grade lamps that are tested to work with the exact products I’m using. No guesswork. Just properly cured, long-lasting gel.
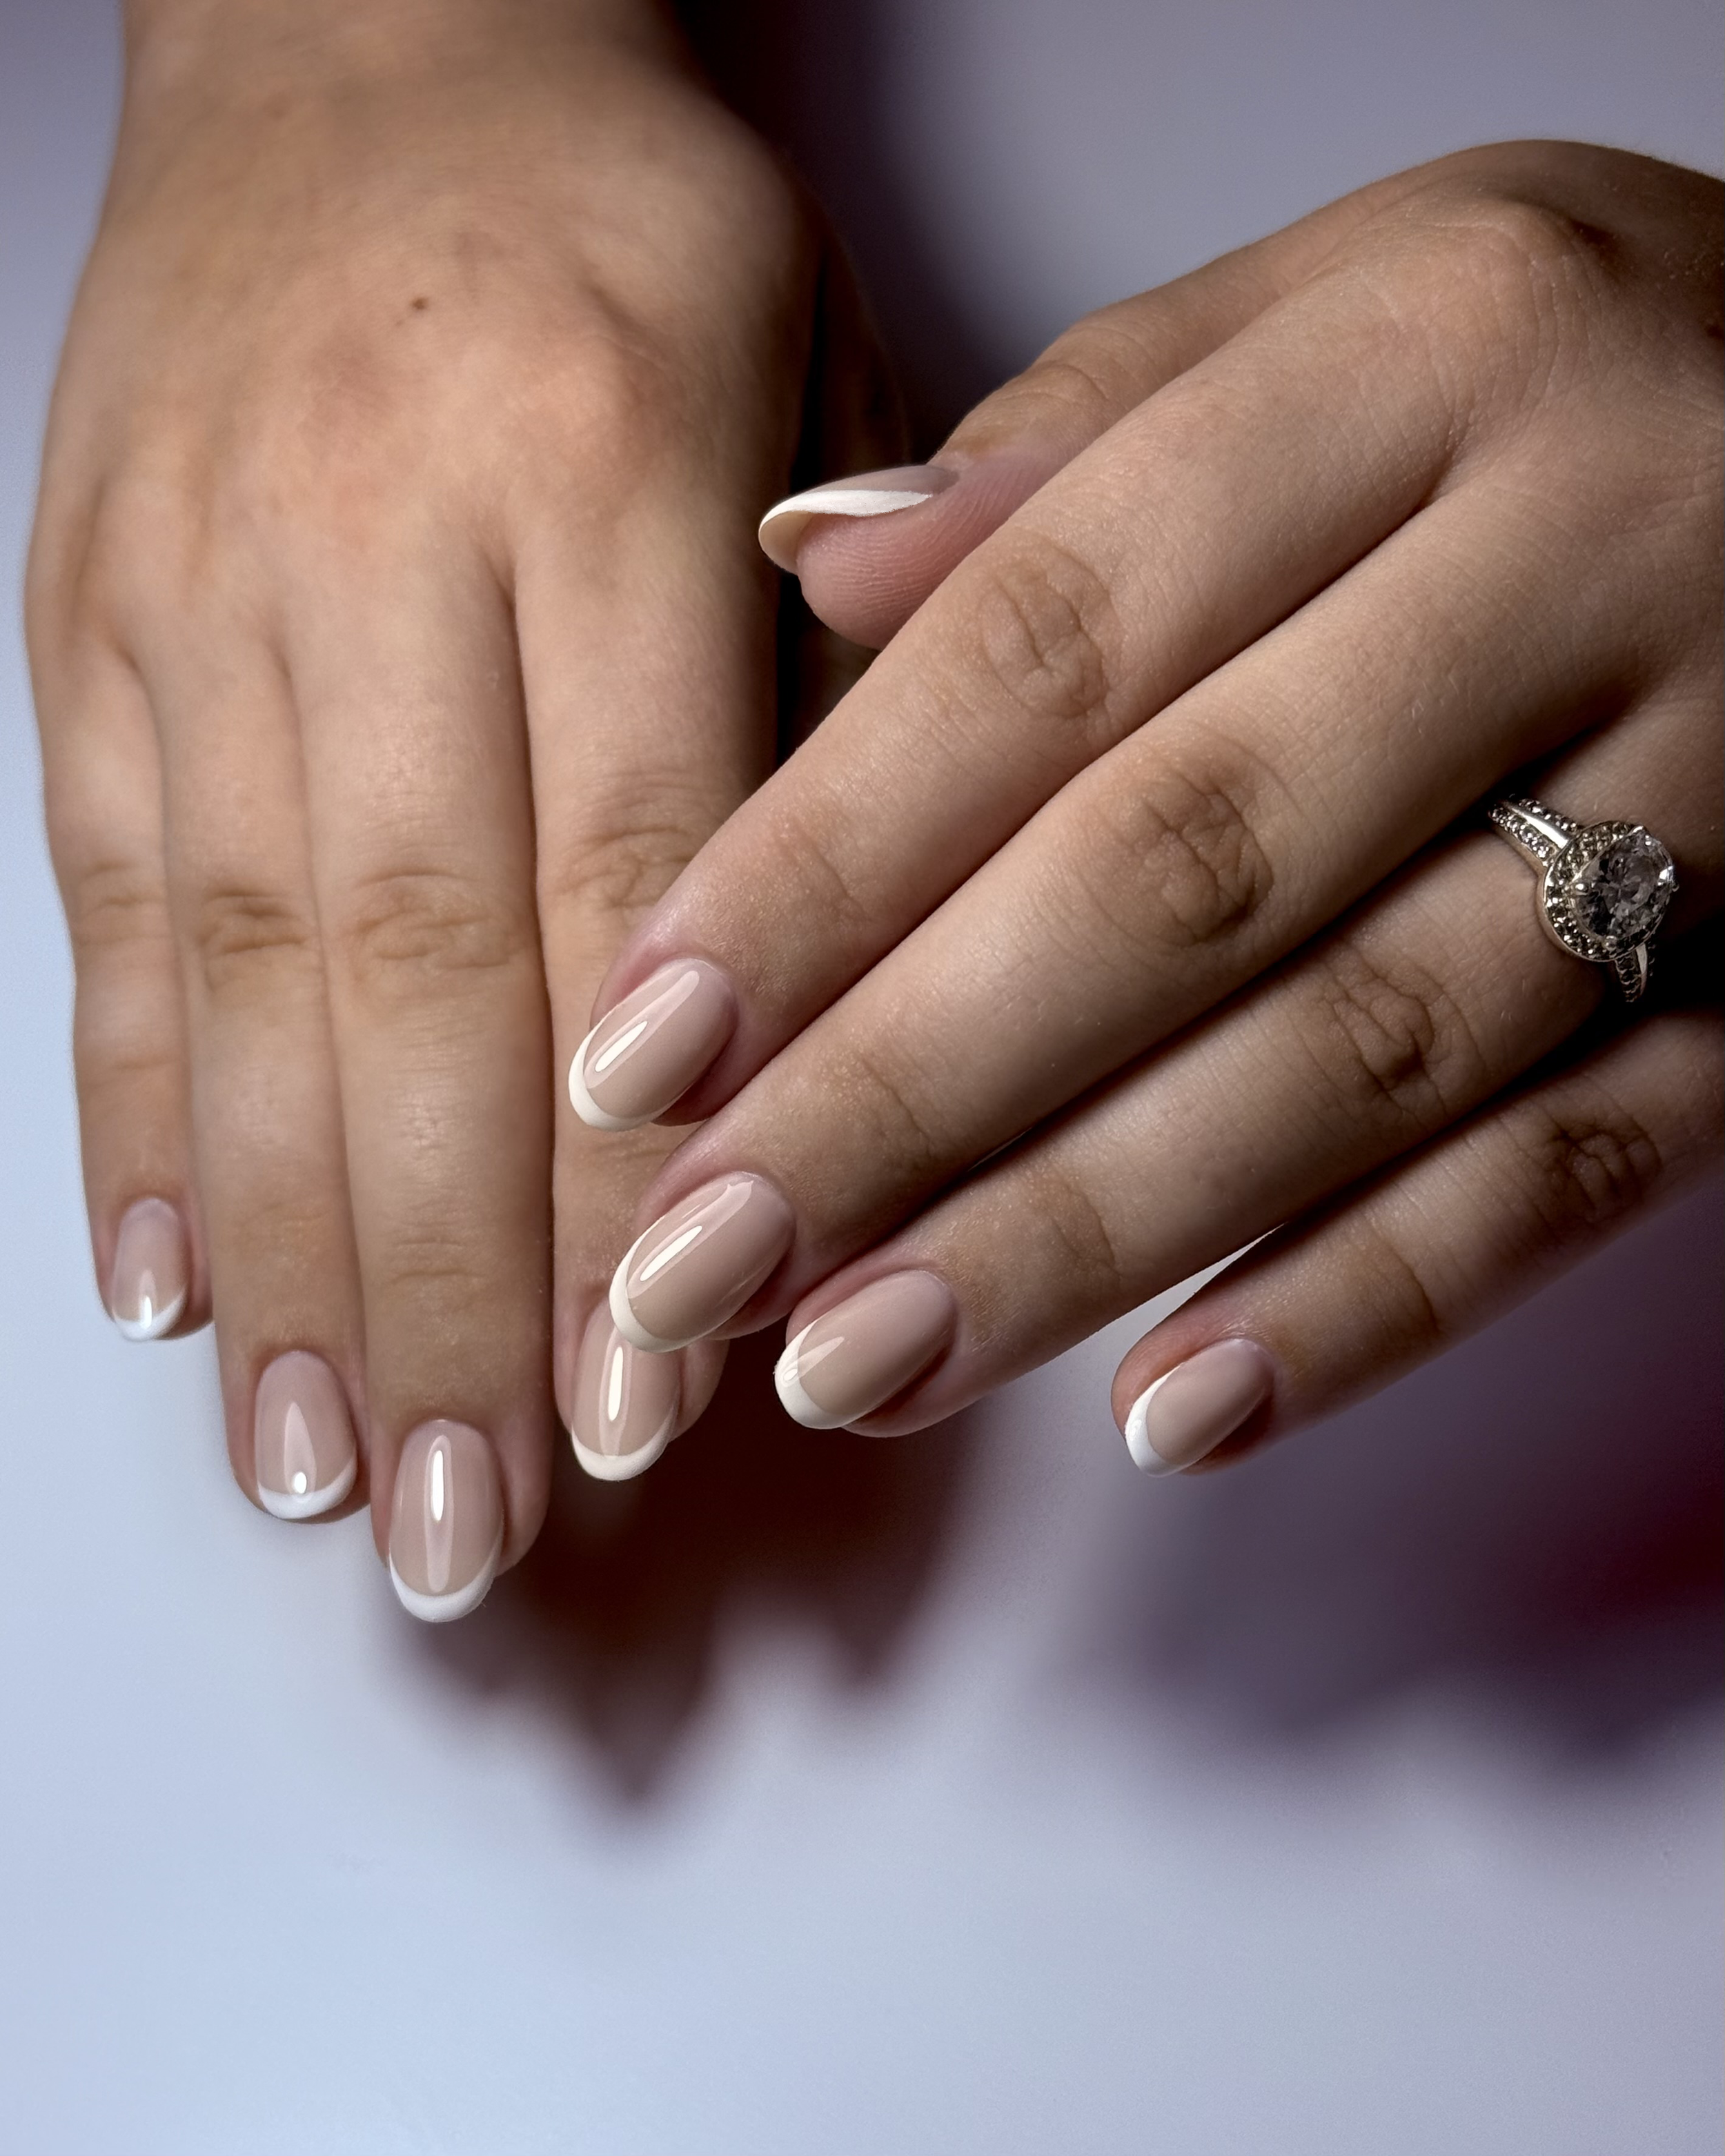
You’re Not Sealing the Edges
One of the smallest but most important steps? Capping the free edge. That tiny swipe along the edge of your nail helps seal everything in. Without it, water and air sneak under the polish and start the peeling process early.
It’s such a small thing, but it makes a huge impact on wear time. It’s one of those steps I never skip.
Removal Might Be Hurting More Than You Think
If you’ve ever picked off your gel (no judgment, we’ve all been there), you’ve probably damaged your nail plate. Even just once or twice can leave the surface uneven, which makes your next gel application peel faster.
In the salon, I remove gel gently using soak-off techniques that protect the natural nail underneath. If your nails are already damaged from picking, I can adjust your BIAB or Japanese gel to give your nails time to rebuild.

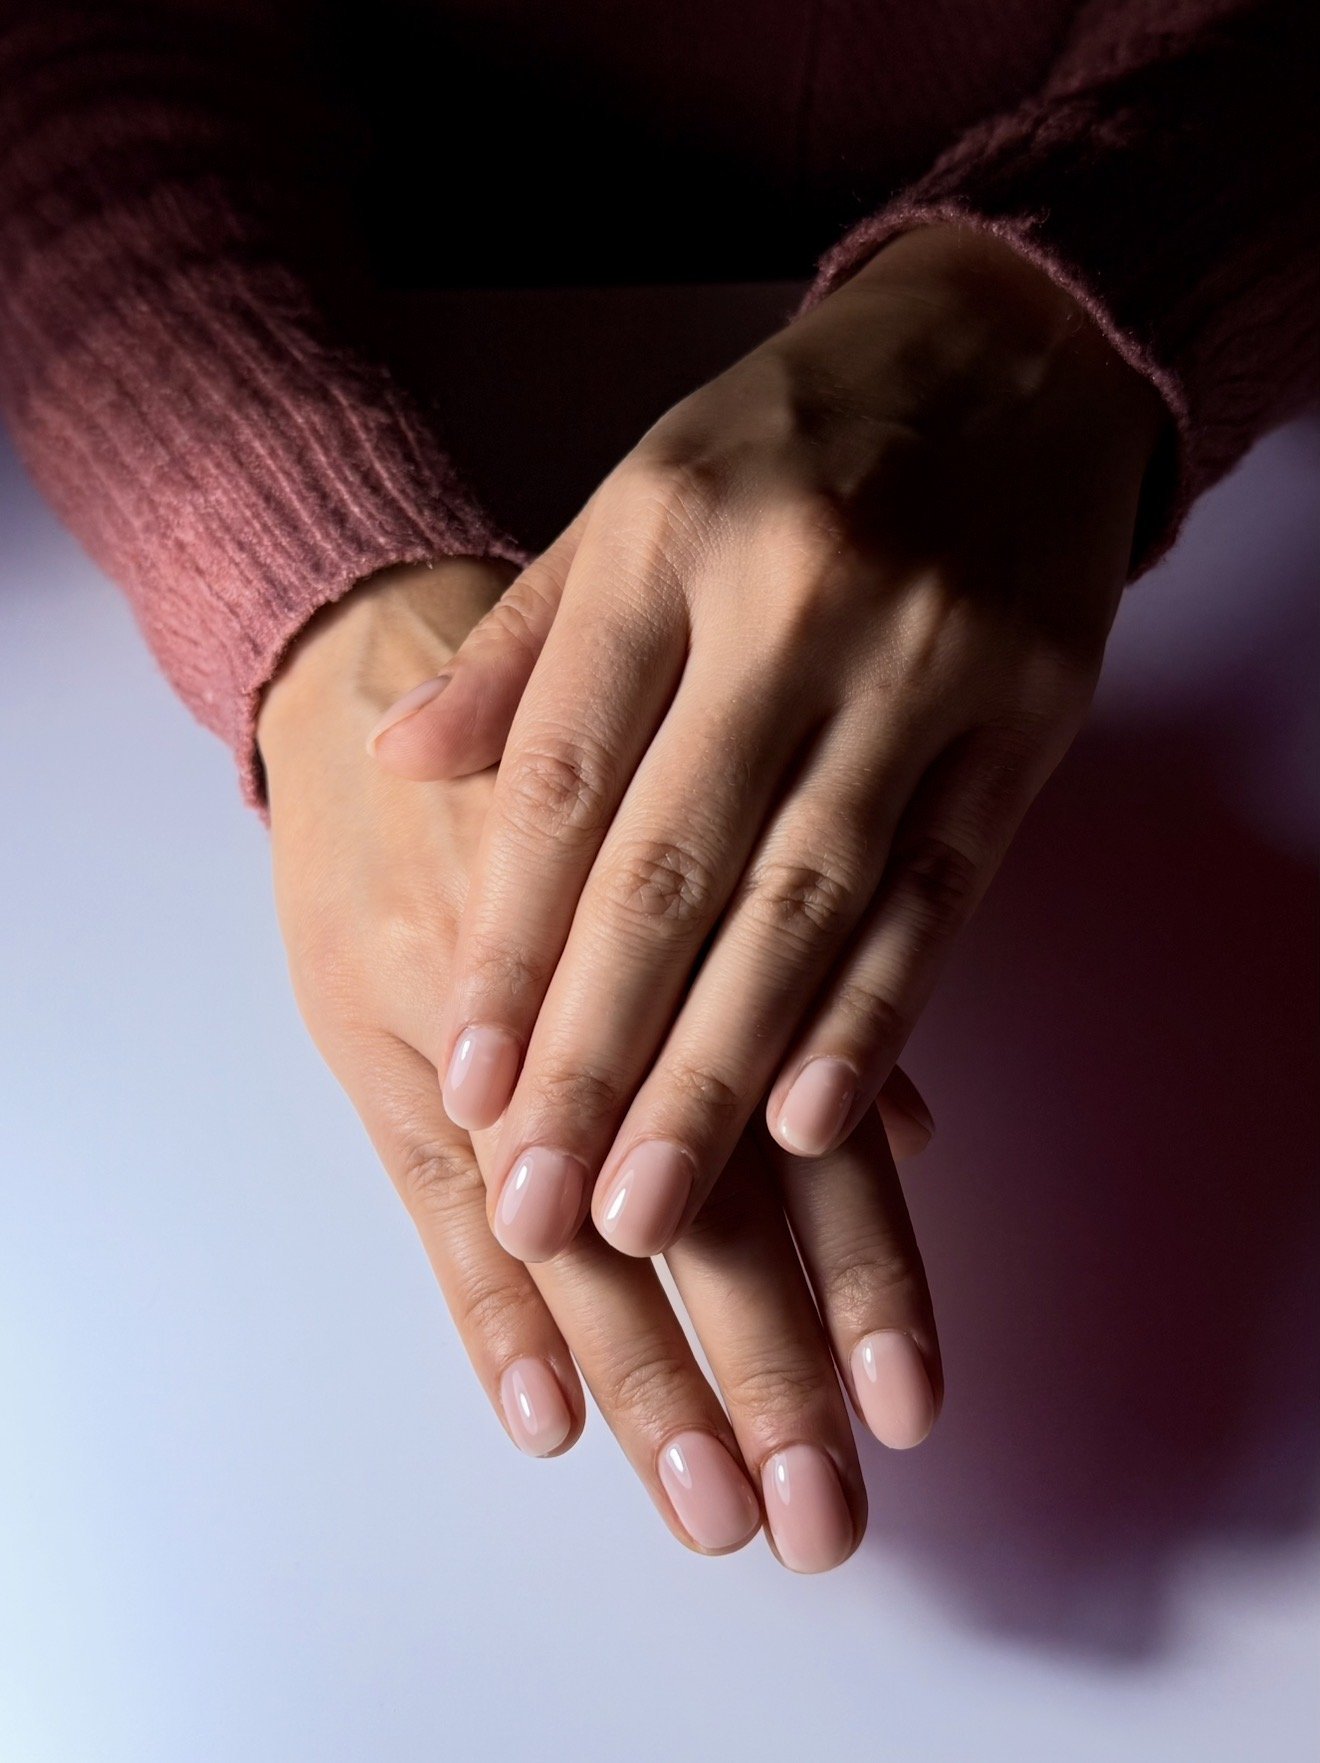
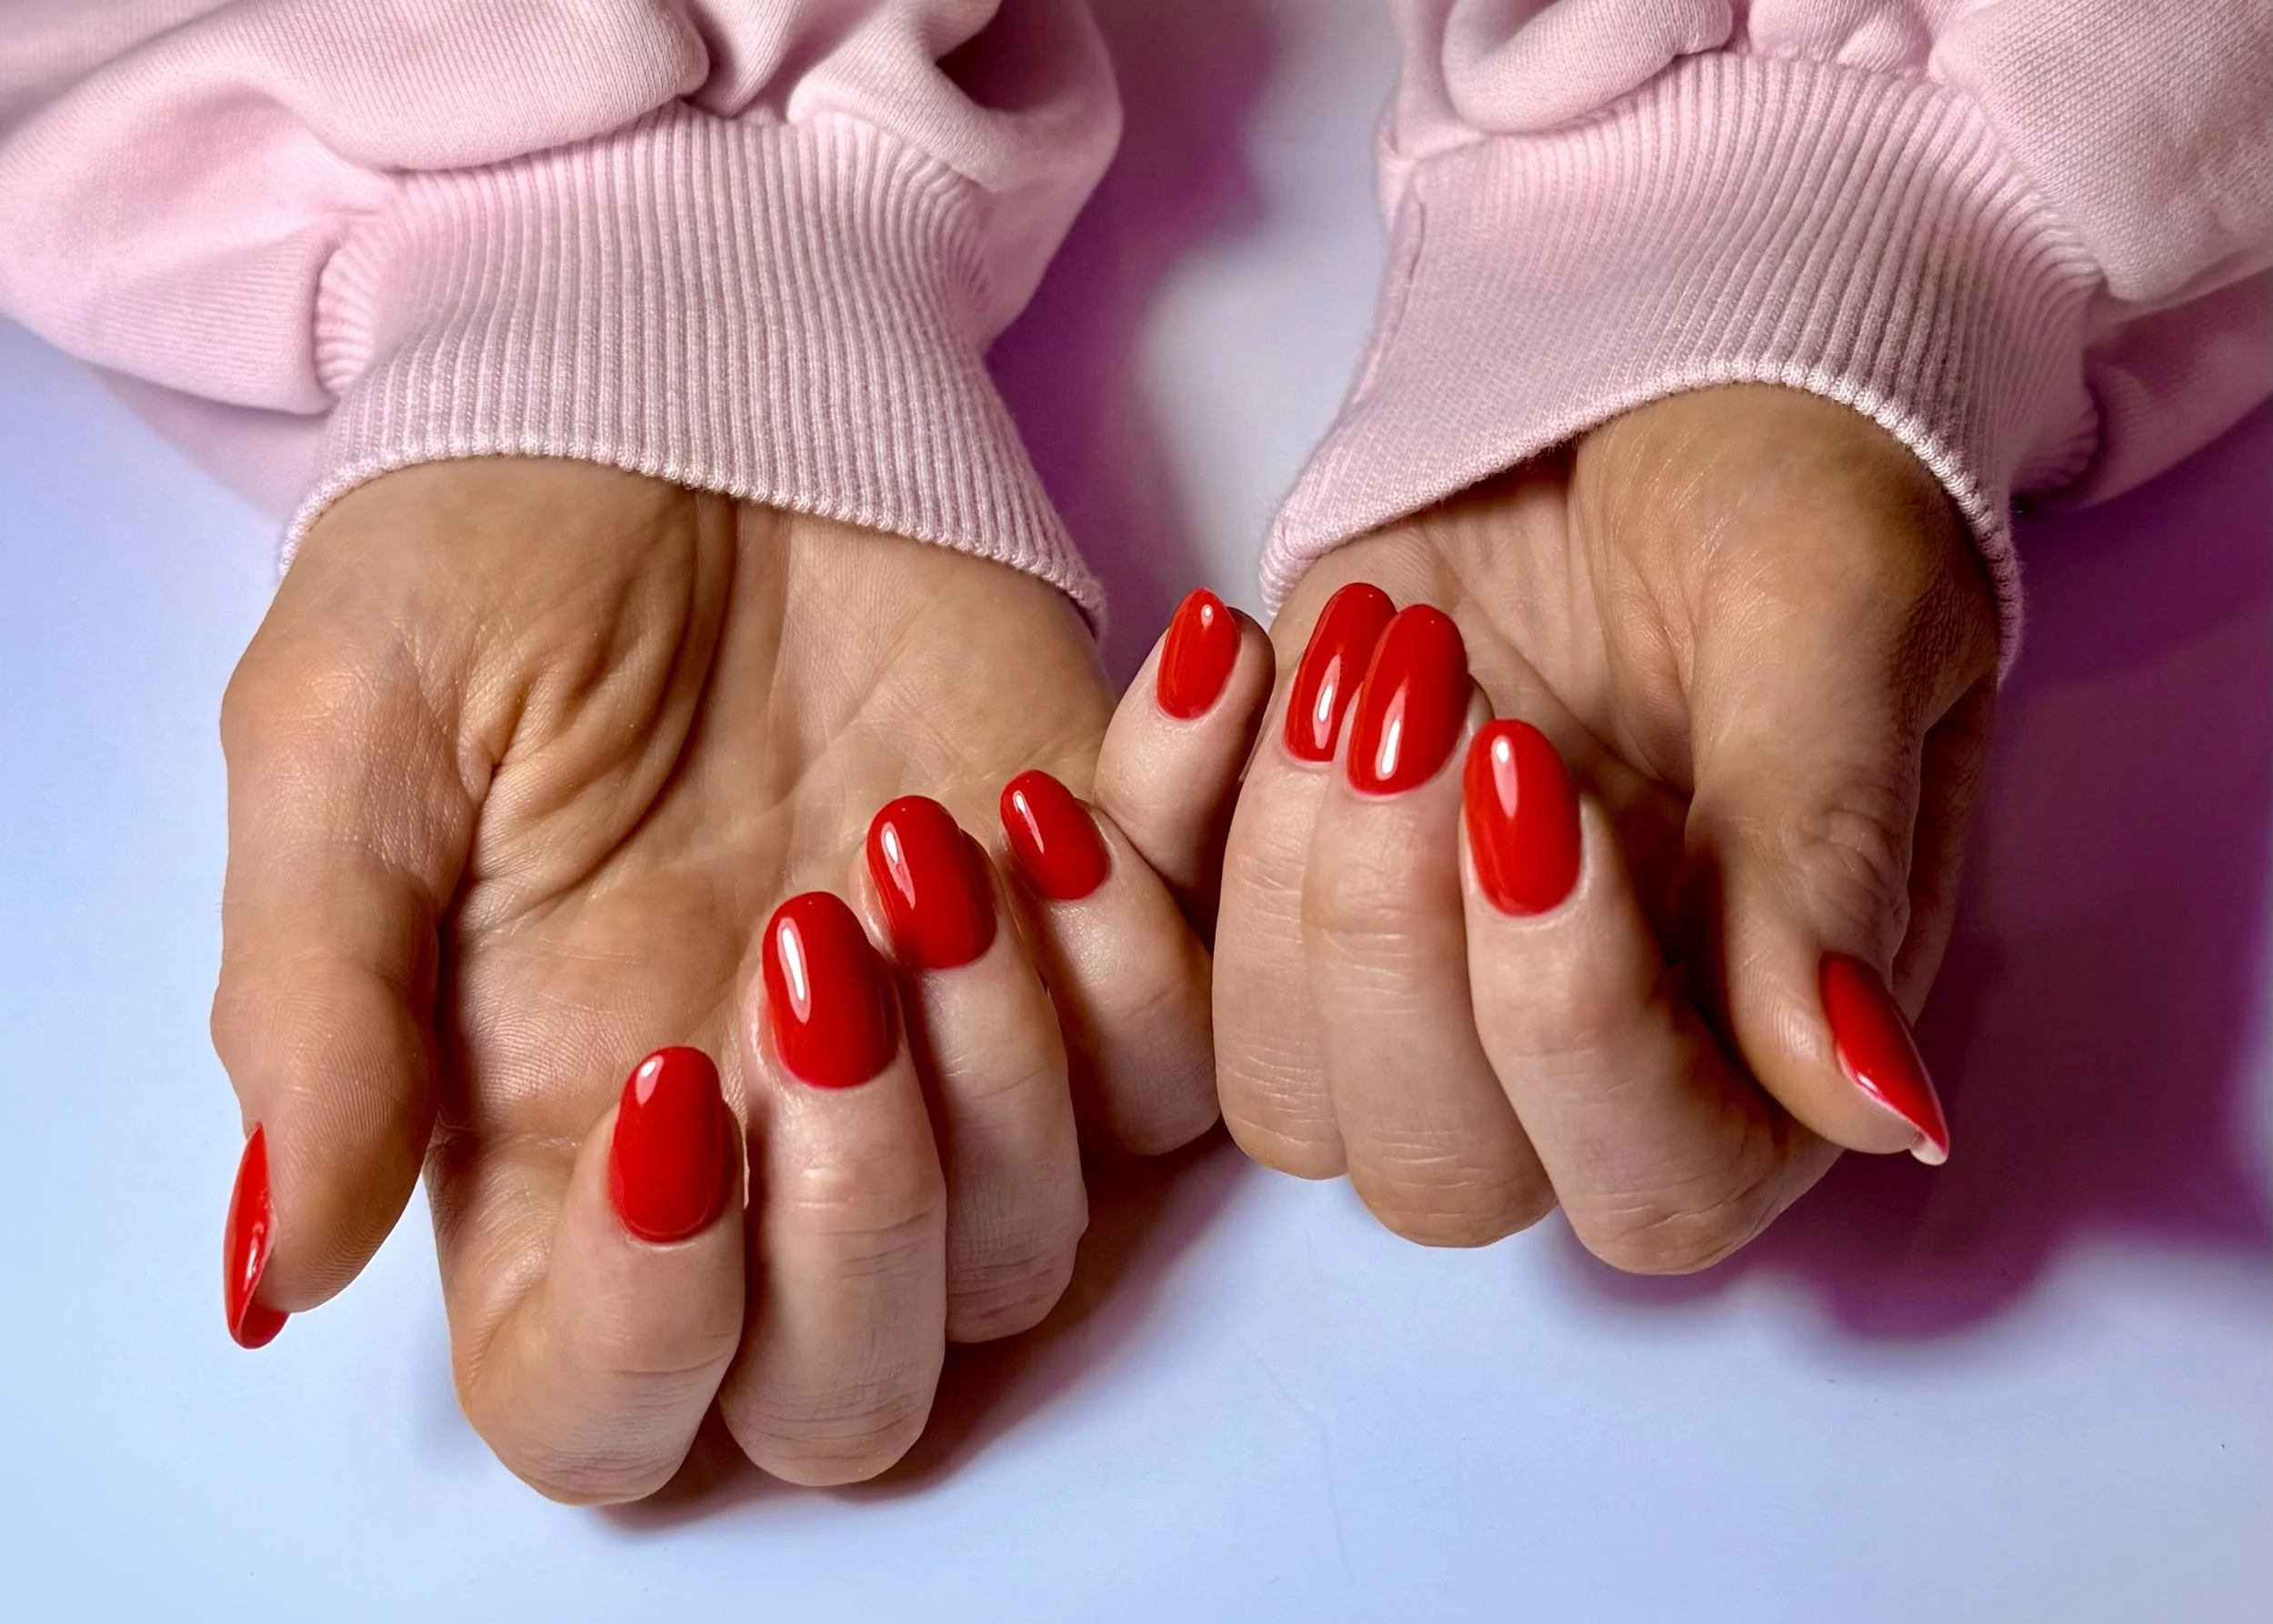
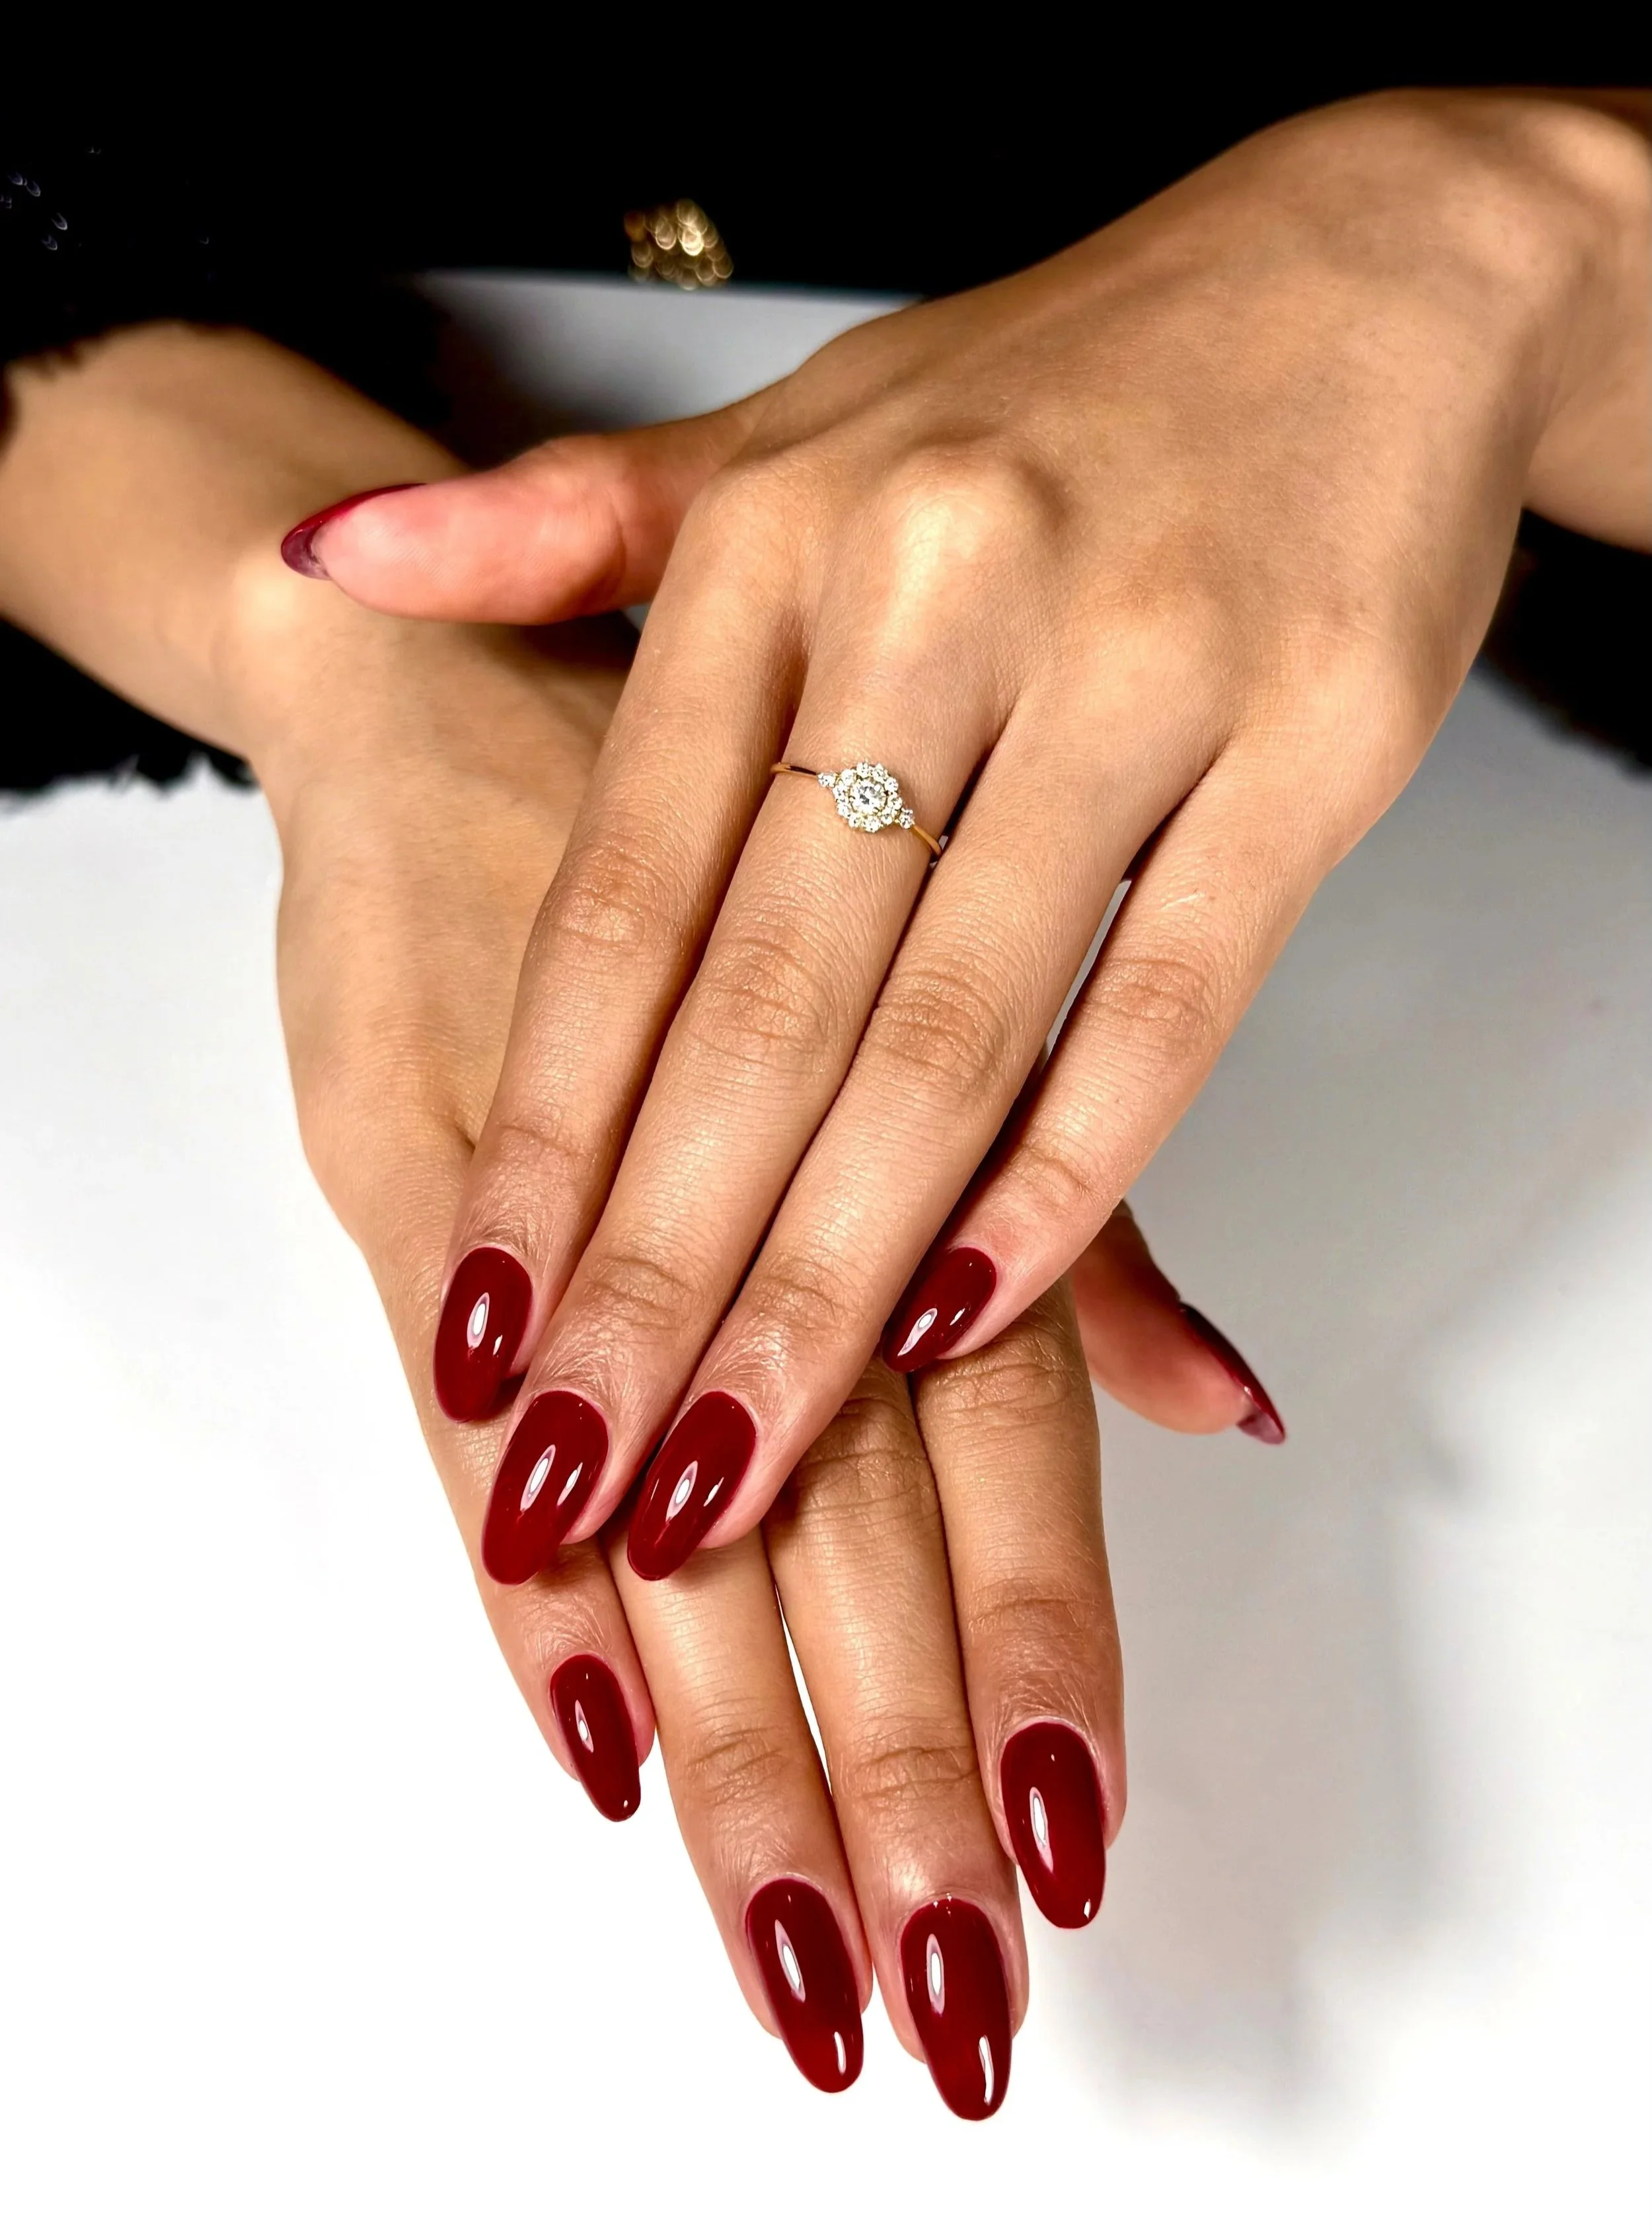
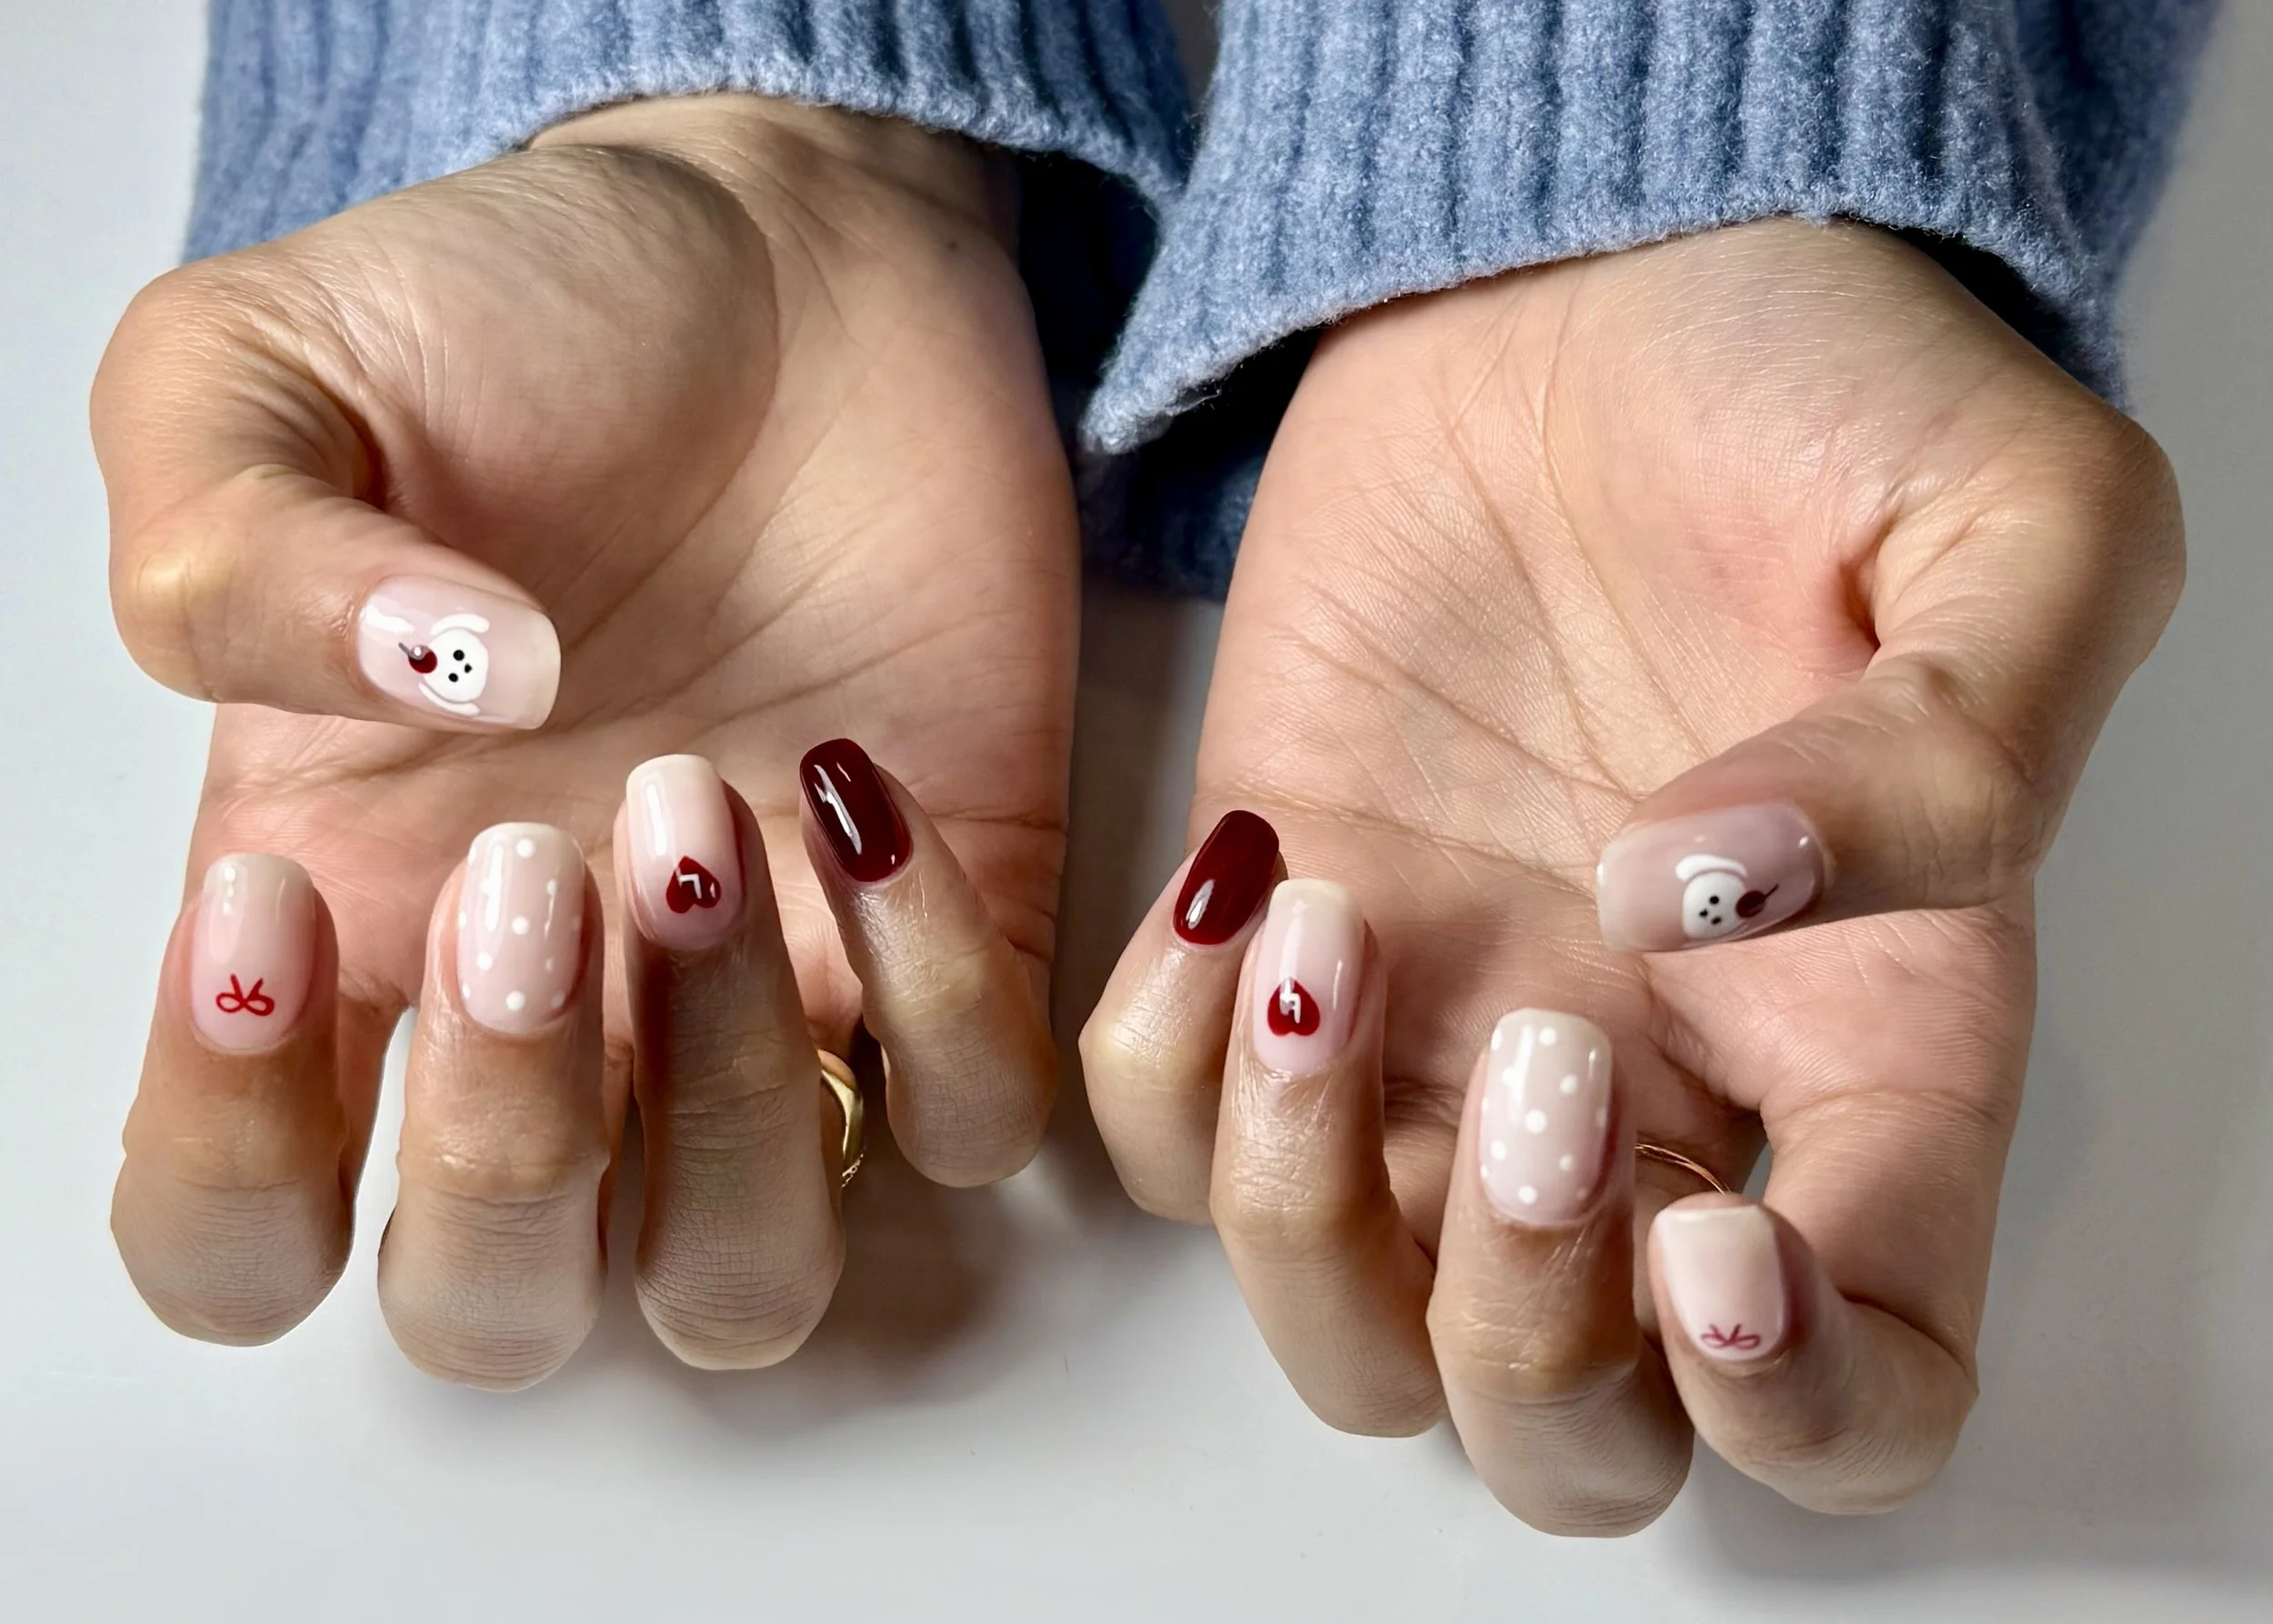
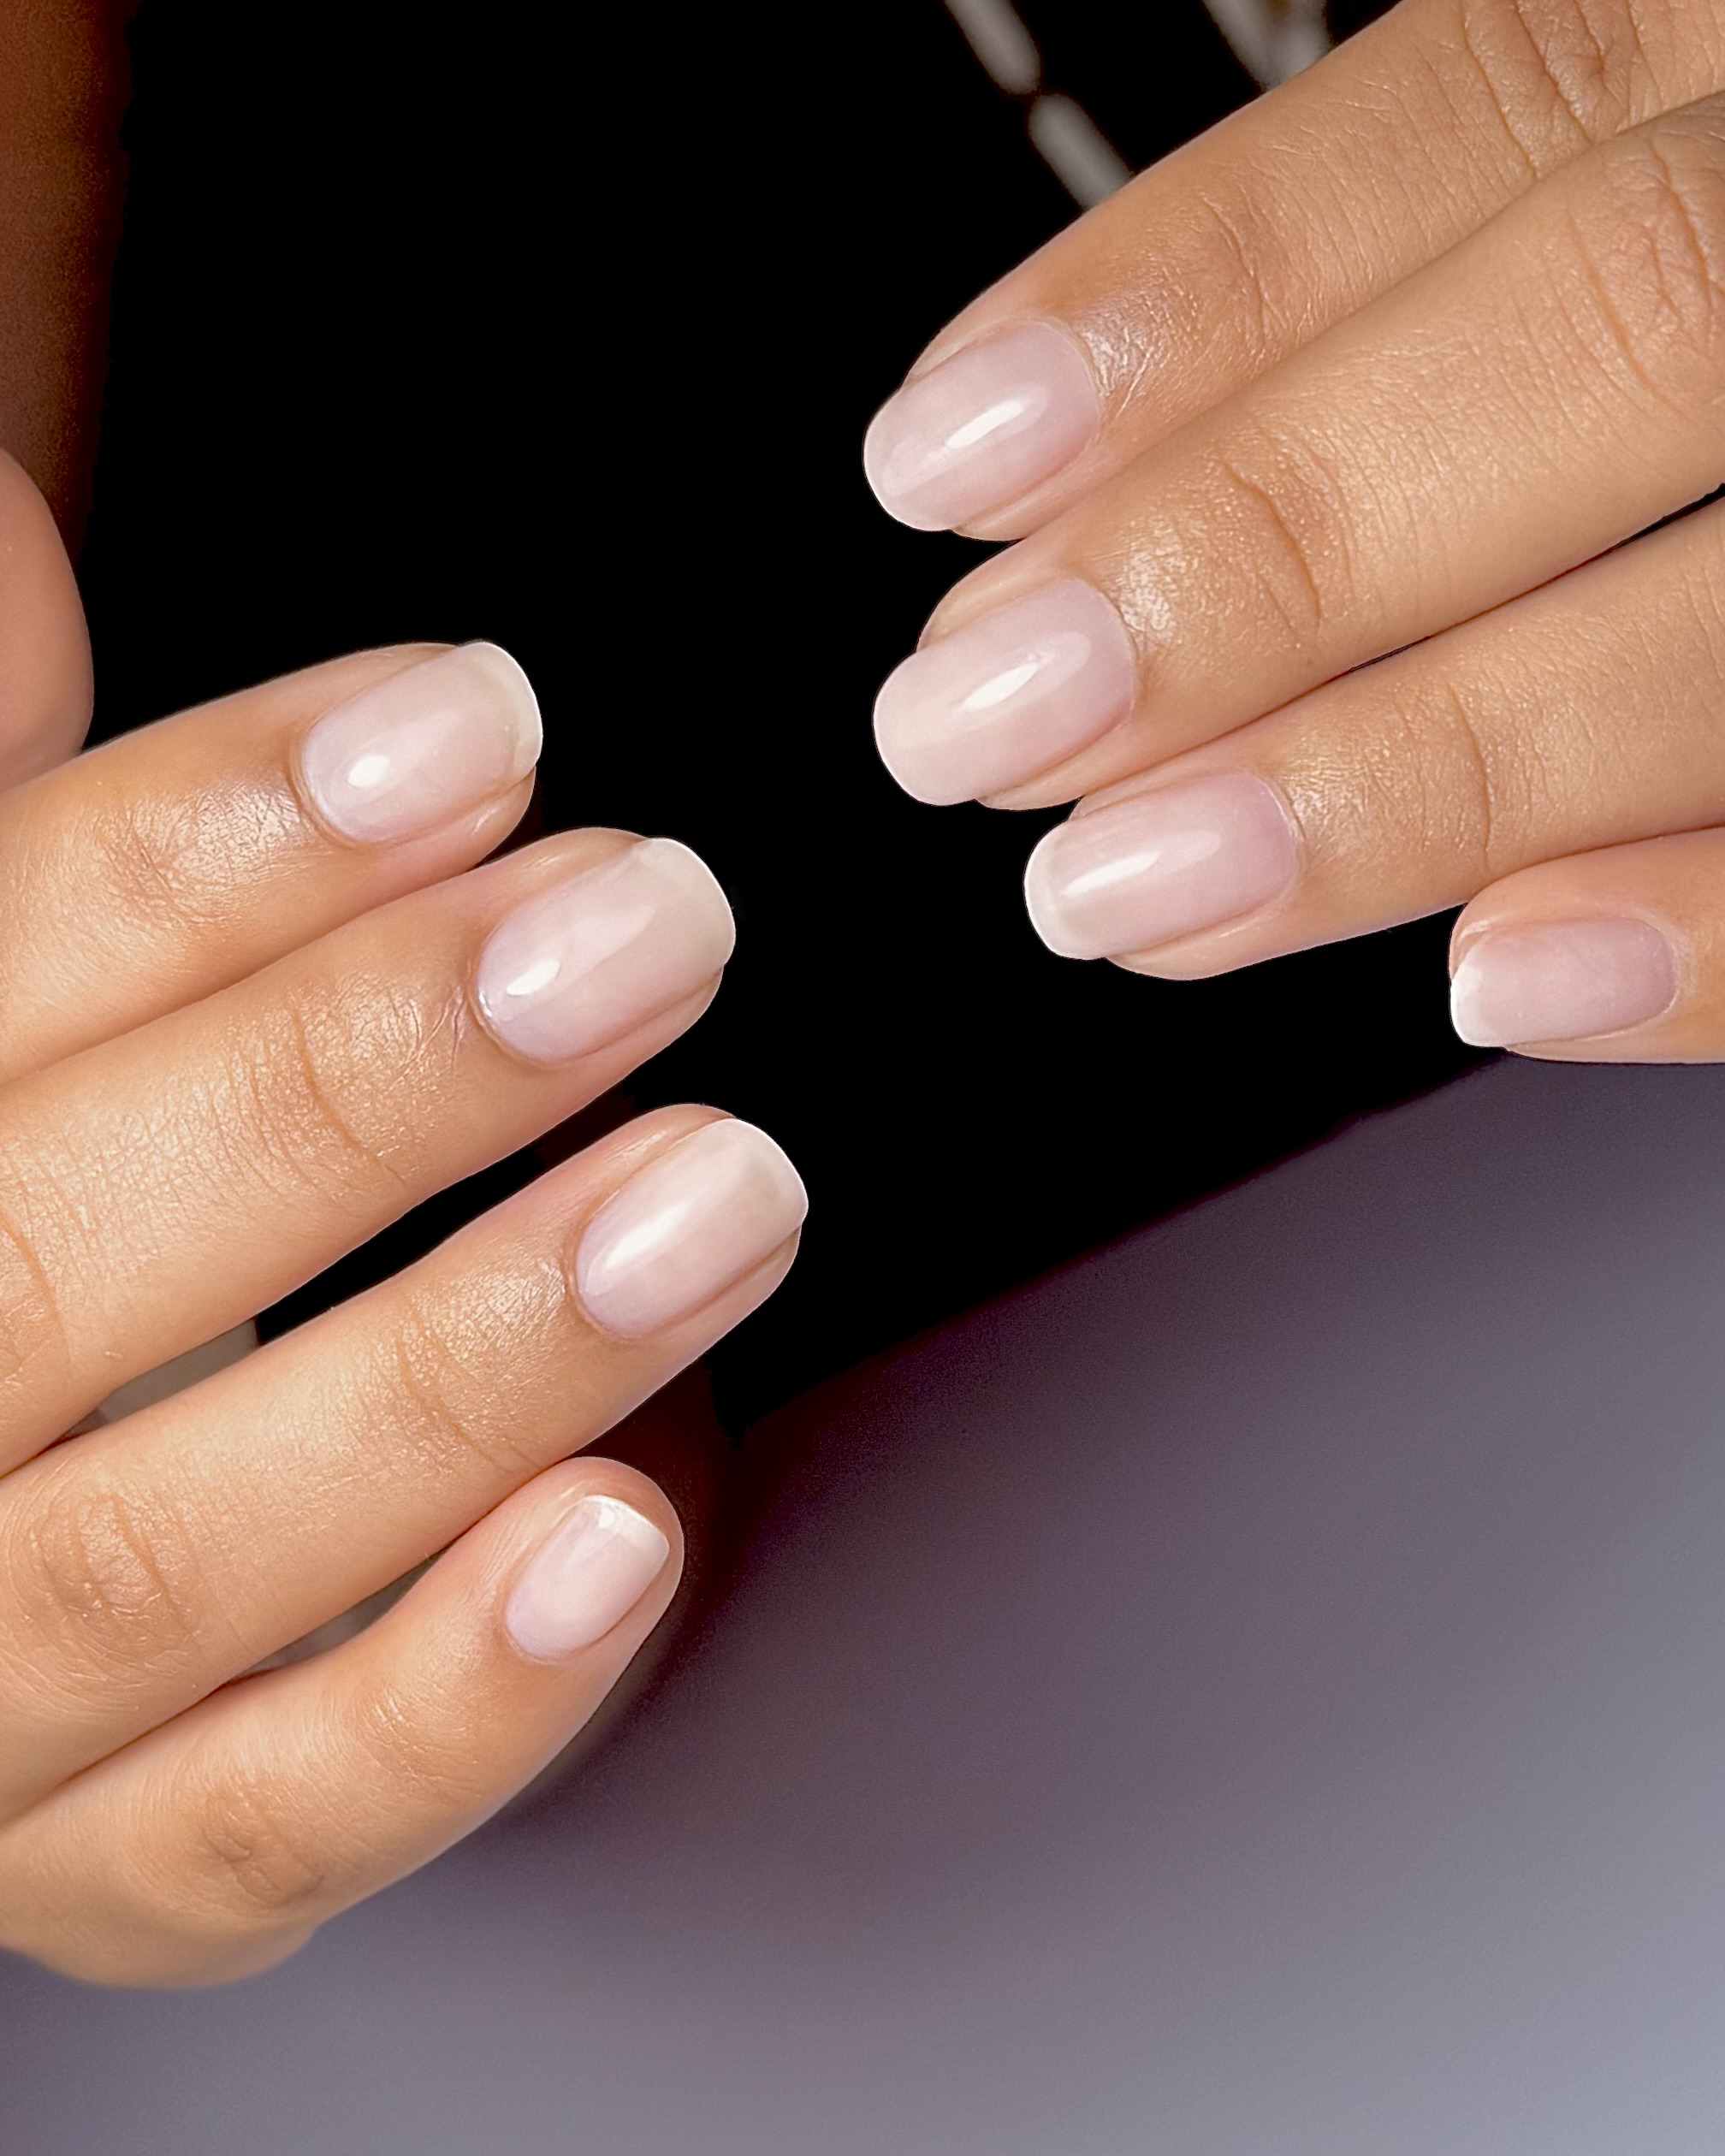
DIY Is Fun, But Professional Care Lasts
I’m not here to shame the DIY game. Sometimes it’s fun to try things at home. But if you’re constantly redoing your nails every few days, that gets exhausting. A professional manicure gives you longer-lasting results, stronger nails over time, and zero peeling stress.
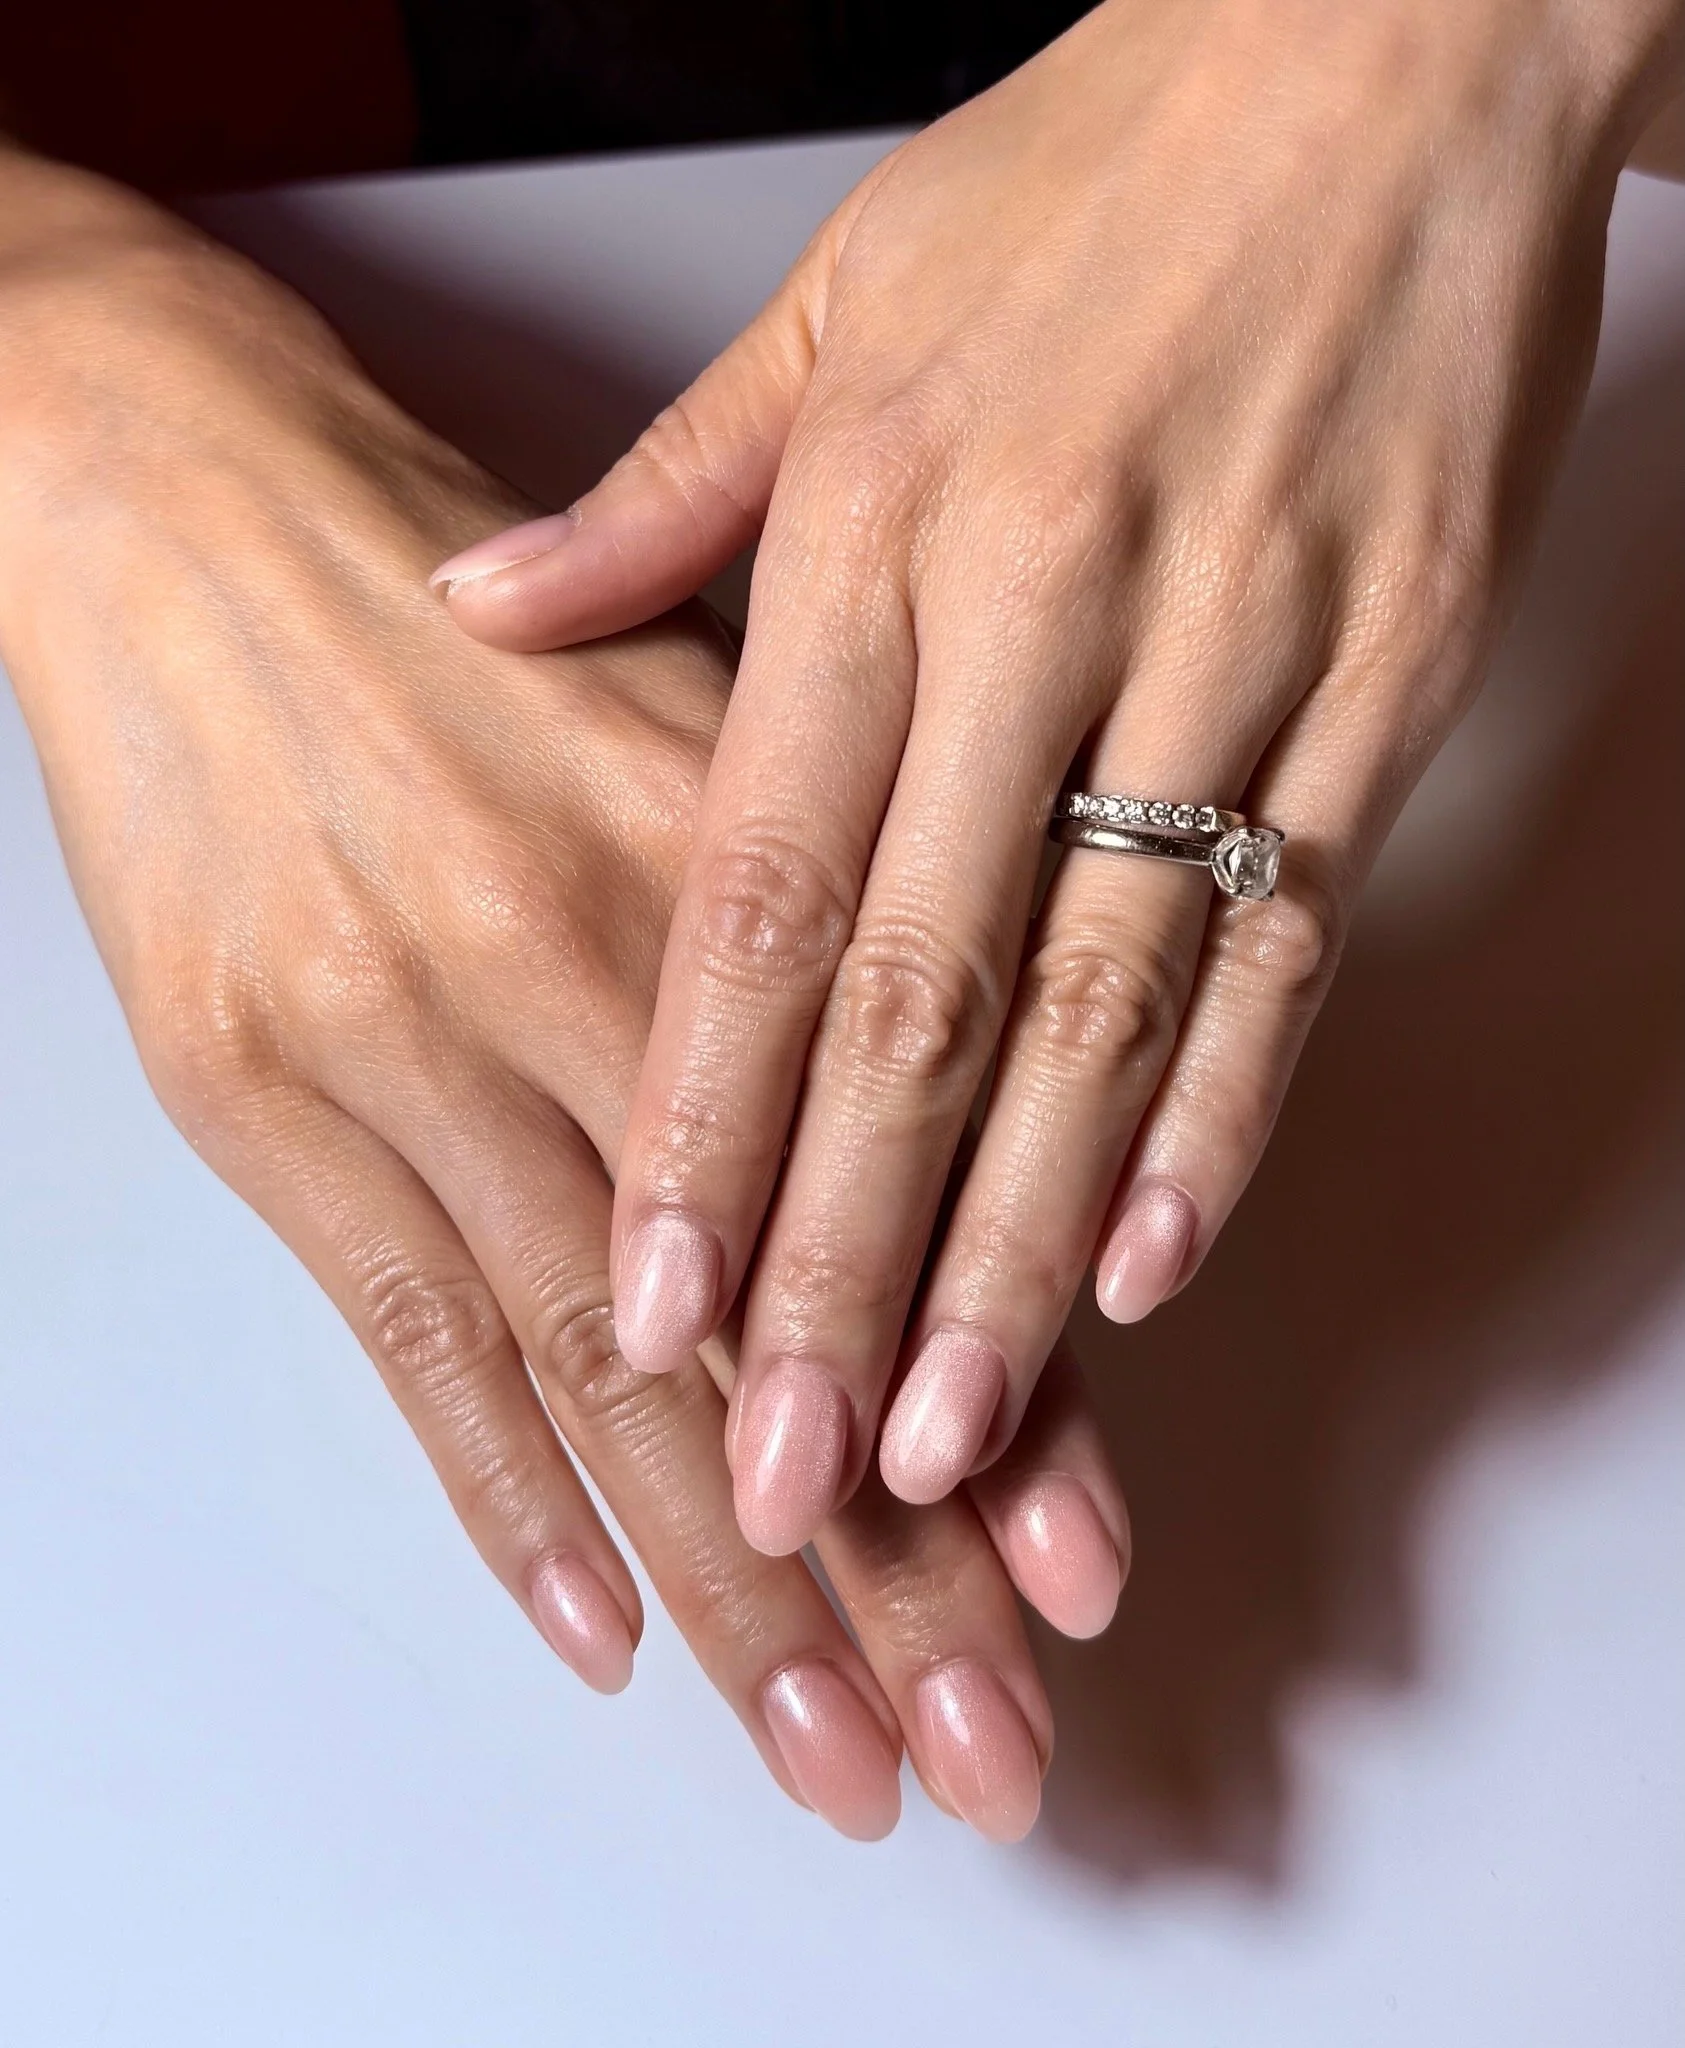
Most of my clients come in after one too many DIY fails. They want nails that last longer, feel healthier, and actually help their nails grow. That’s where BIAB and Japanese gels come in.
Ready to Stop Peeling and Start Growing?
If your gel nails keep peeling, lifting or chipping before the week is up, it might be time to hand it over. Let me take care of your nails with thoughtful prep, high-quality gels, and a customised approach that fits your lifestyle.
📍 Fill out a new client intake form at Apricot Nails in Hawthorn today. Strong, glossy nails are just one good mani away.